ceramics

Wheel-formed shapes as plaster molds with pre-drilled holes

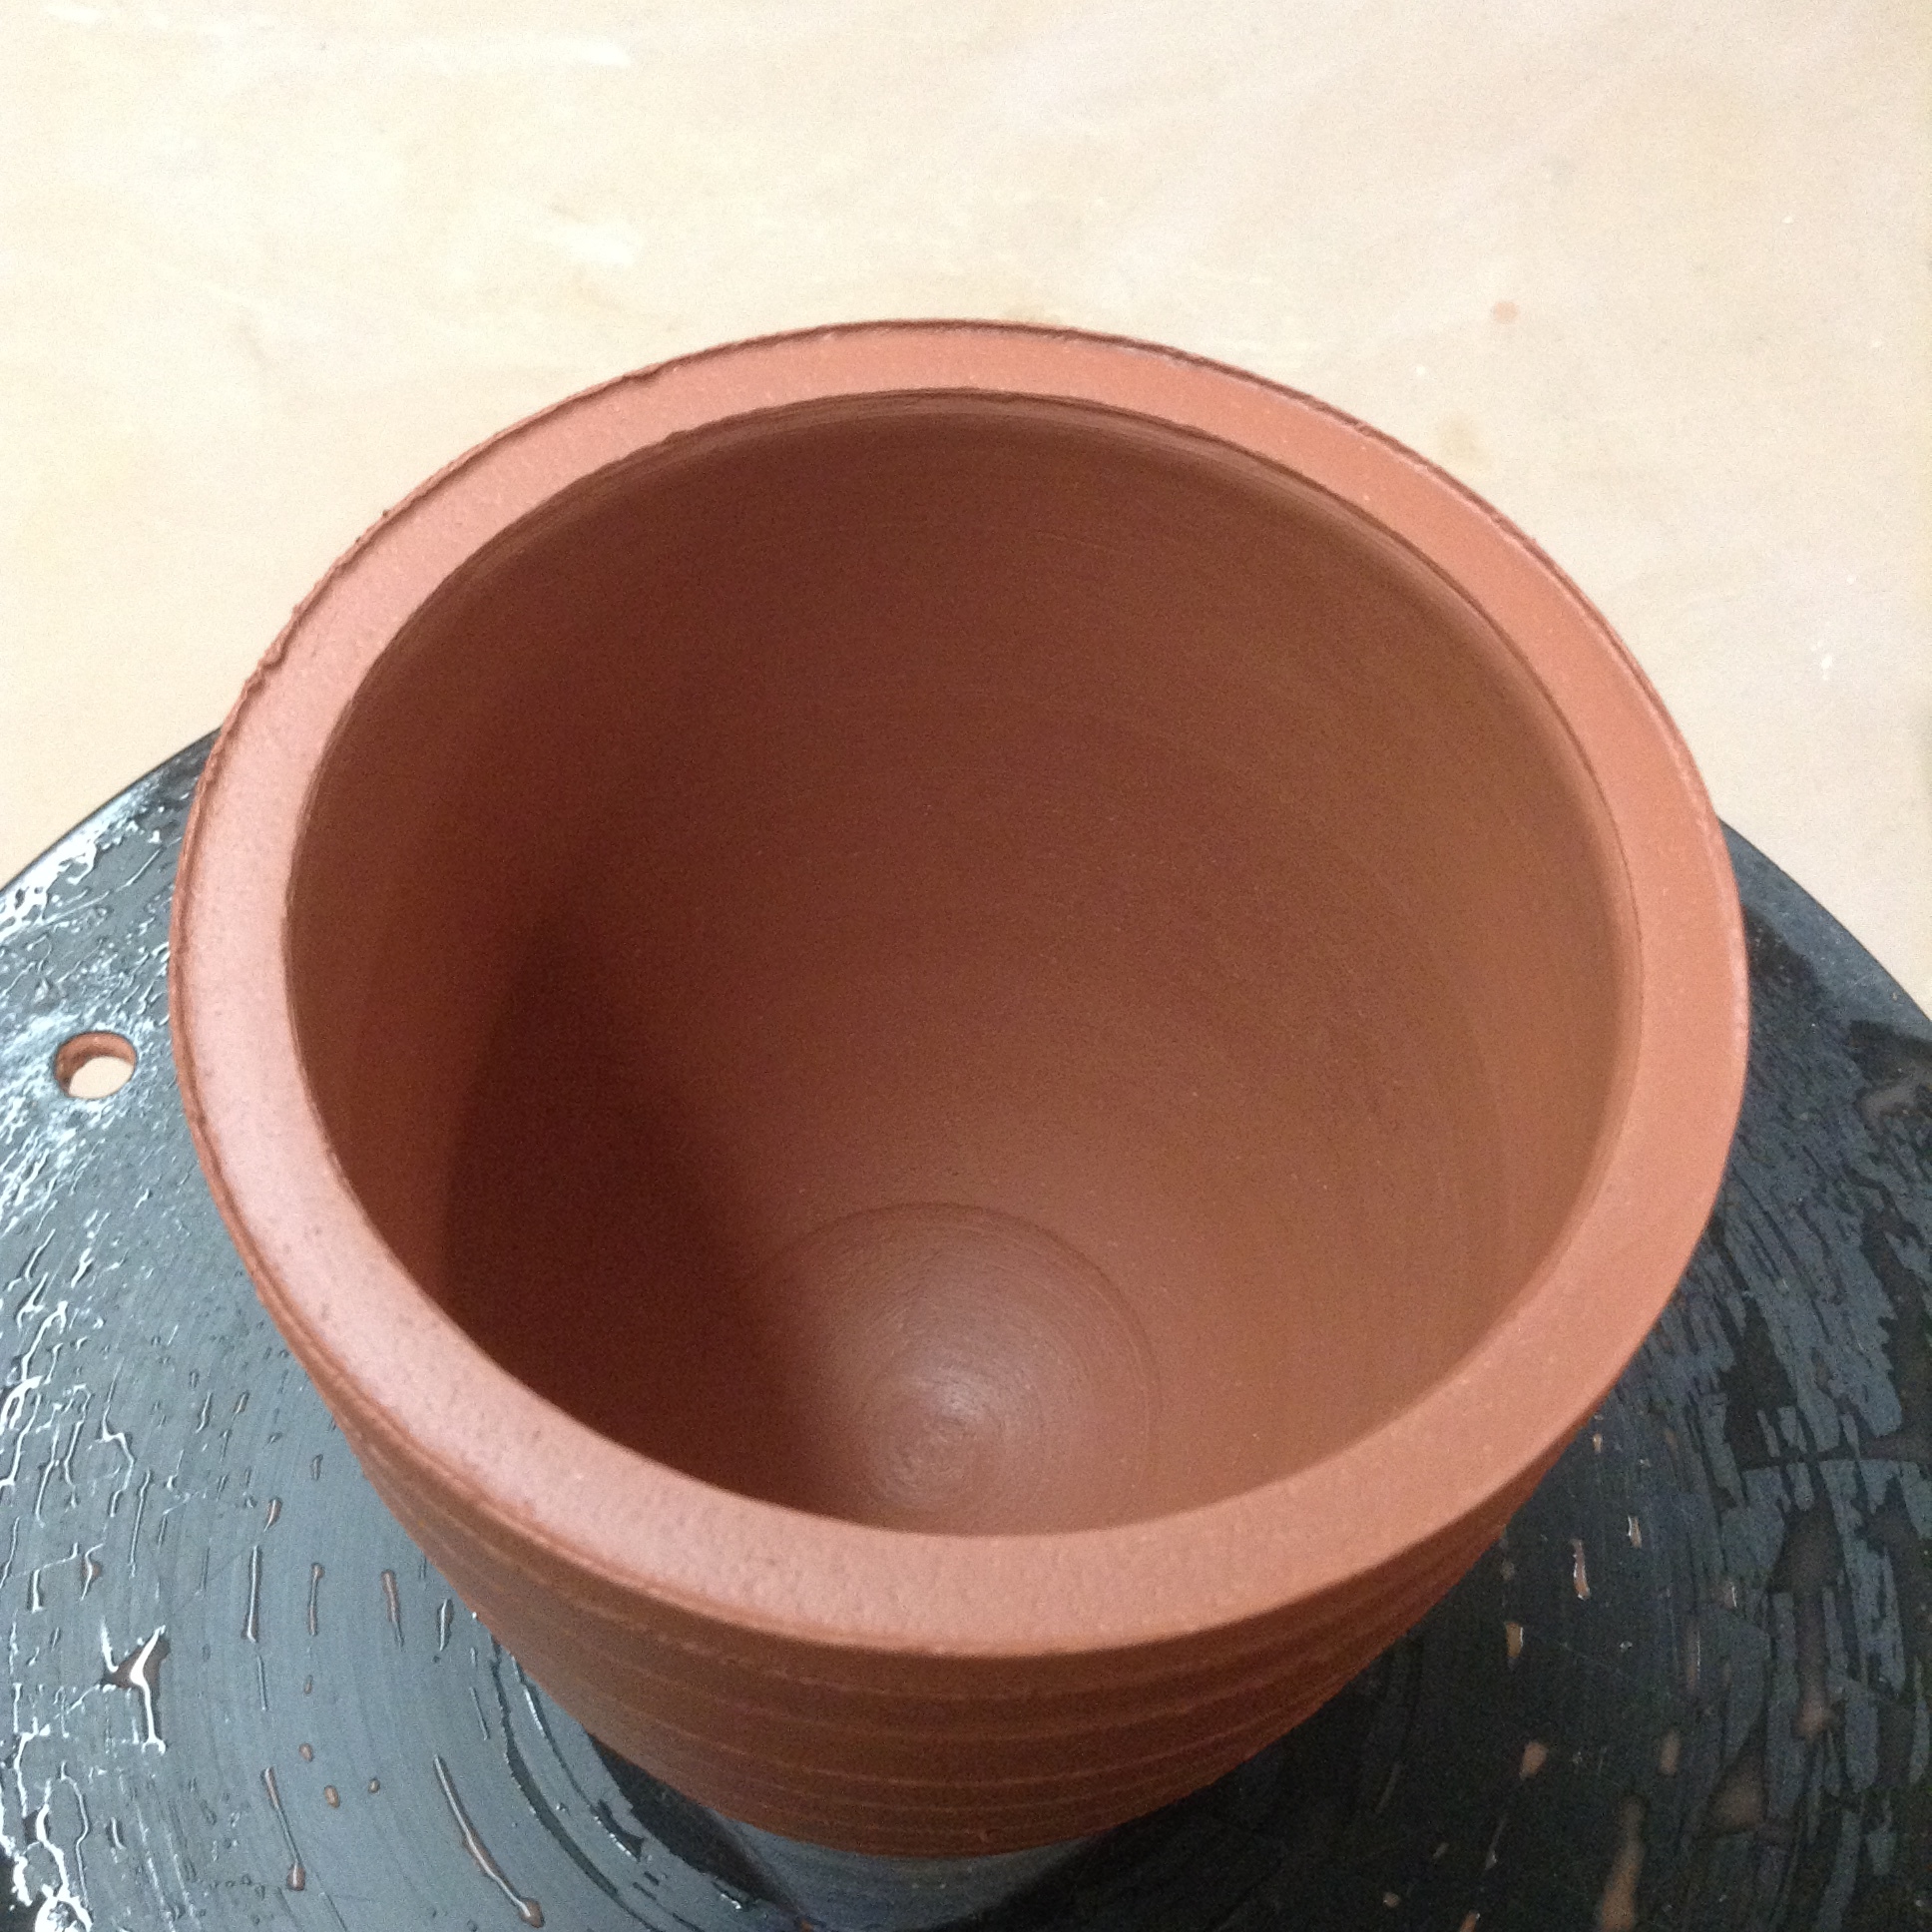
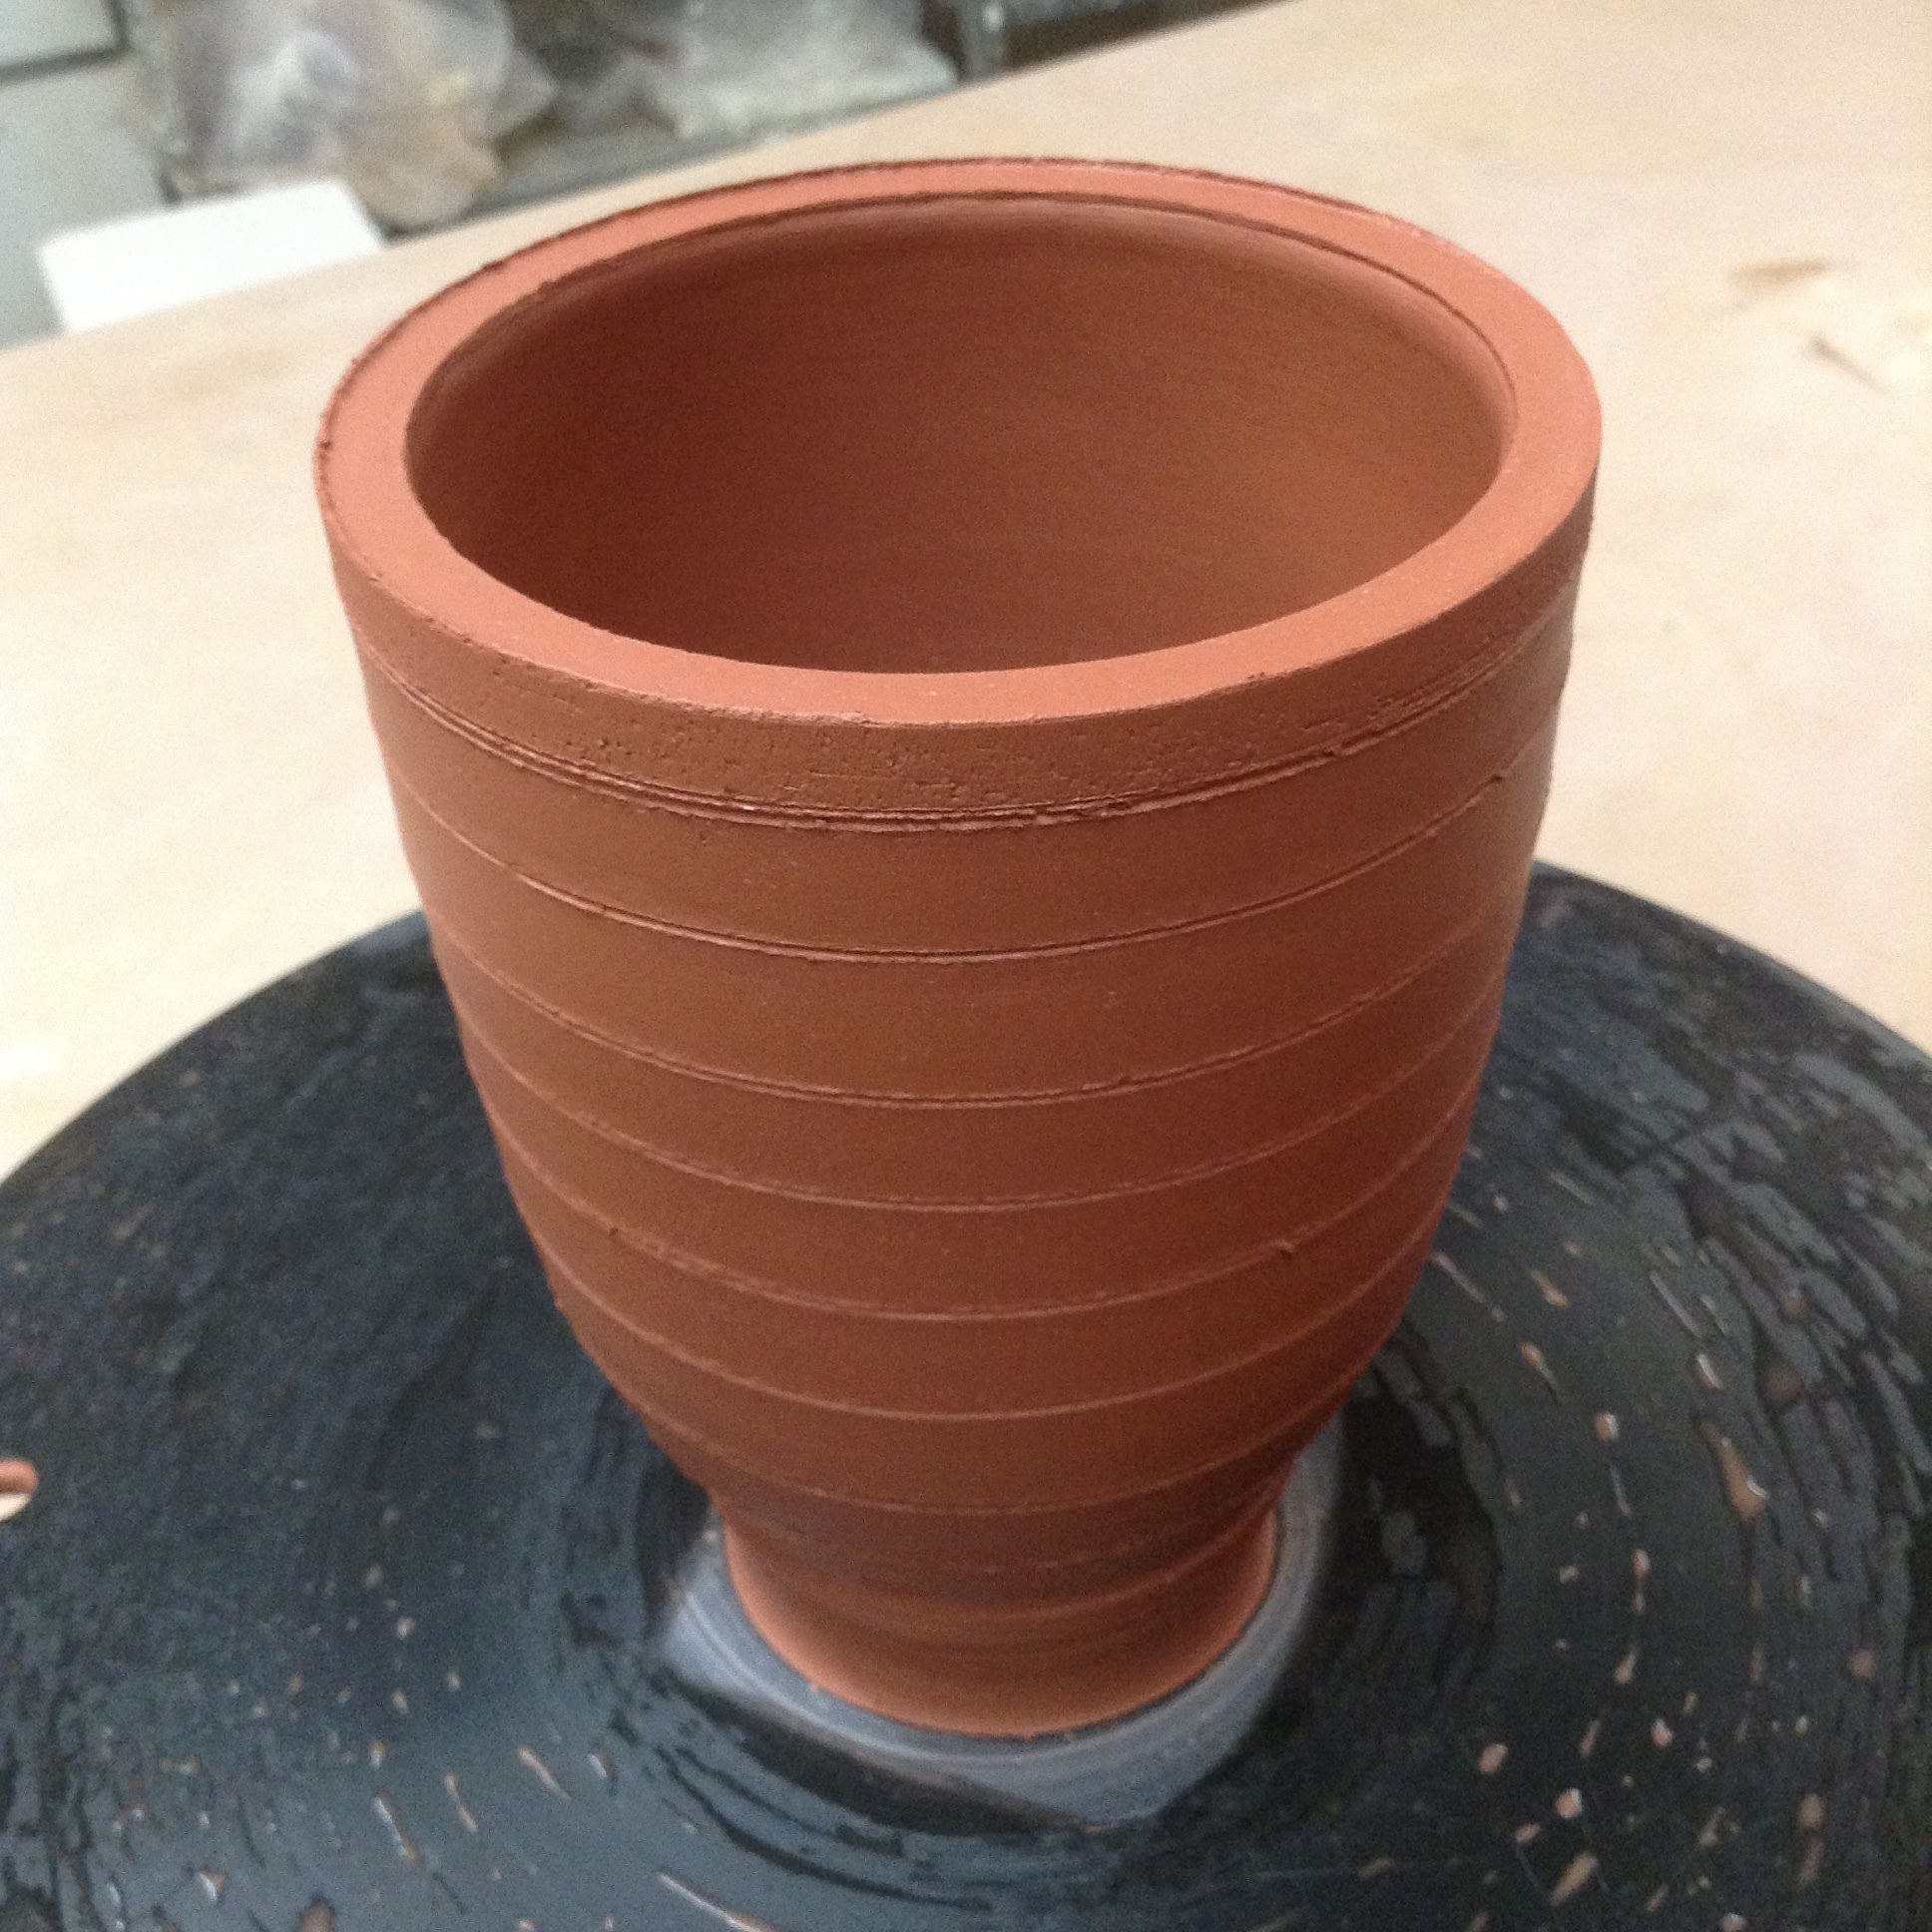
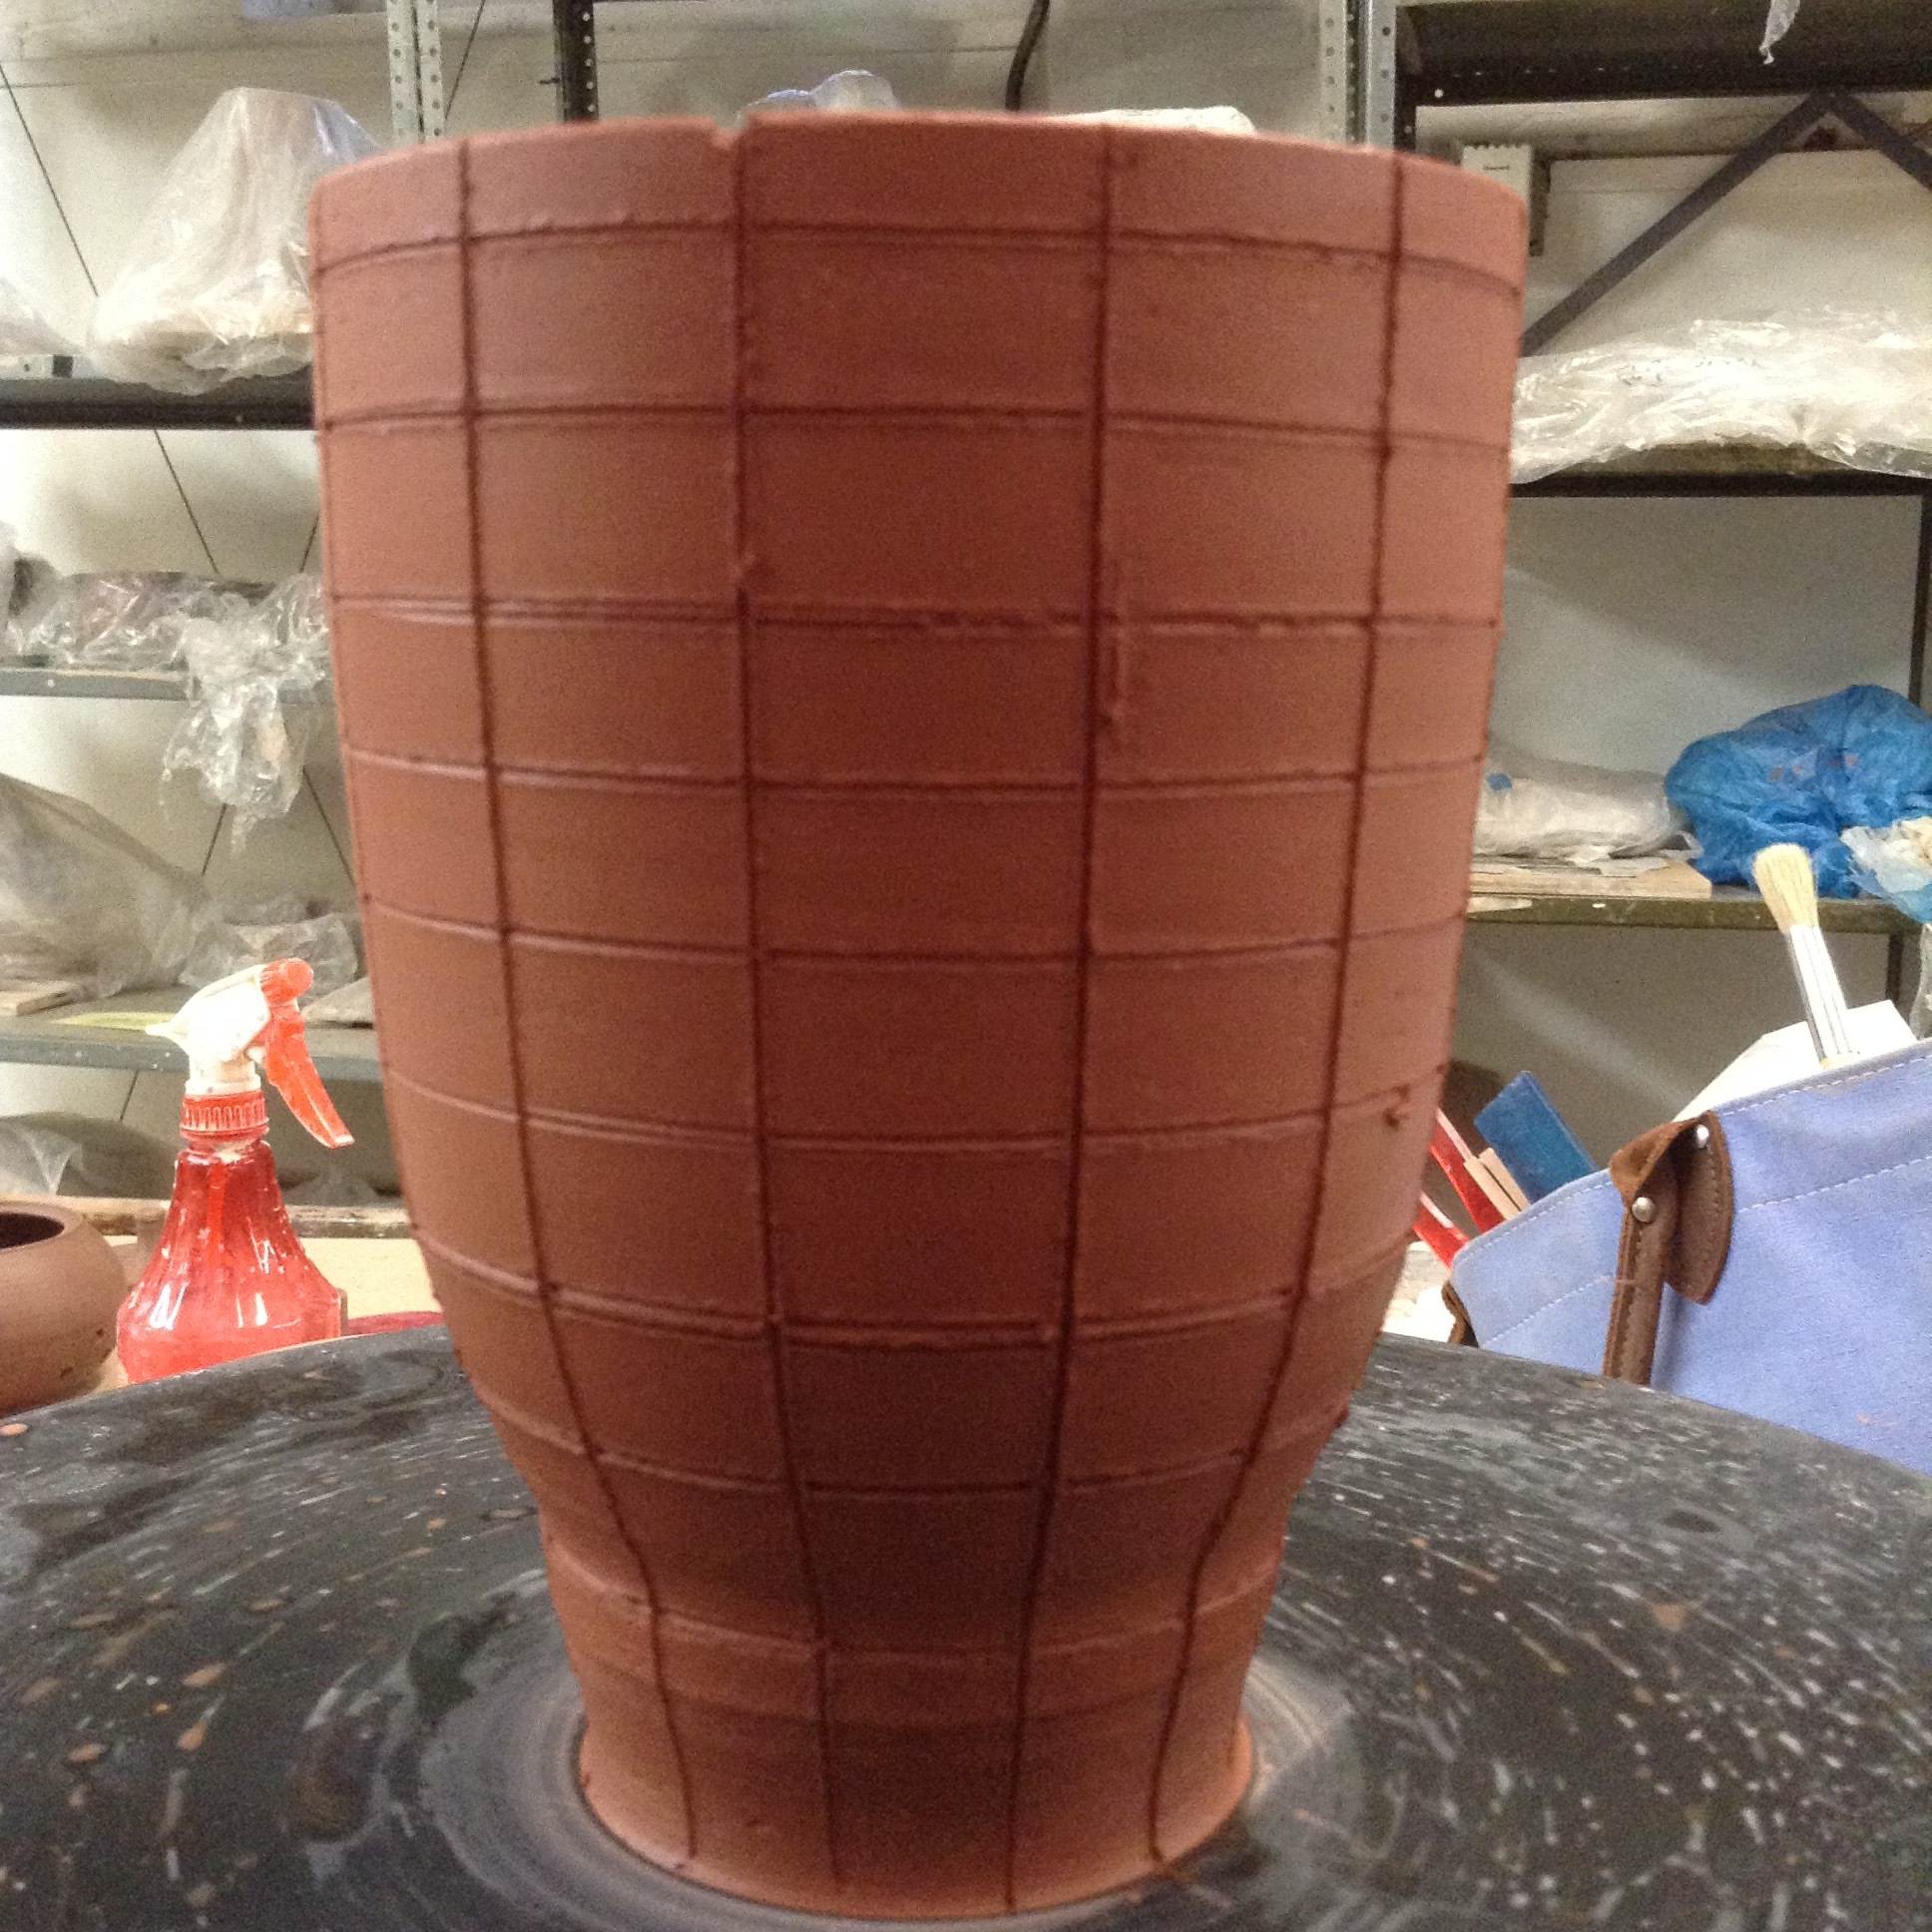
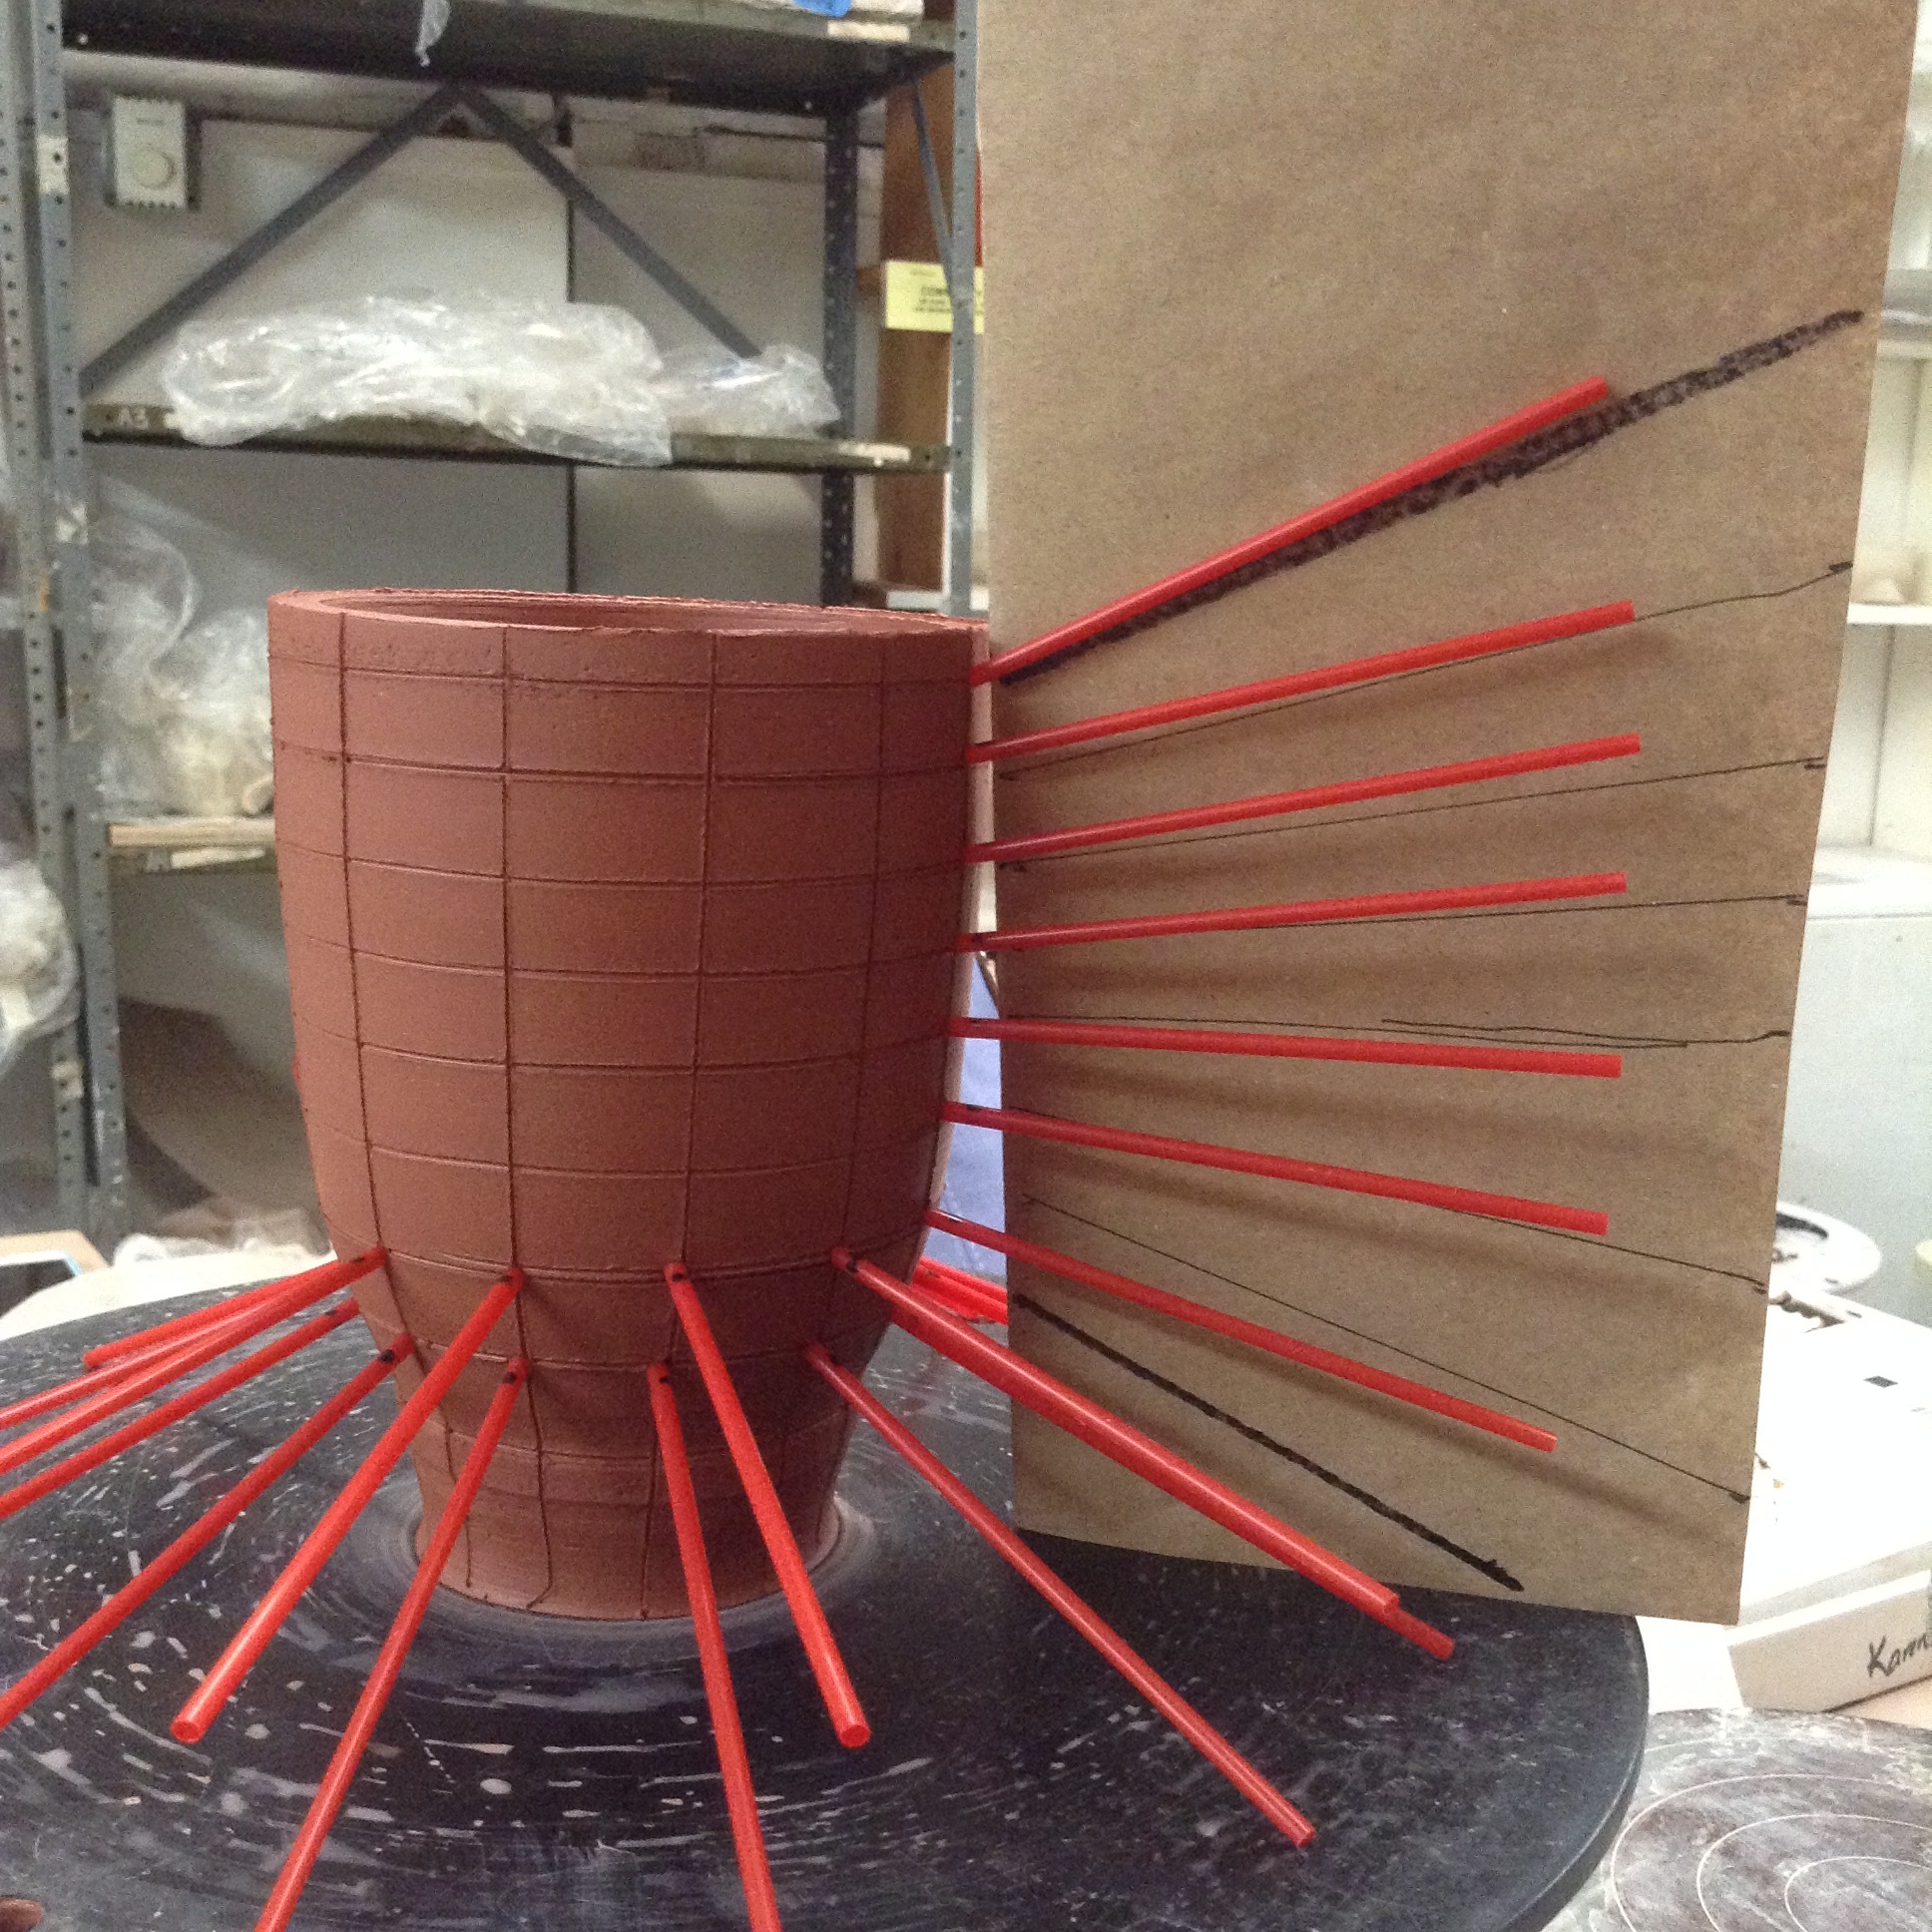
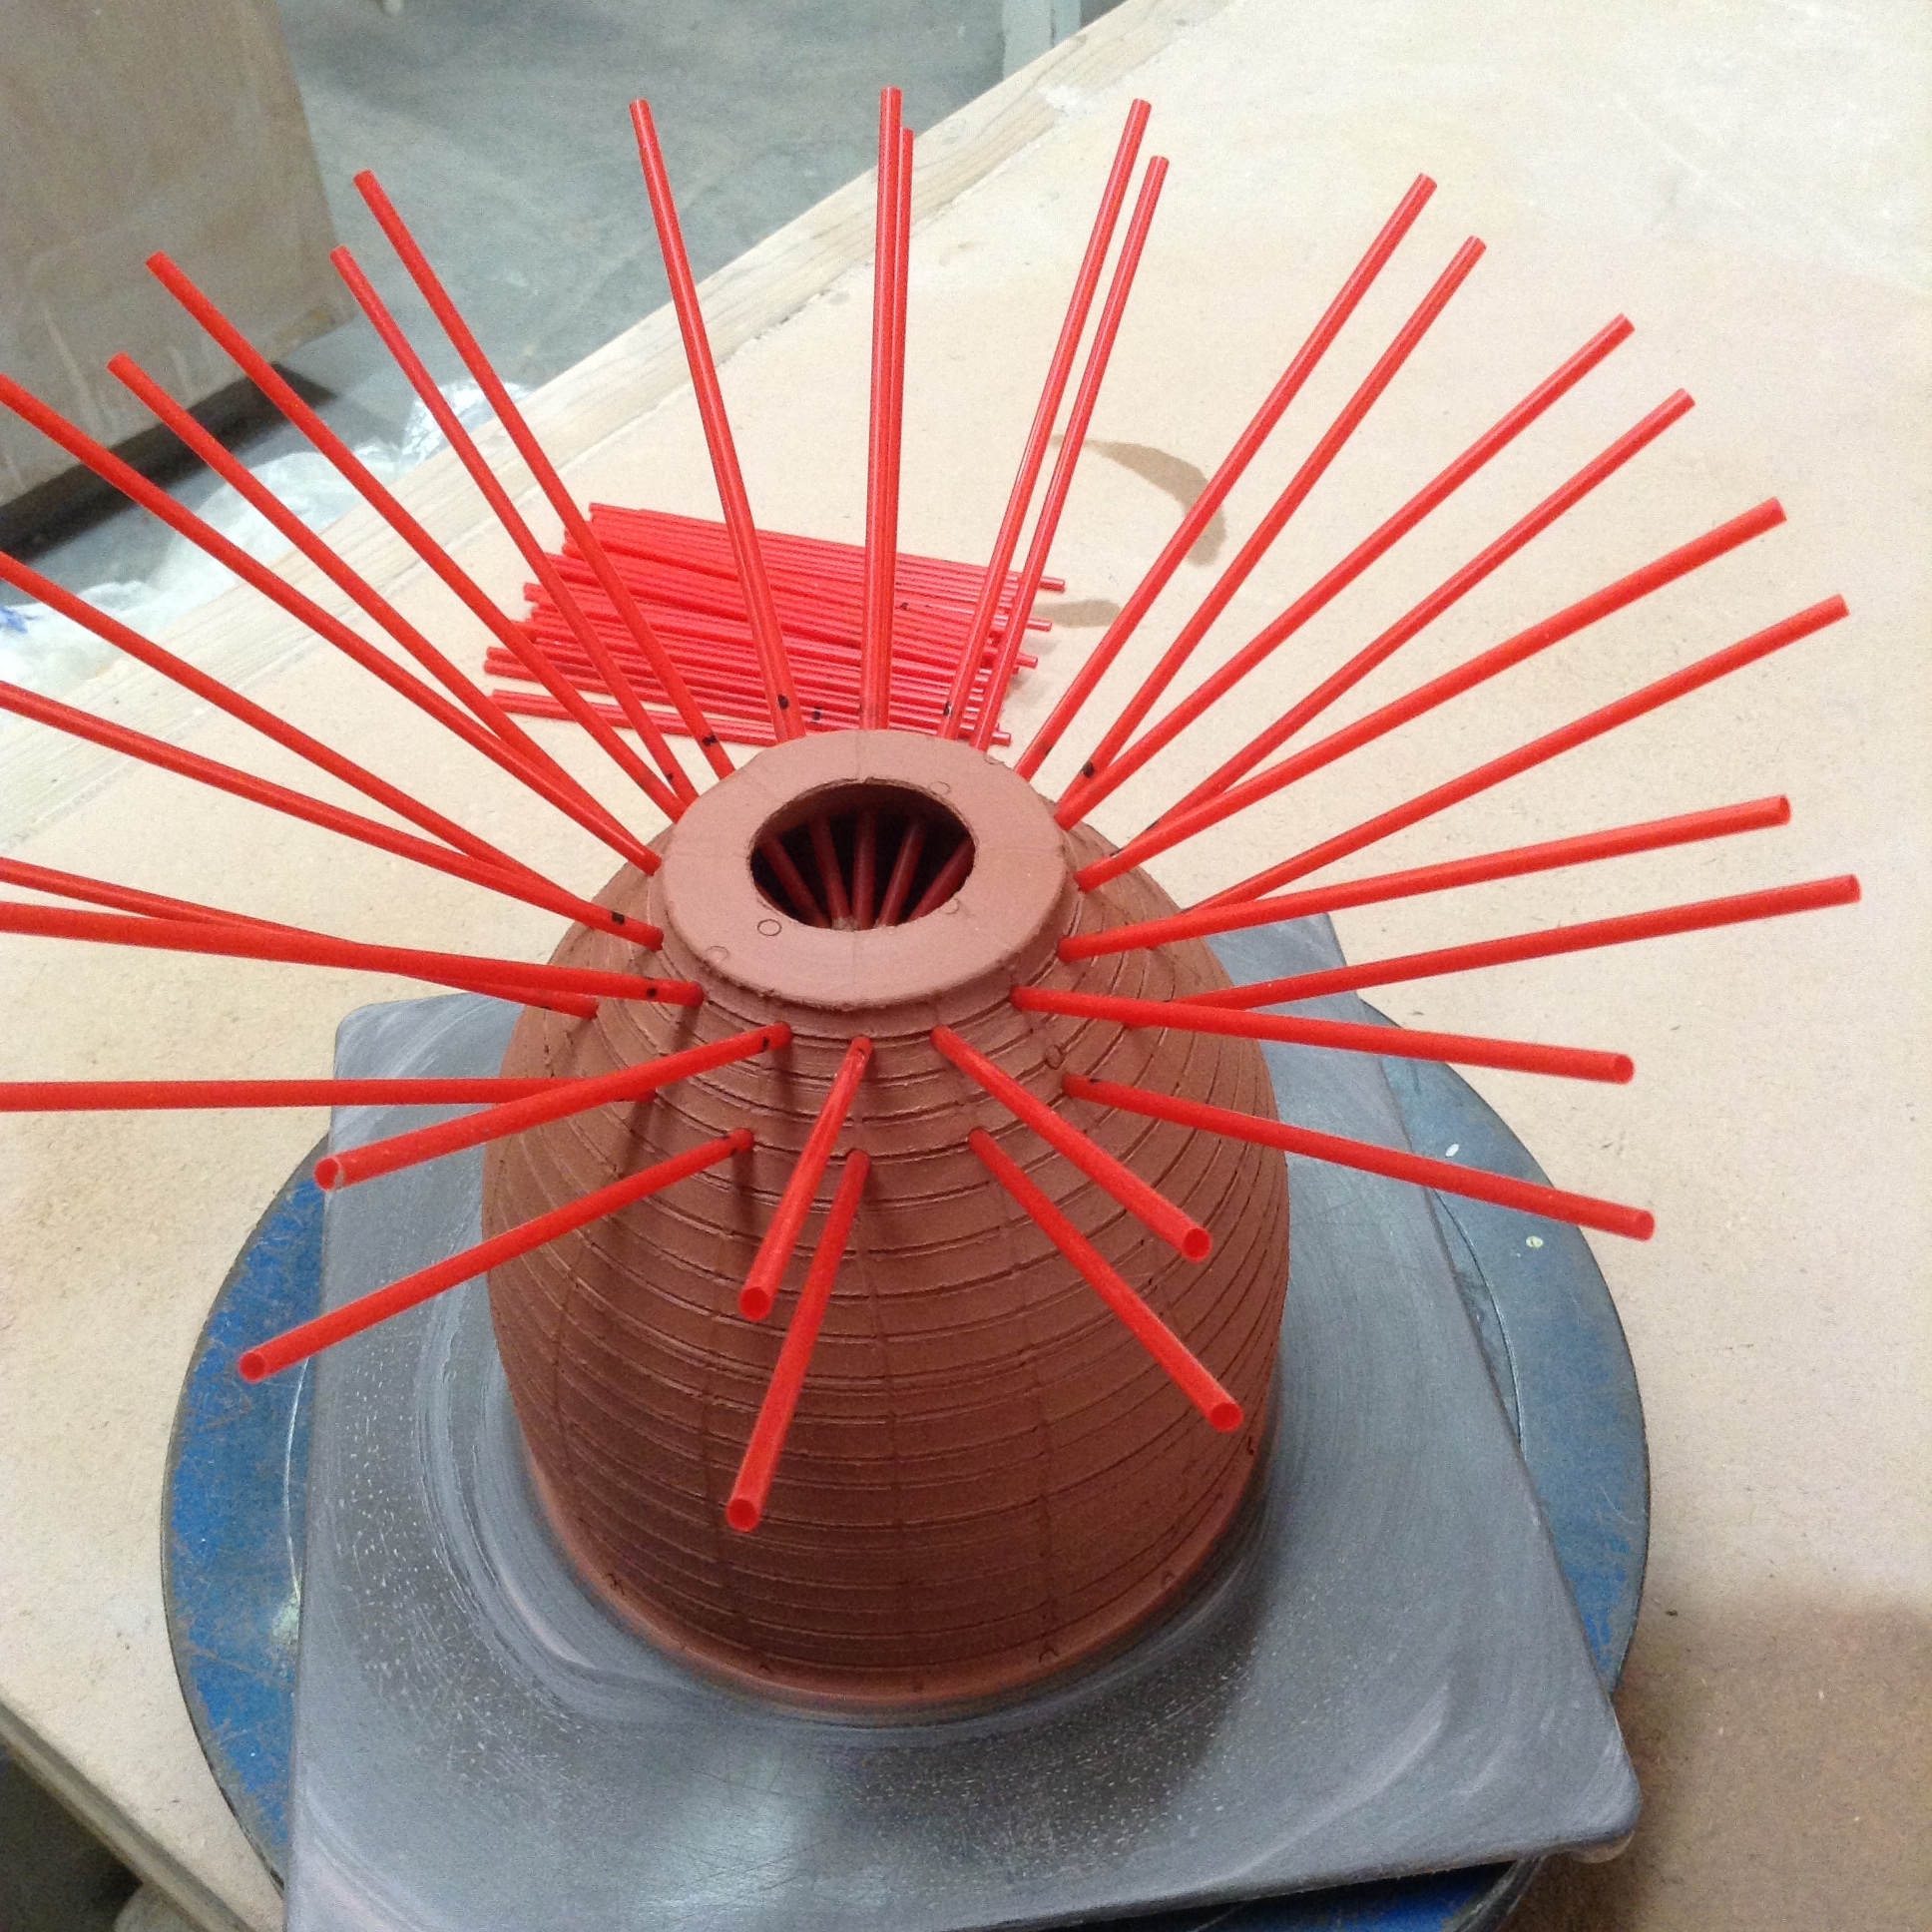
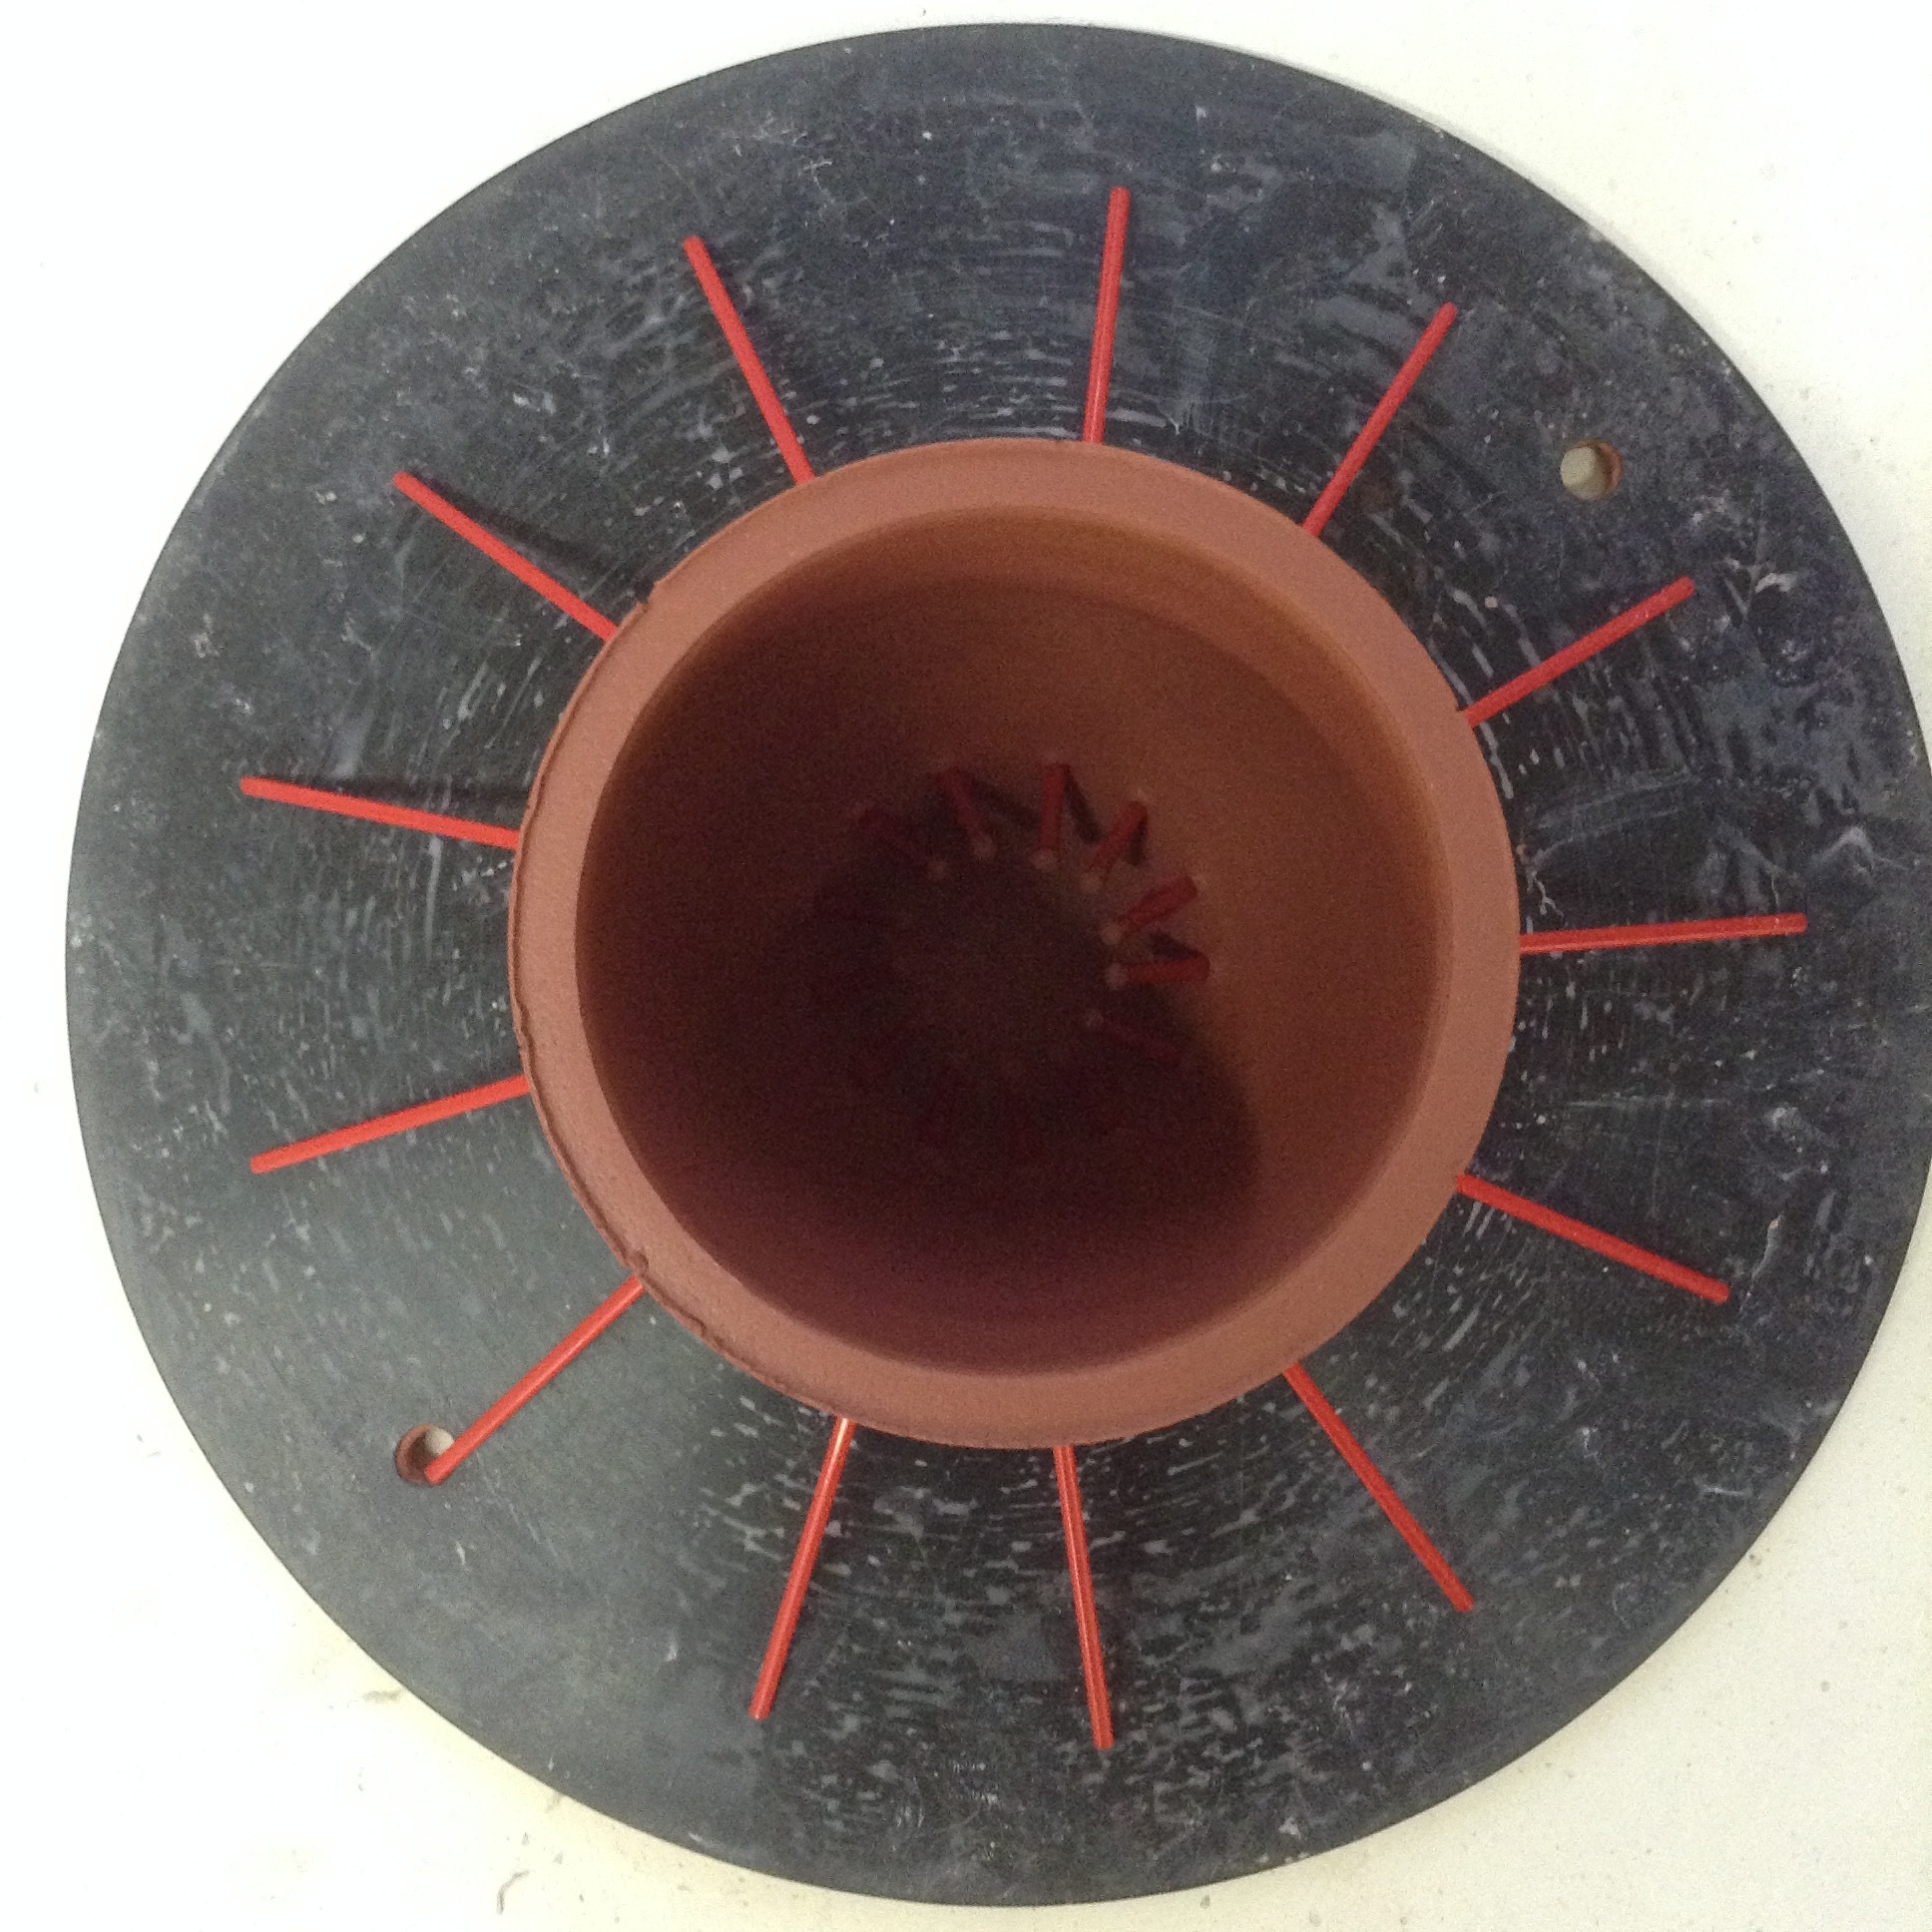
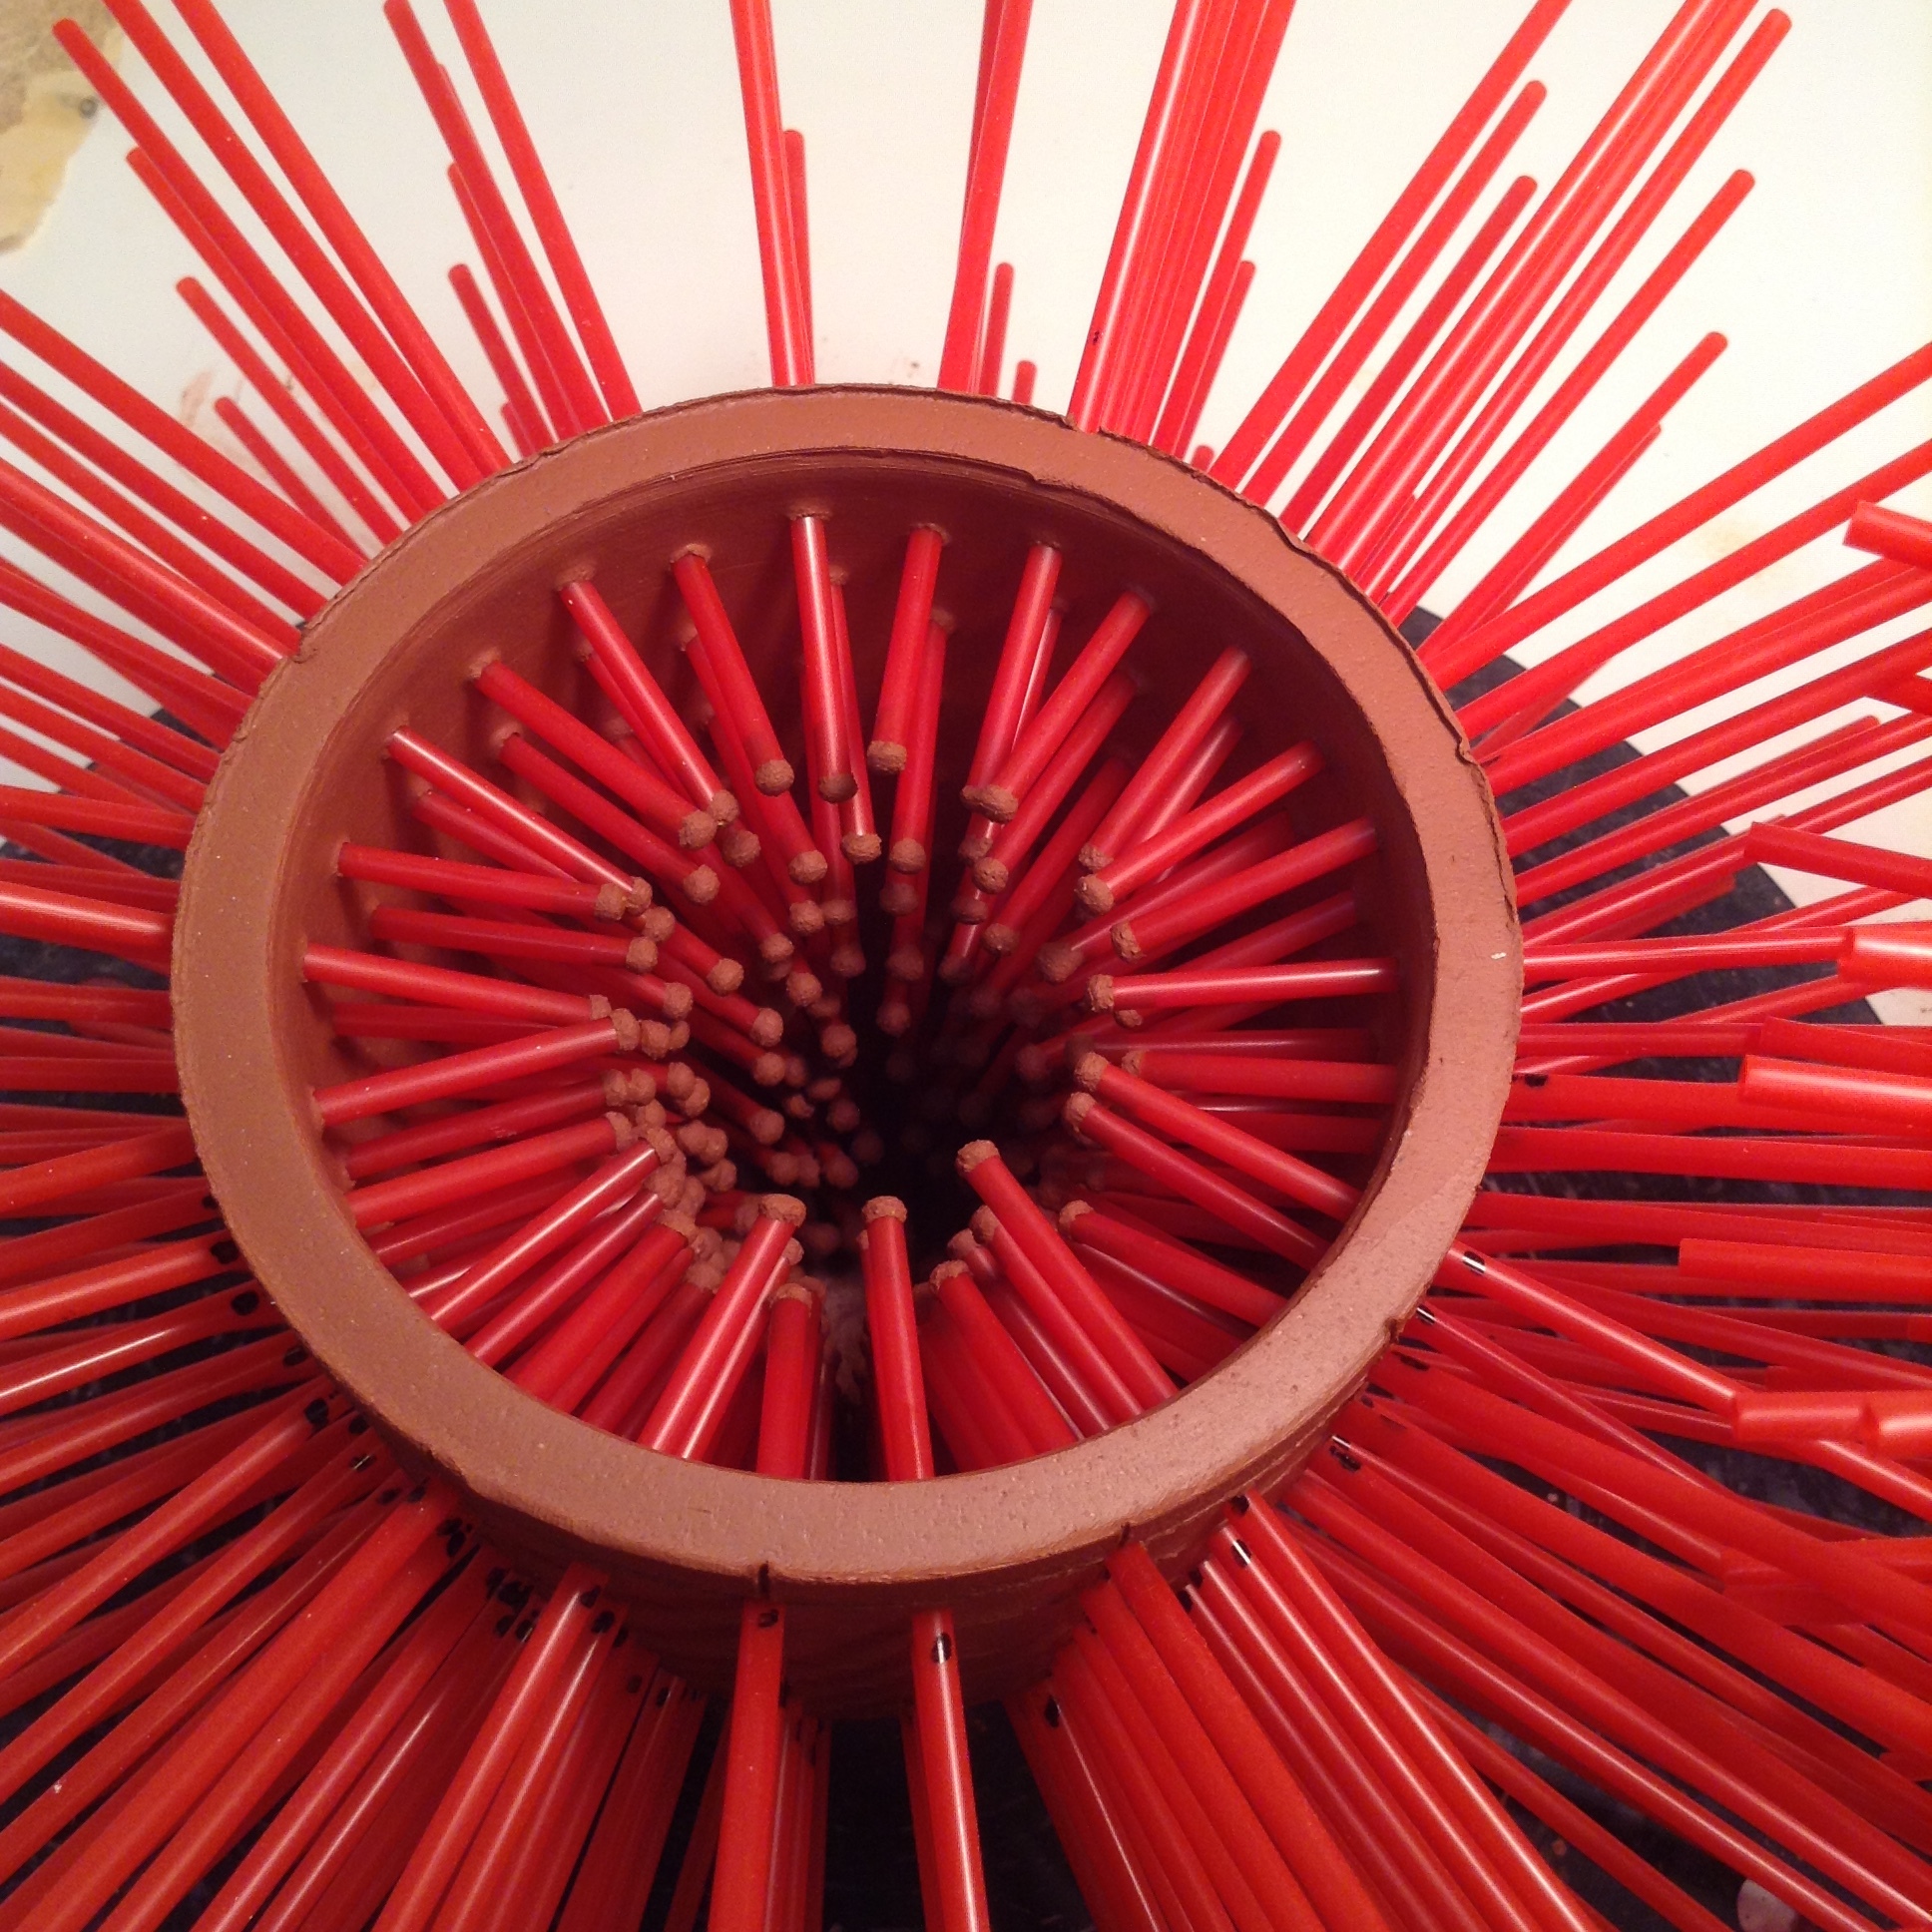
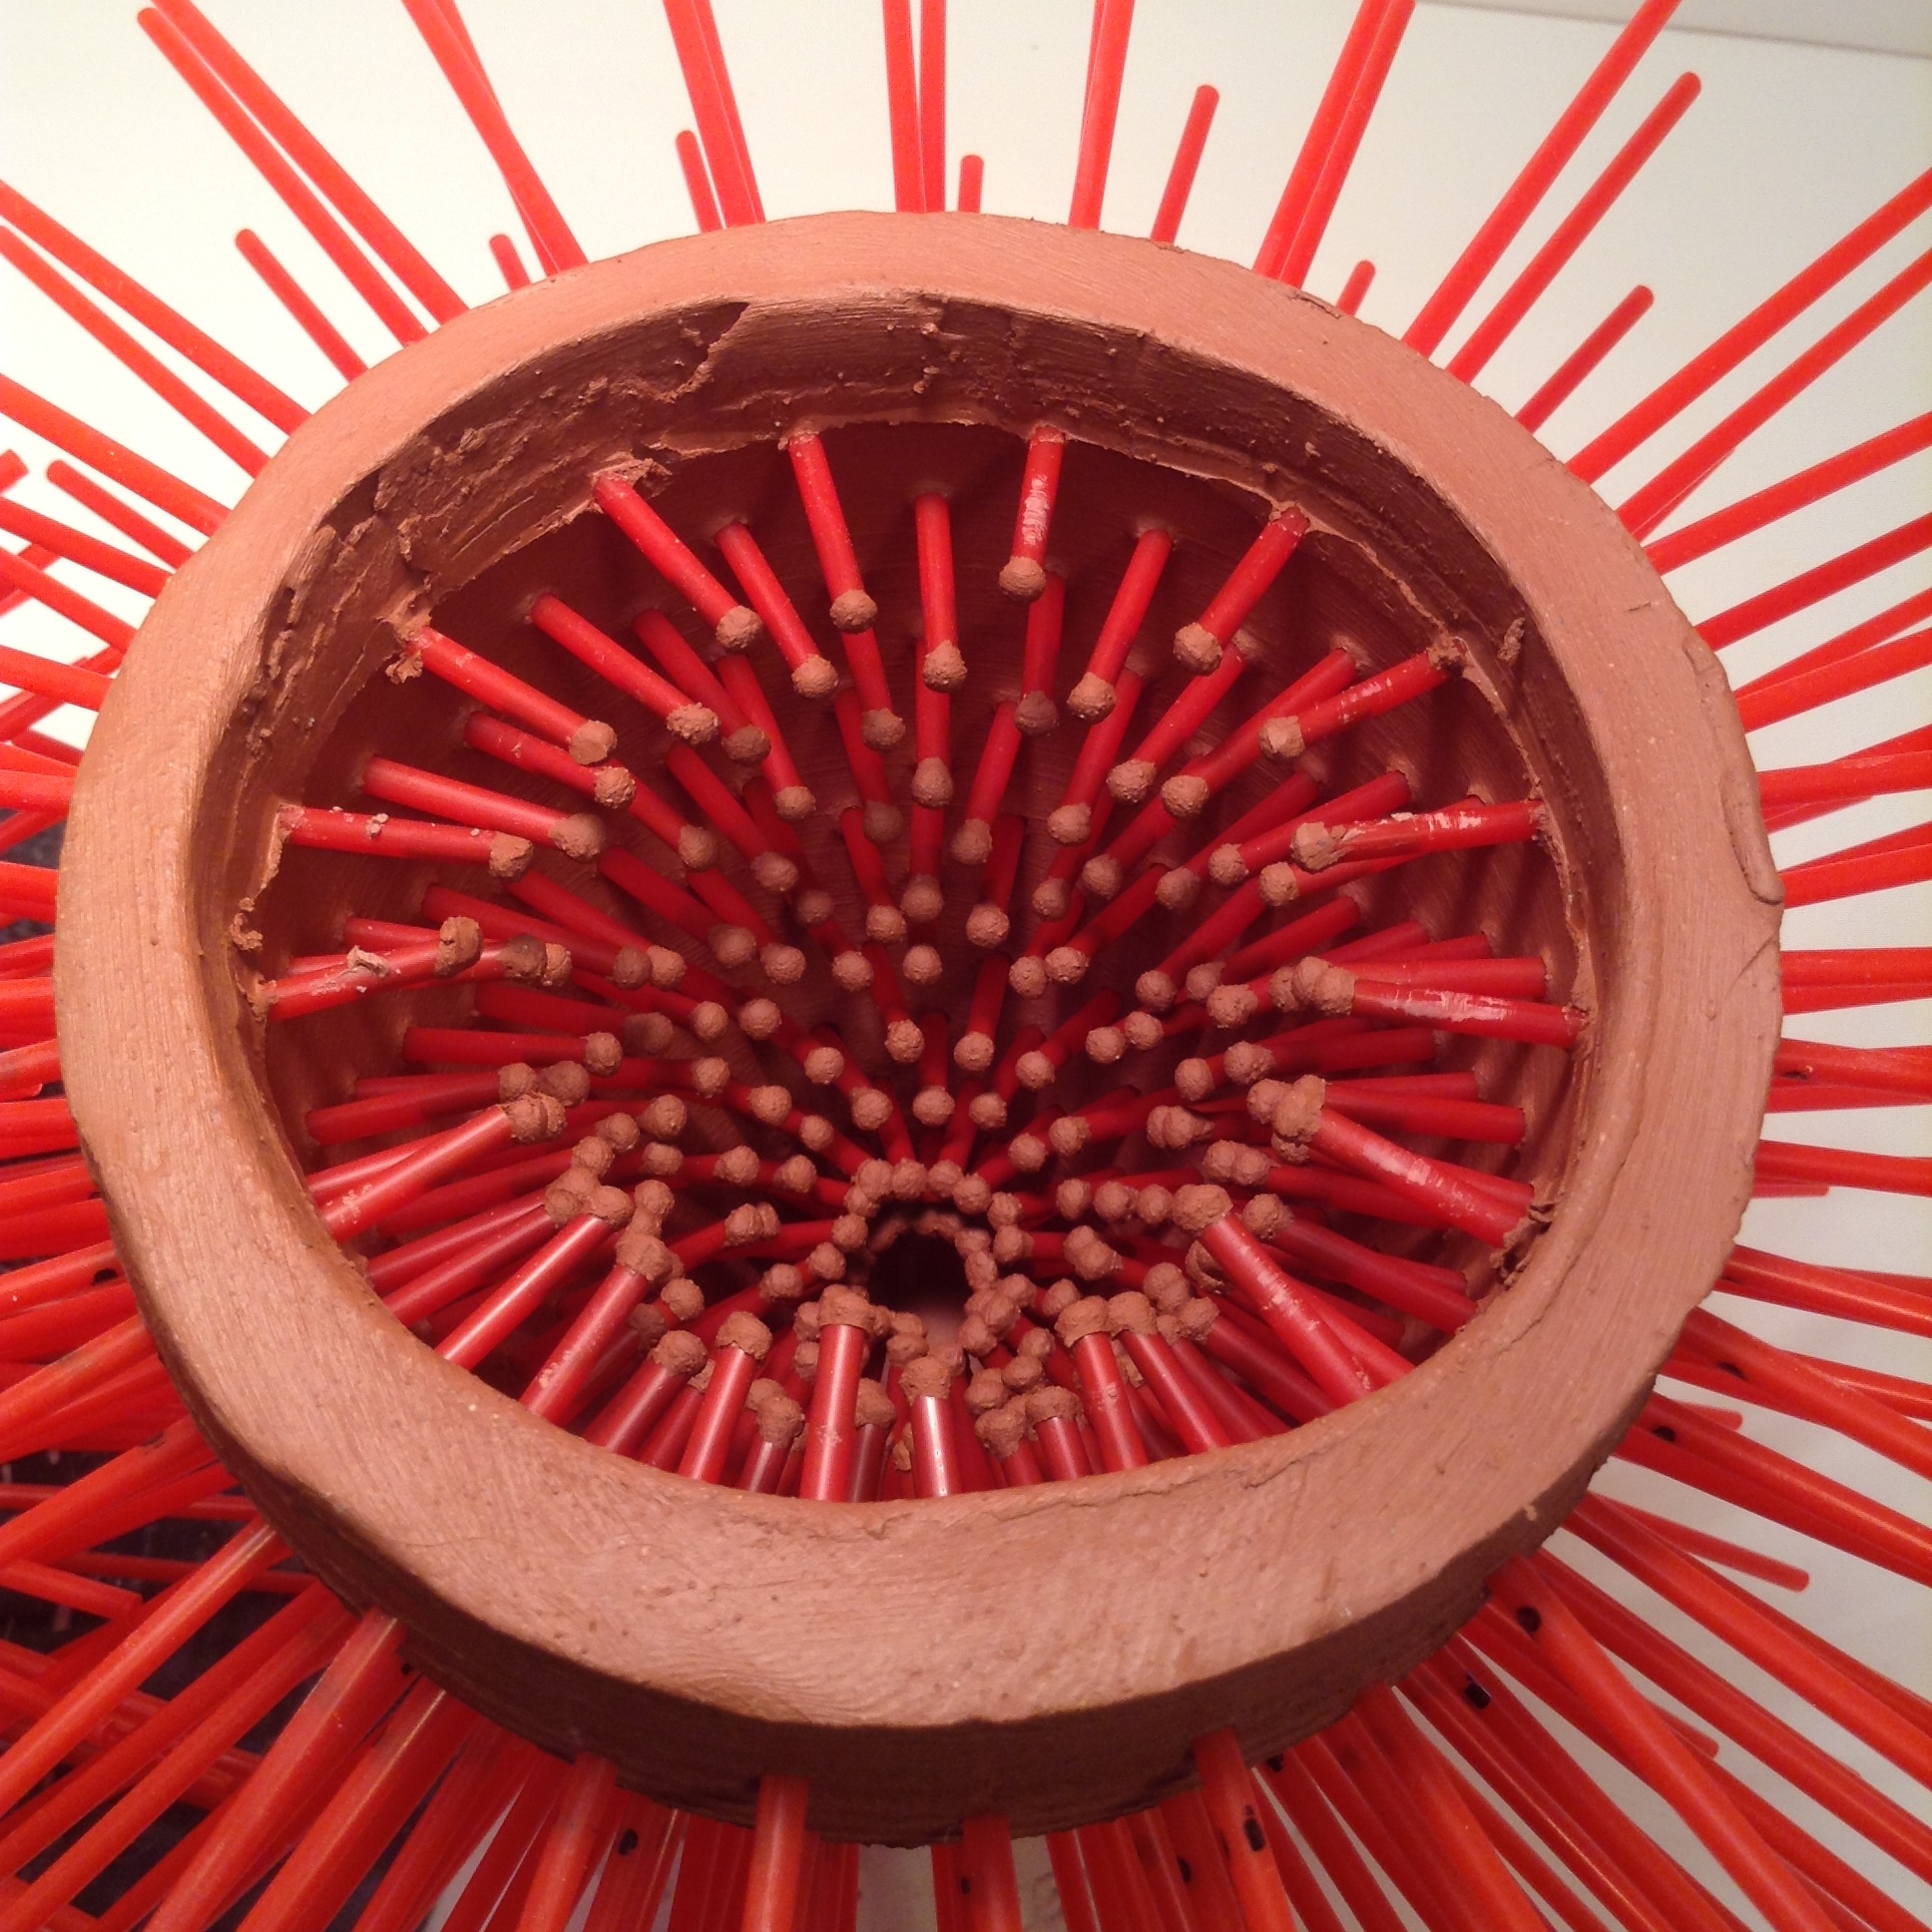
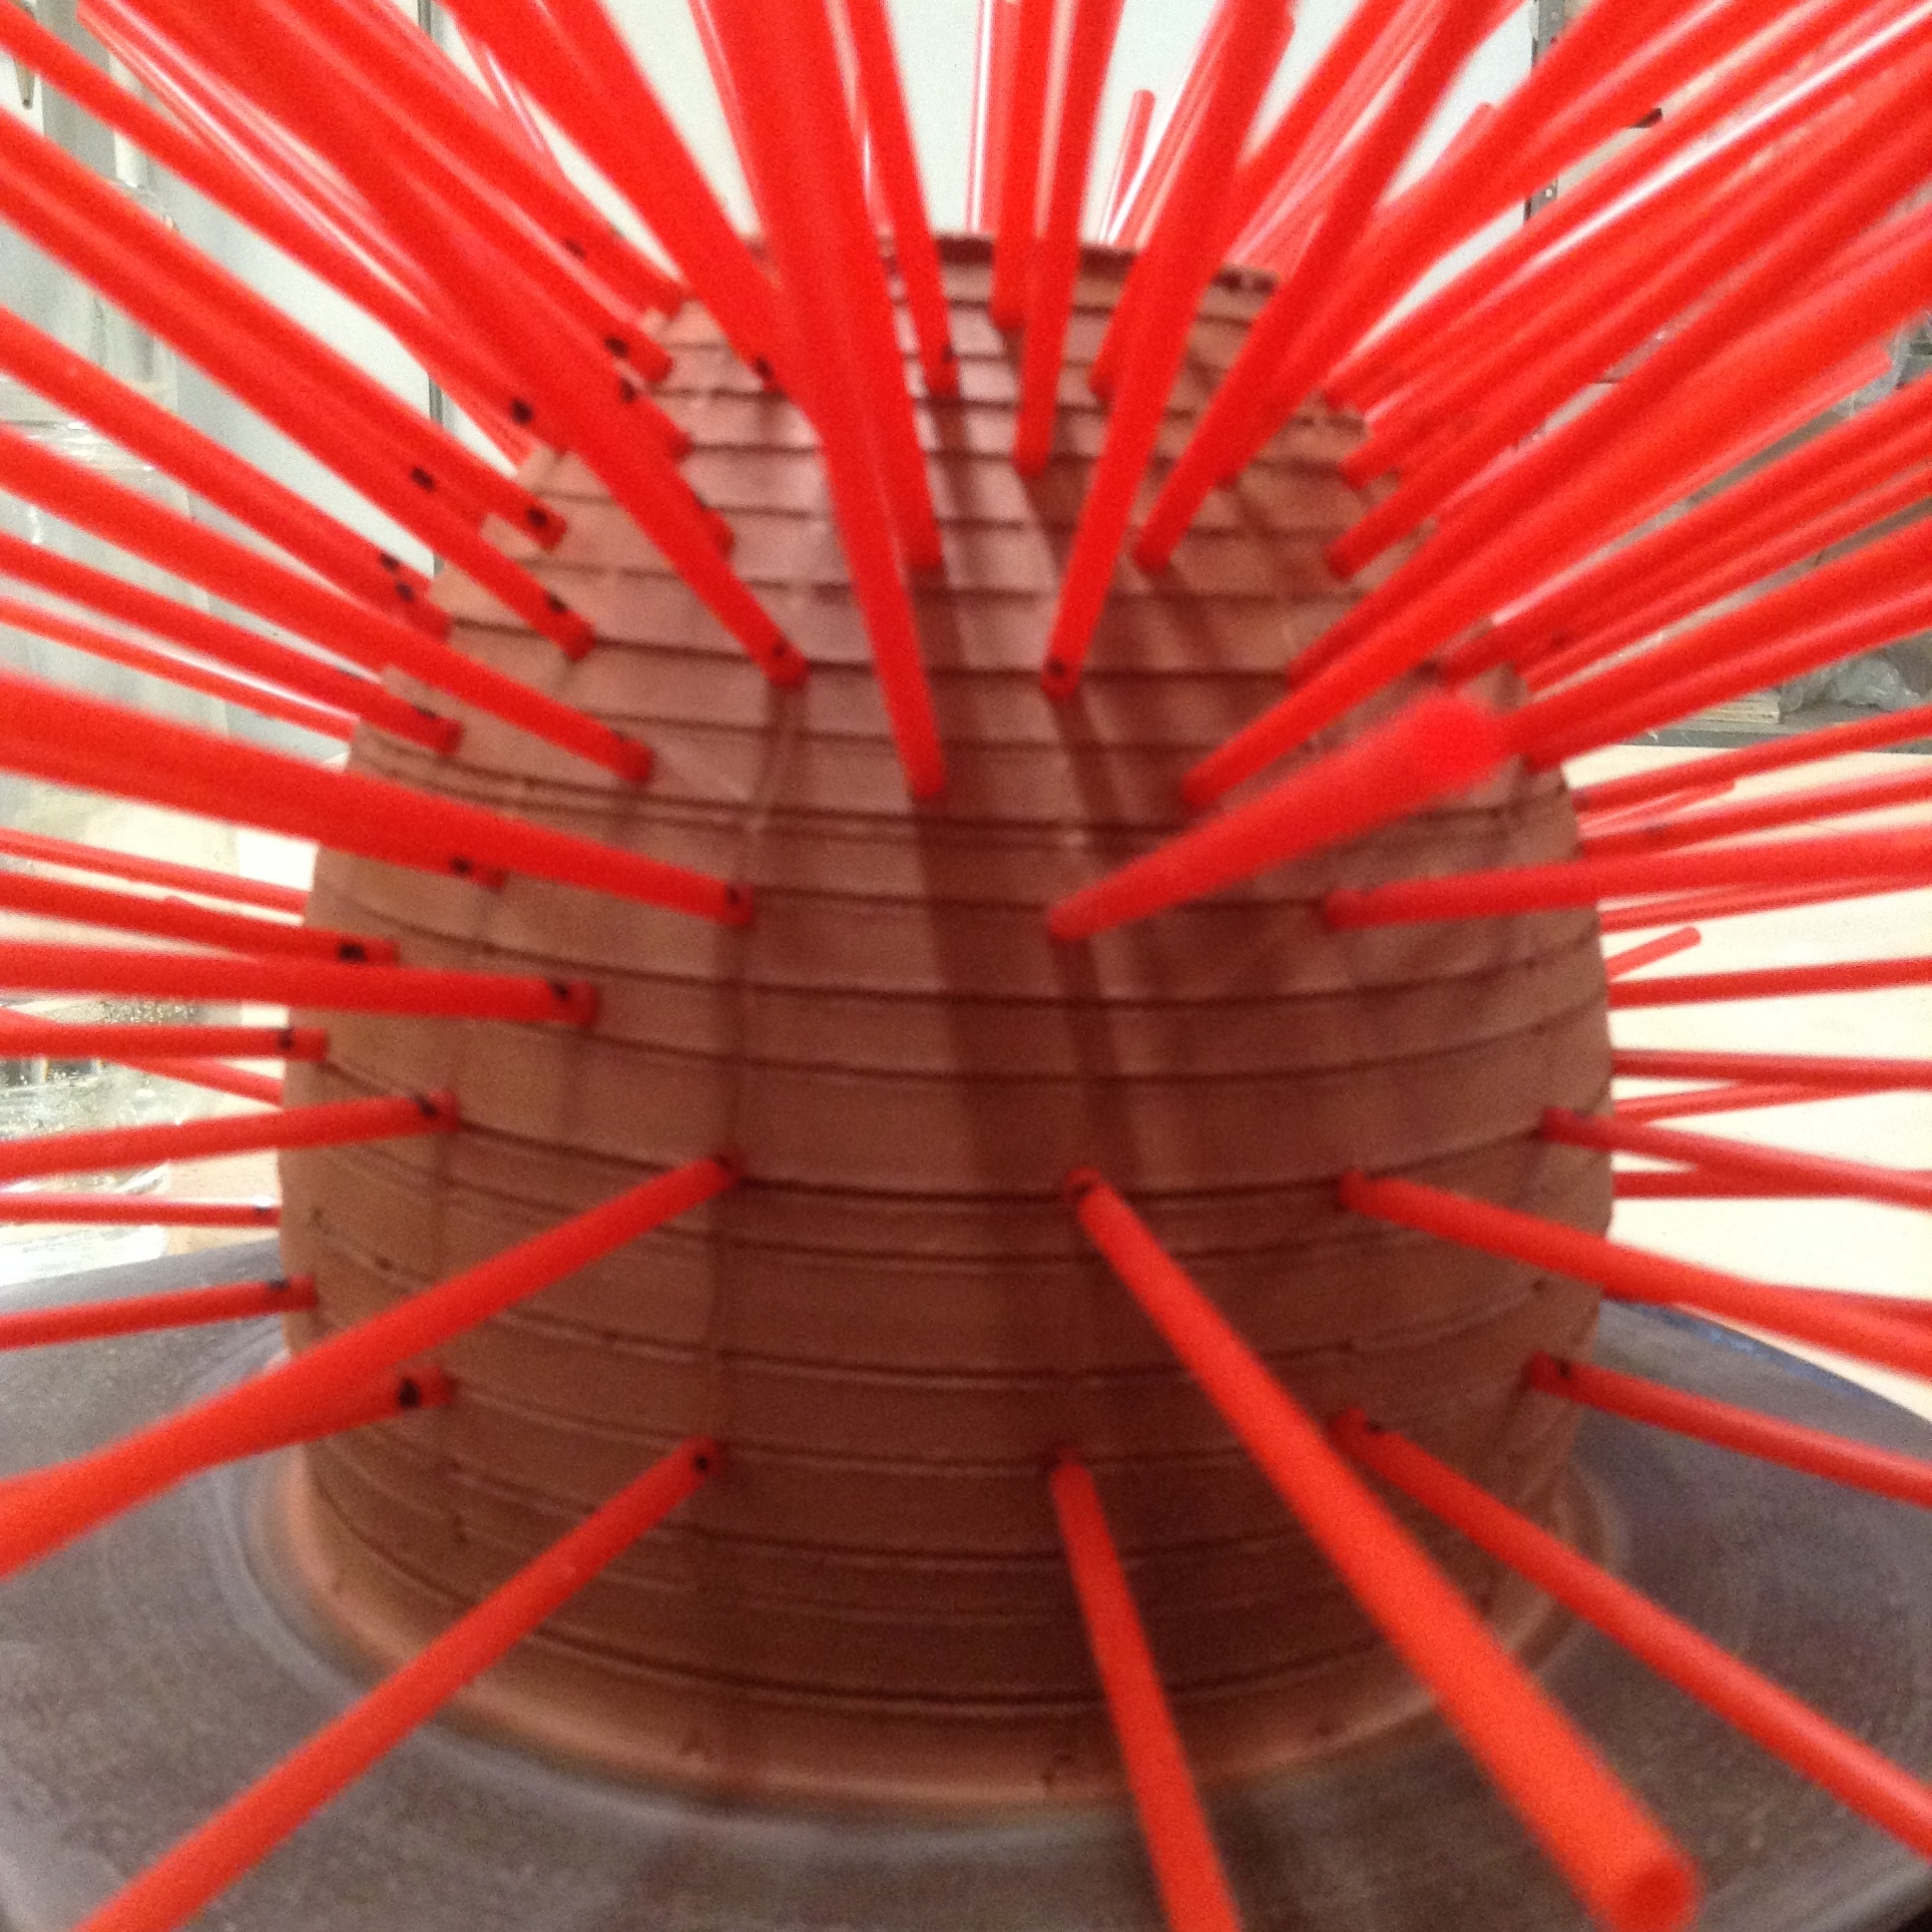
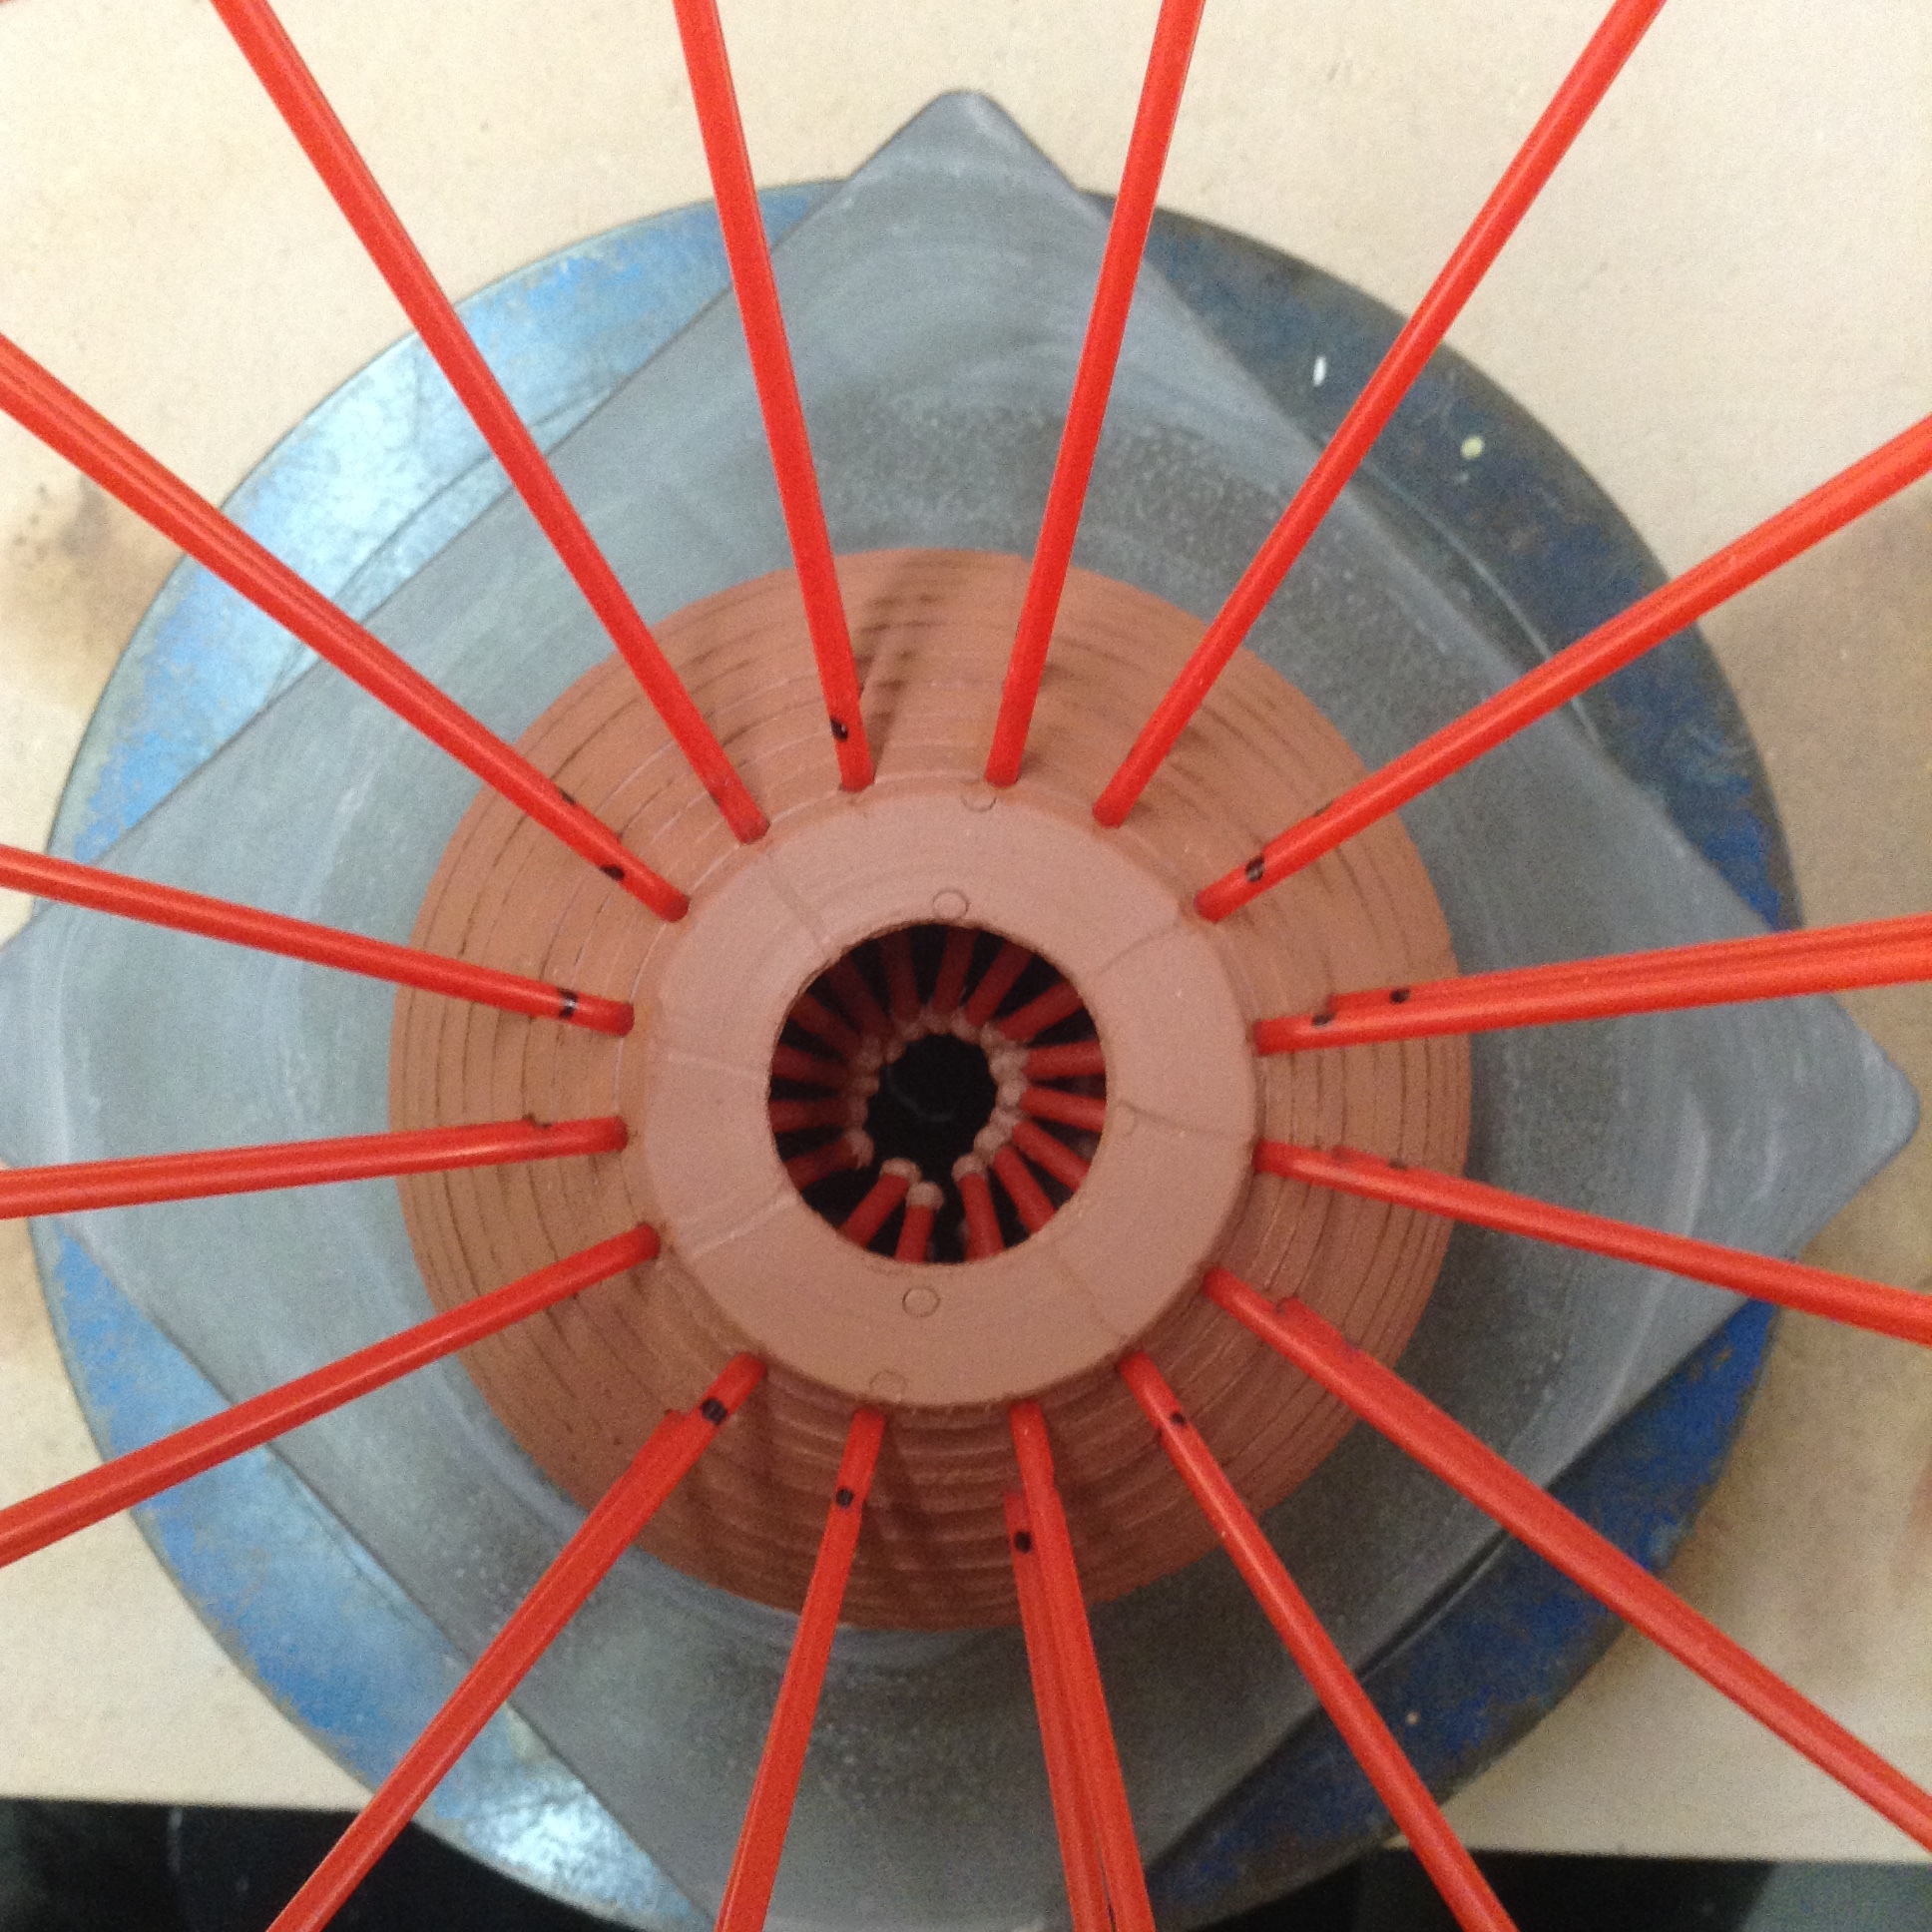
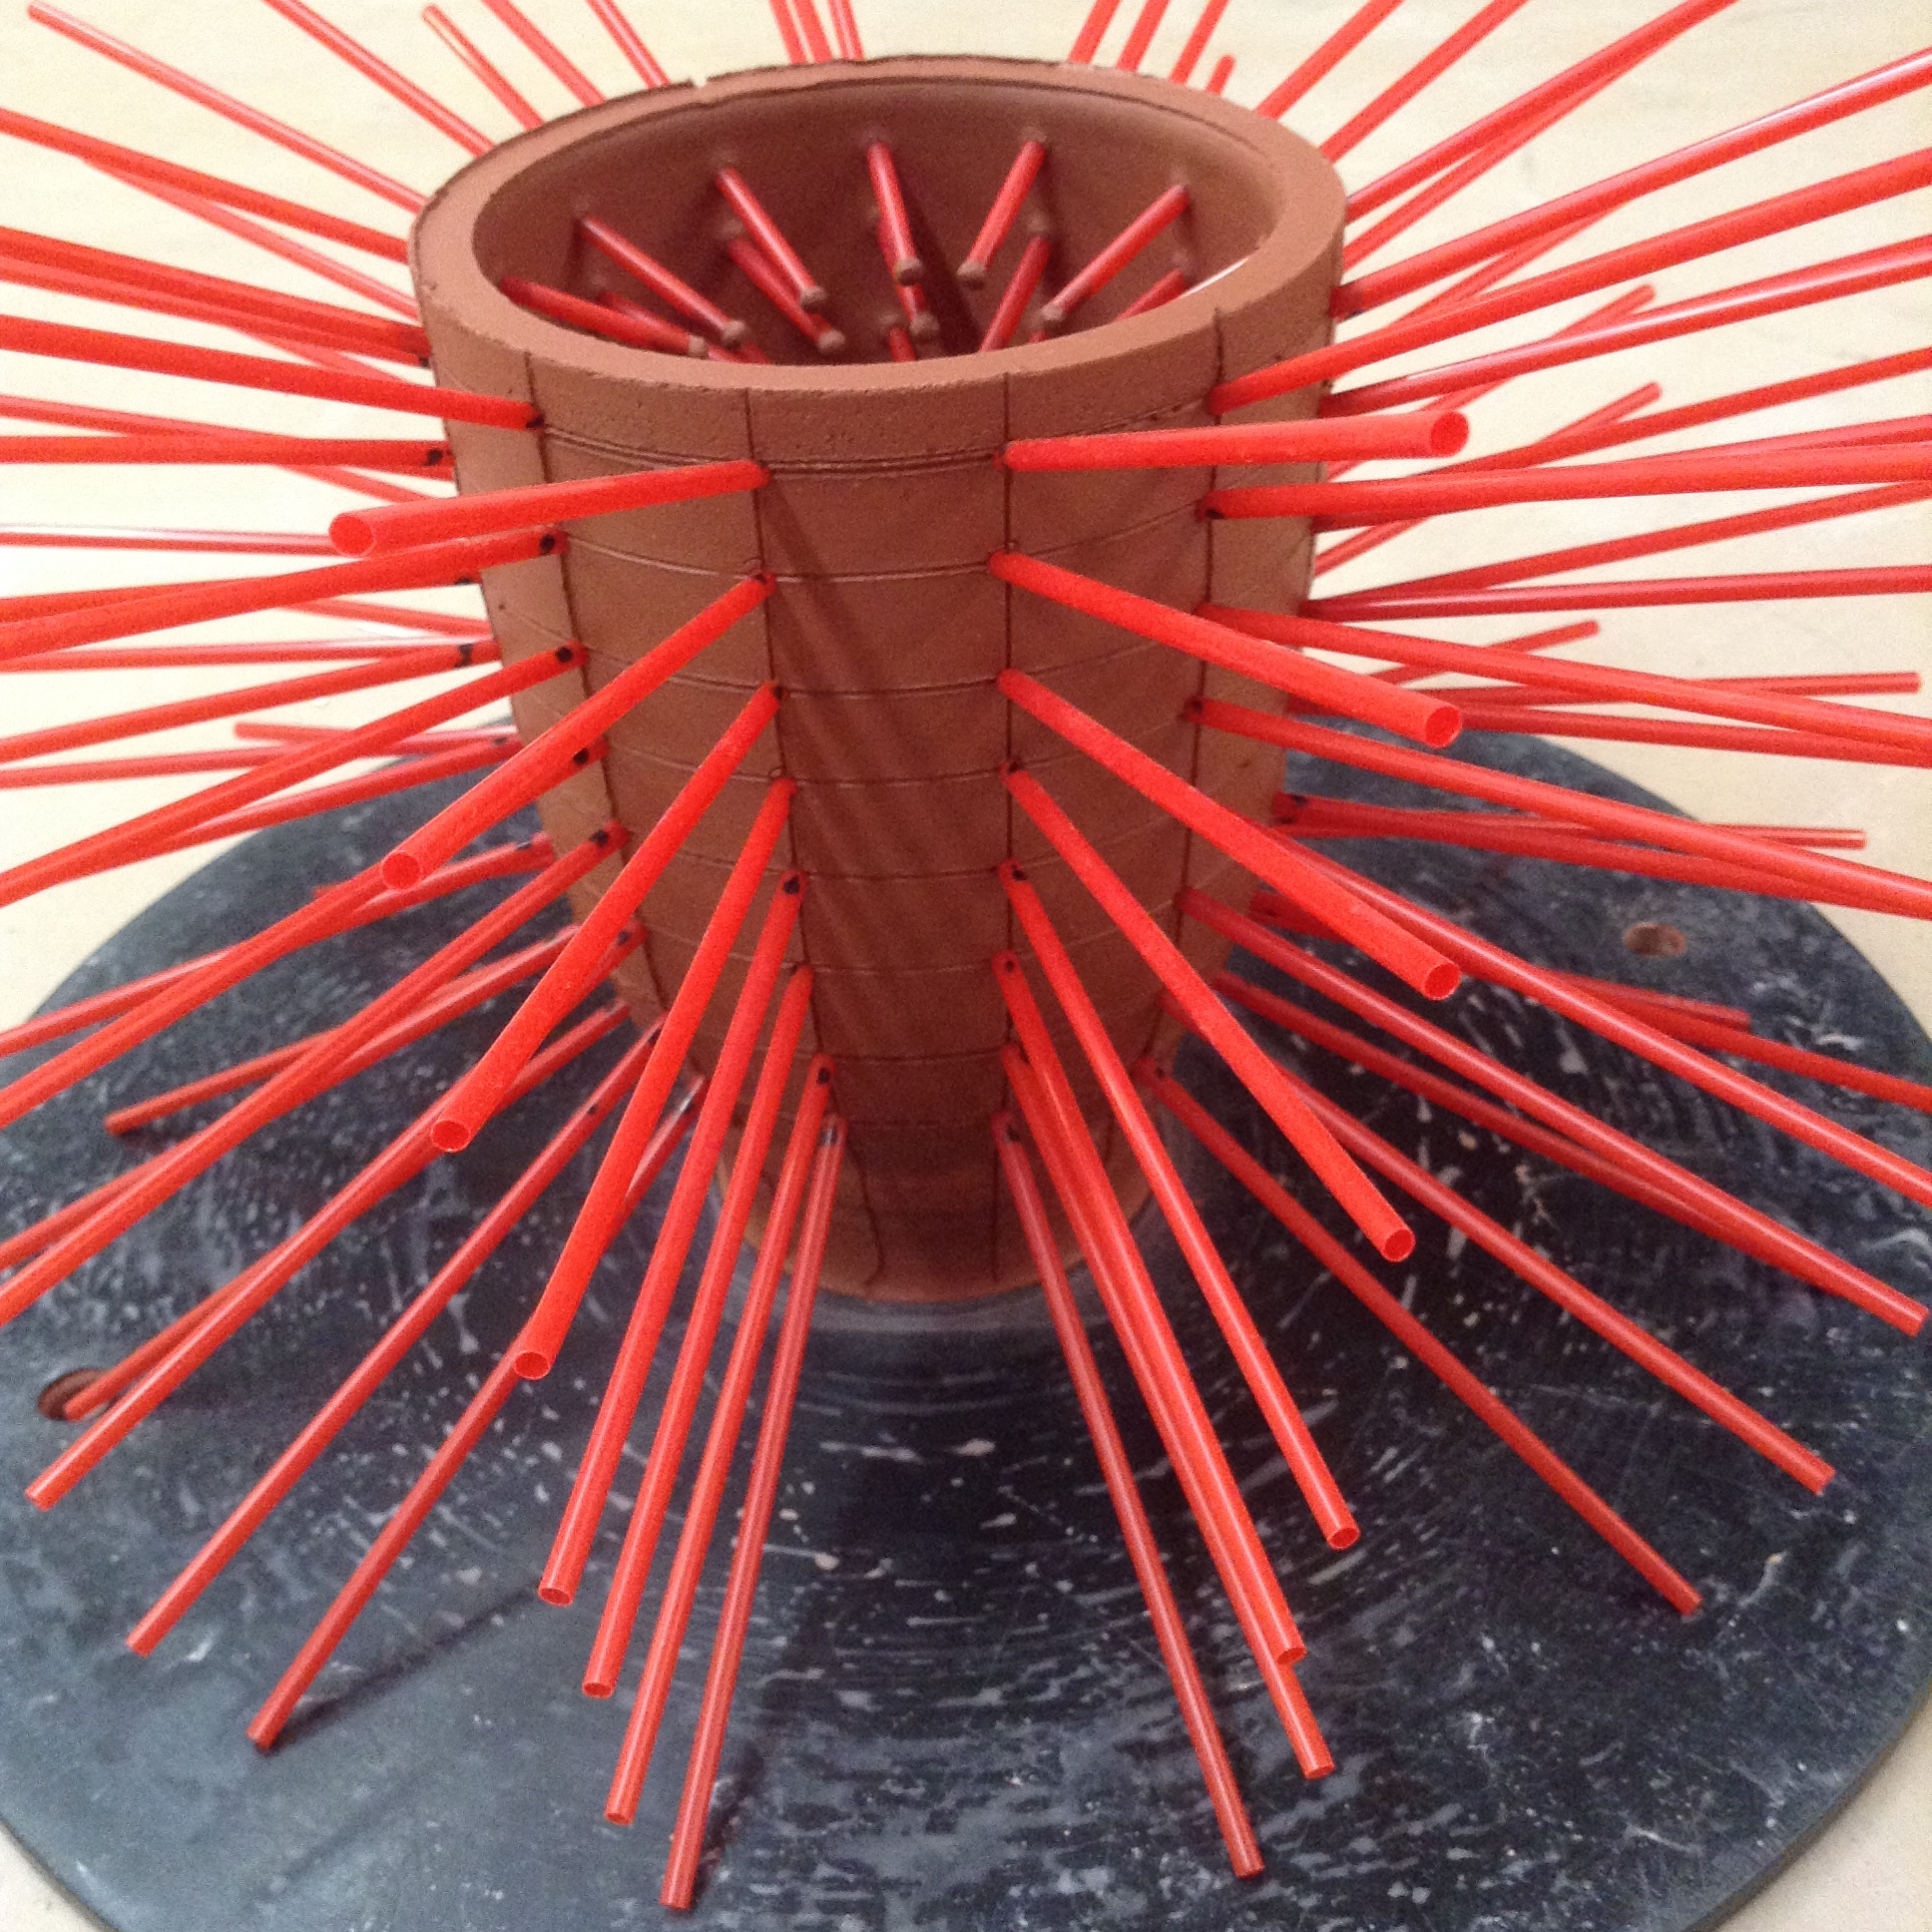
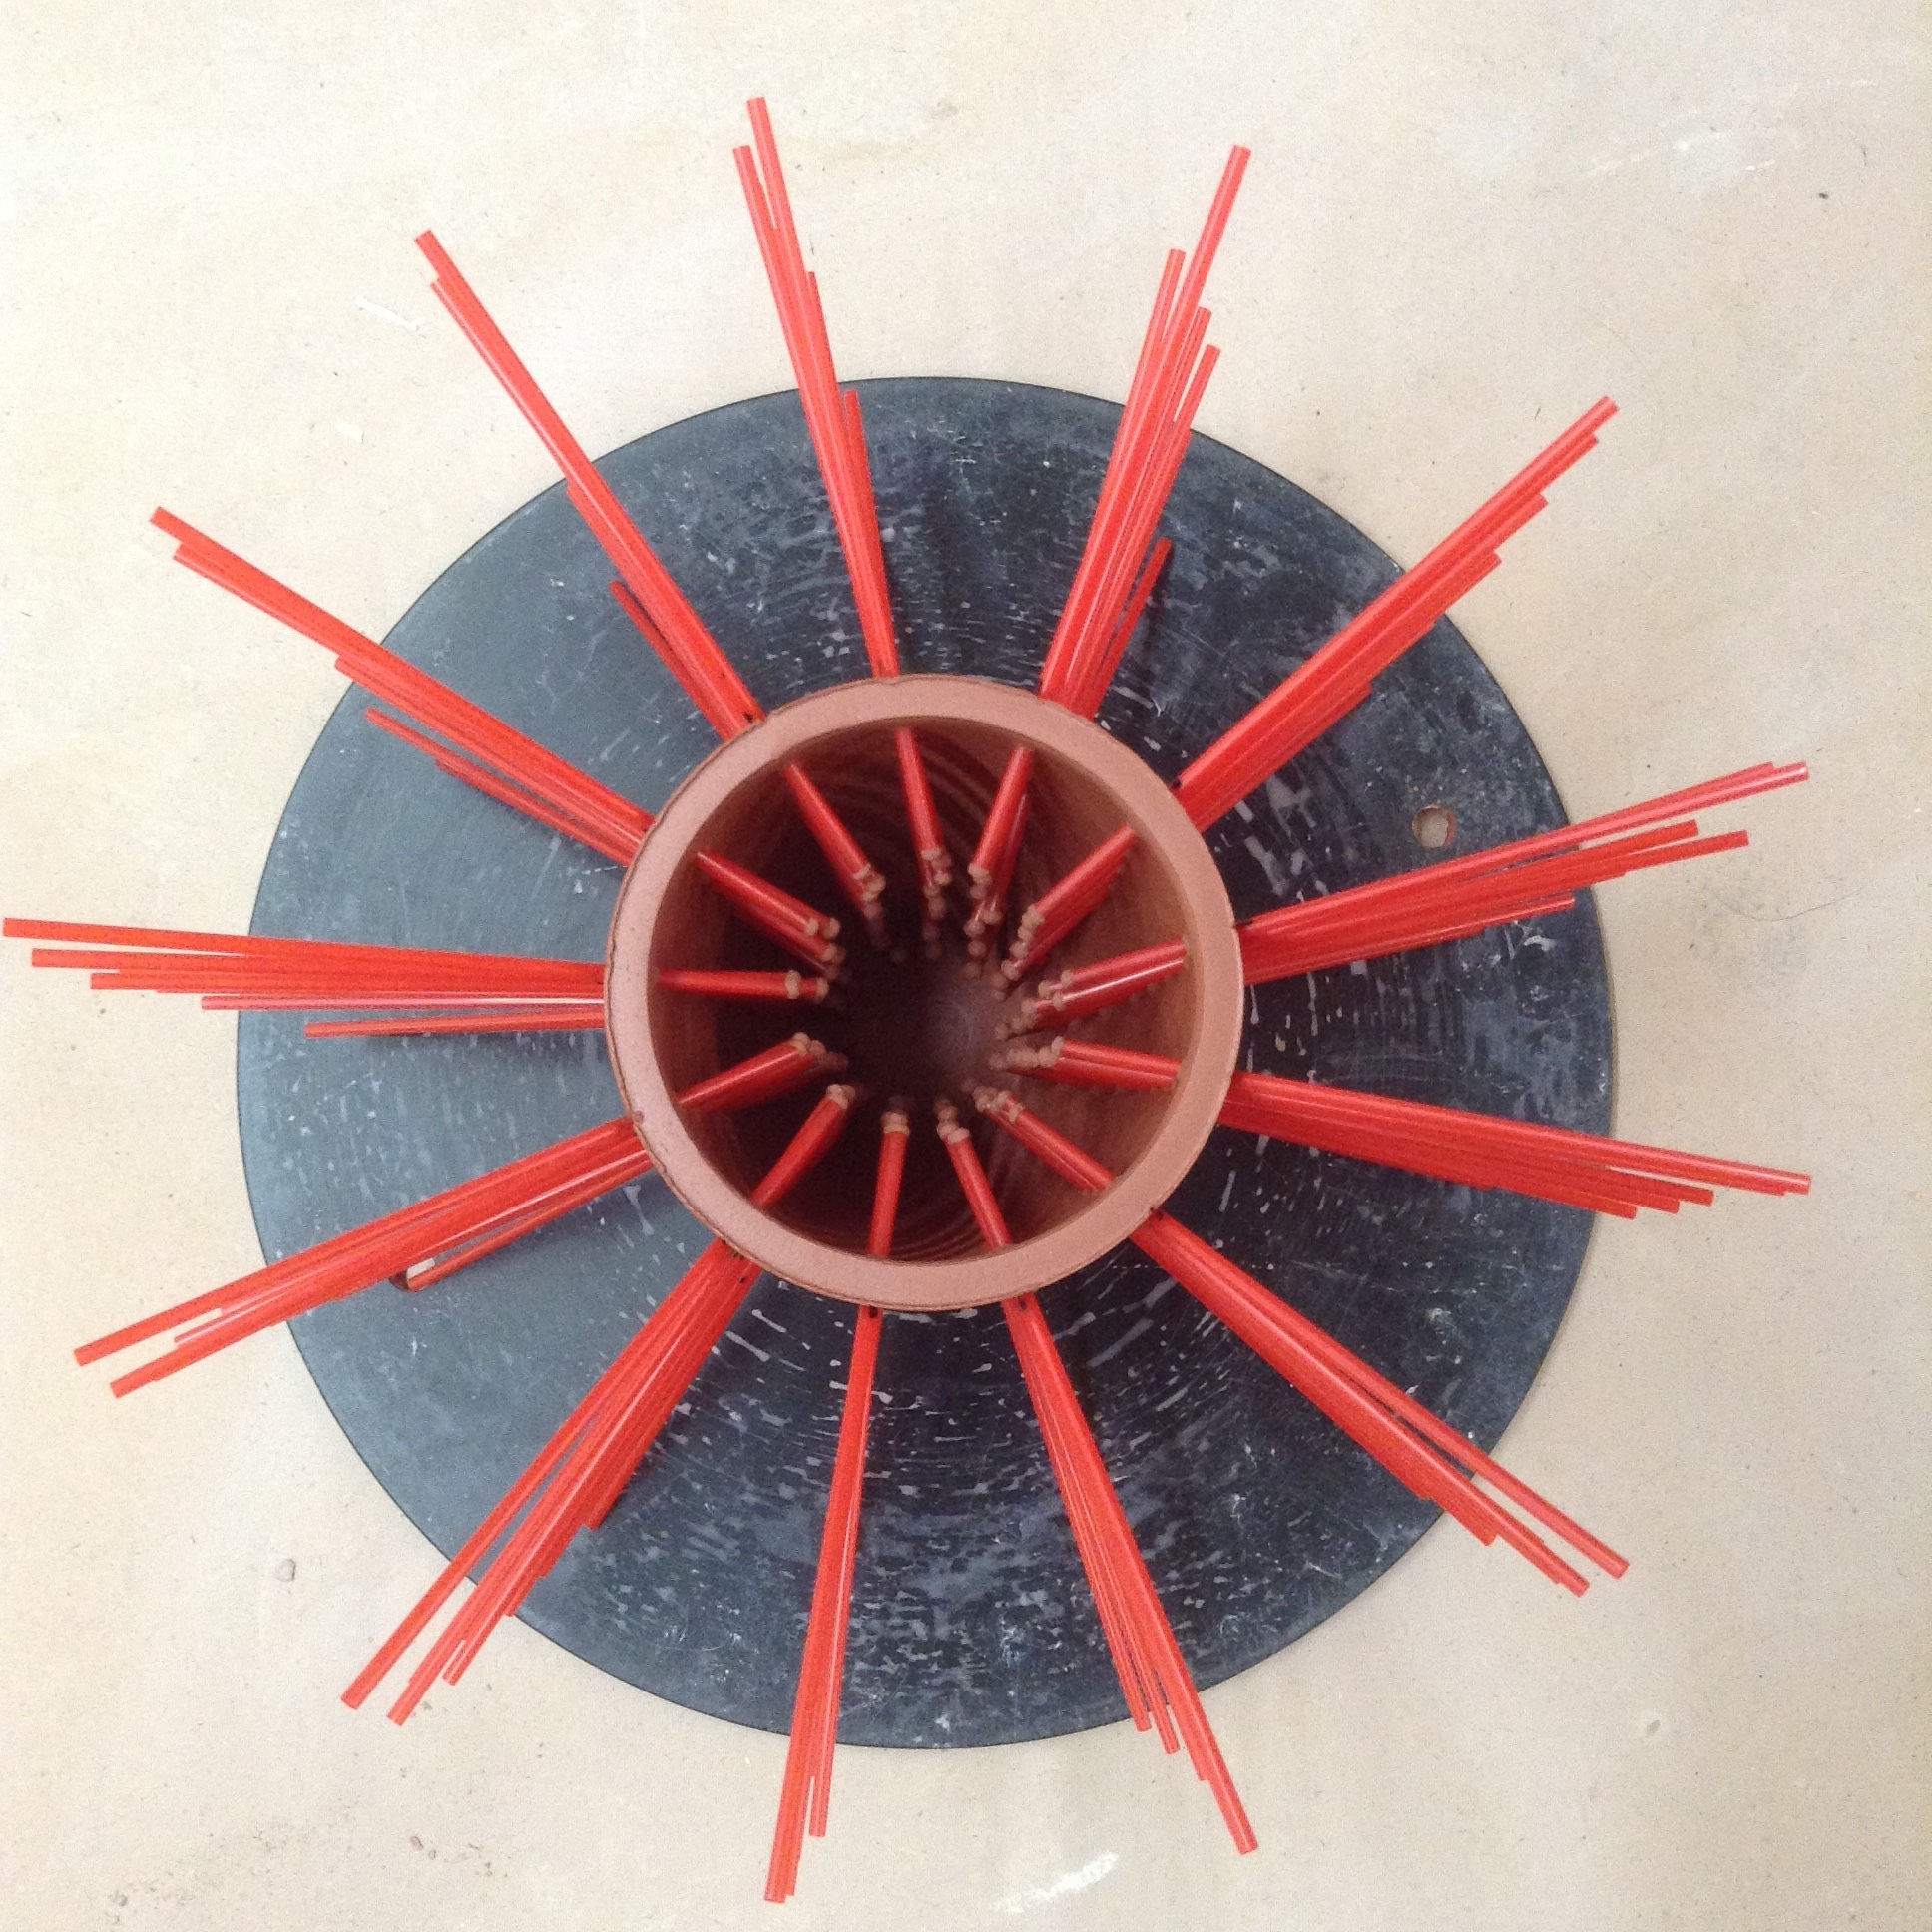
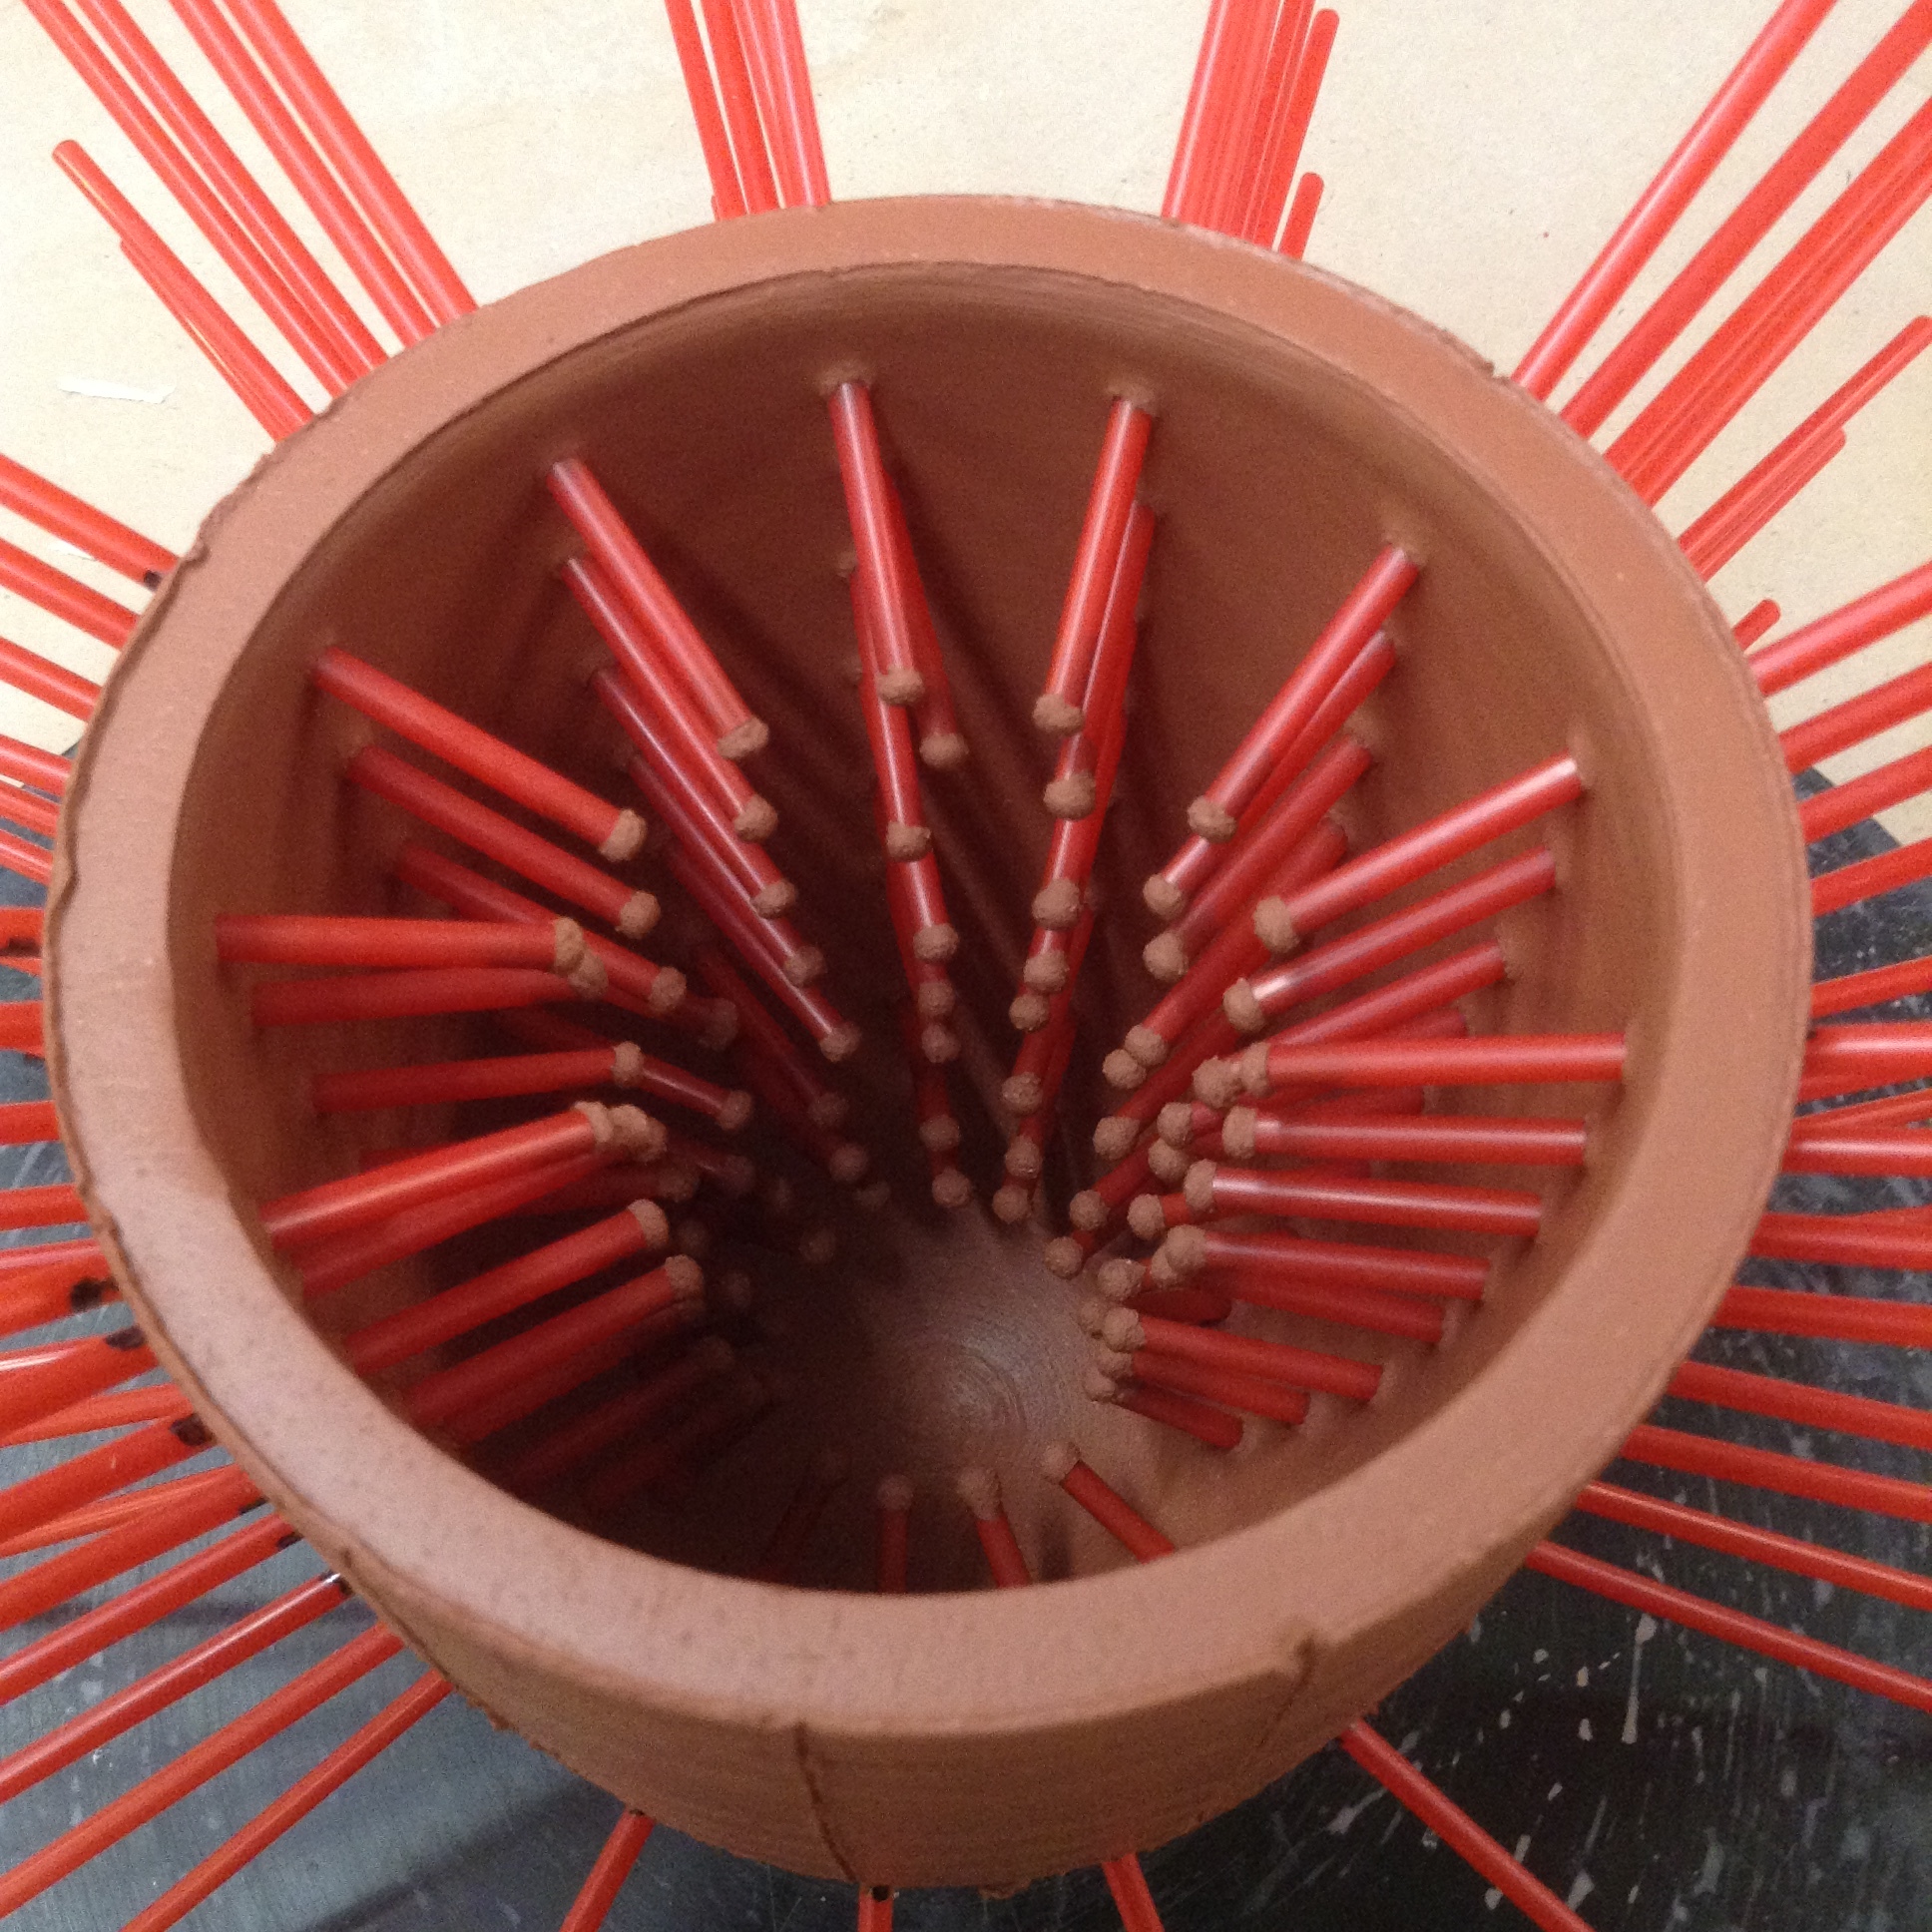
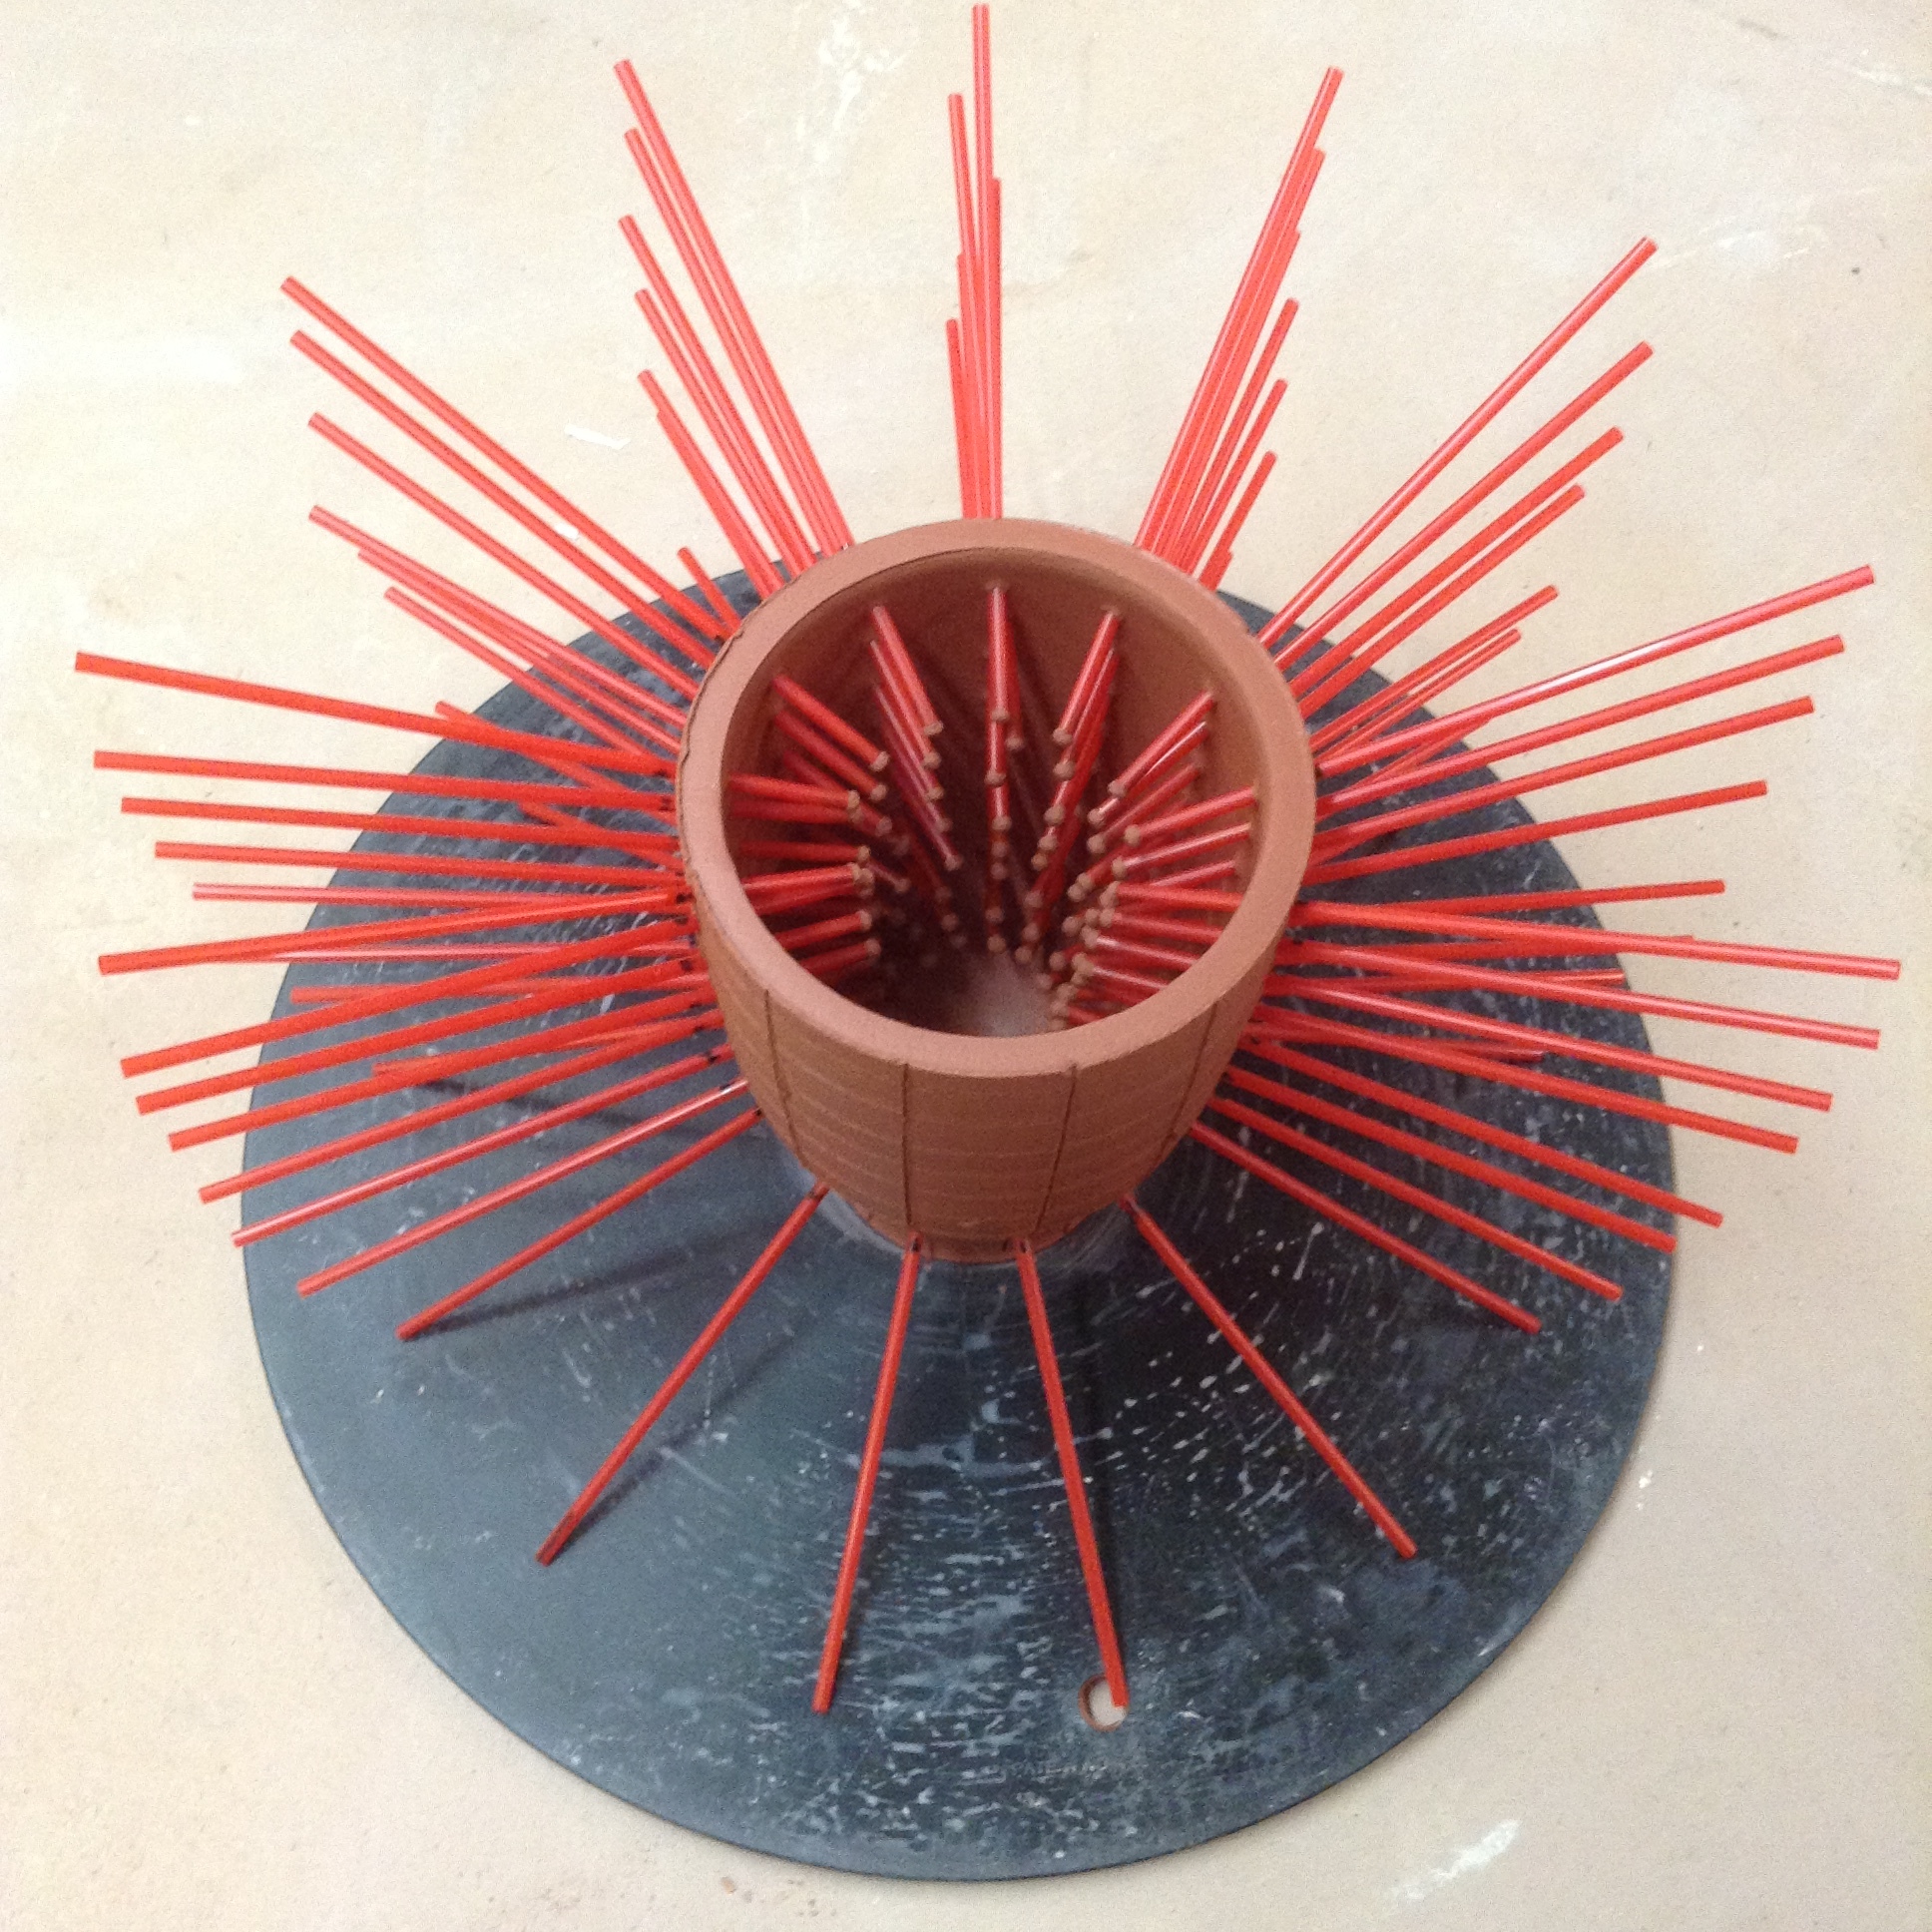
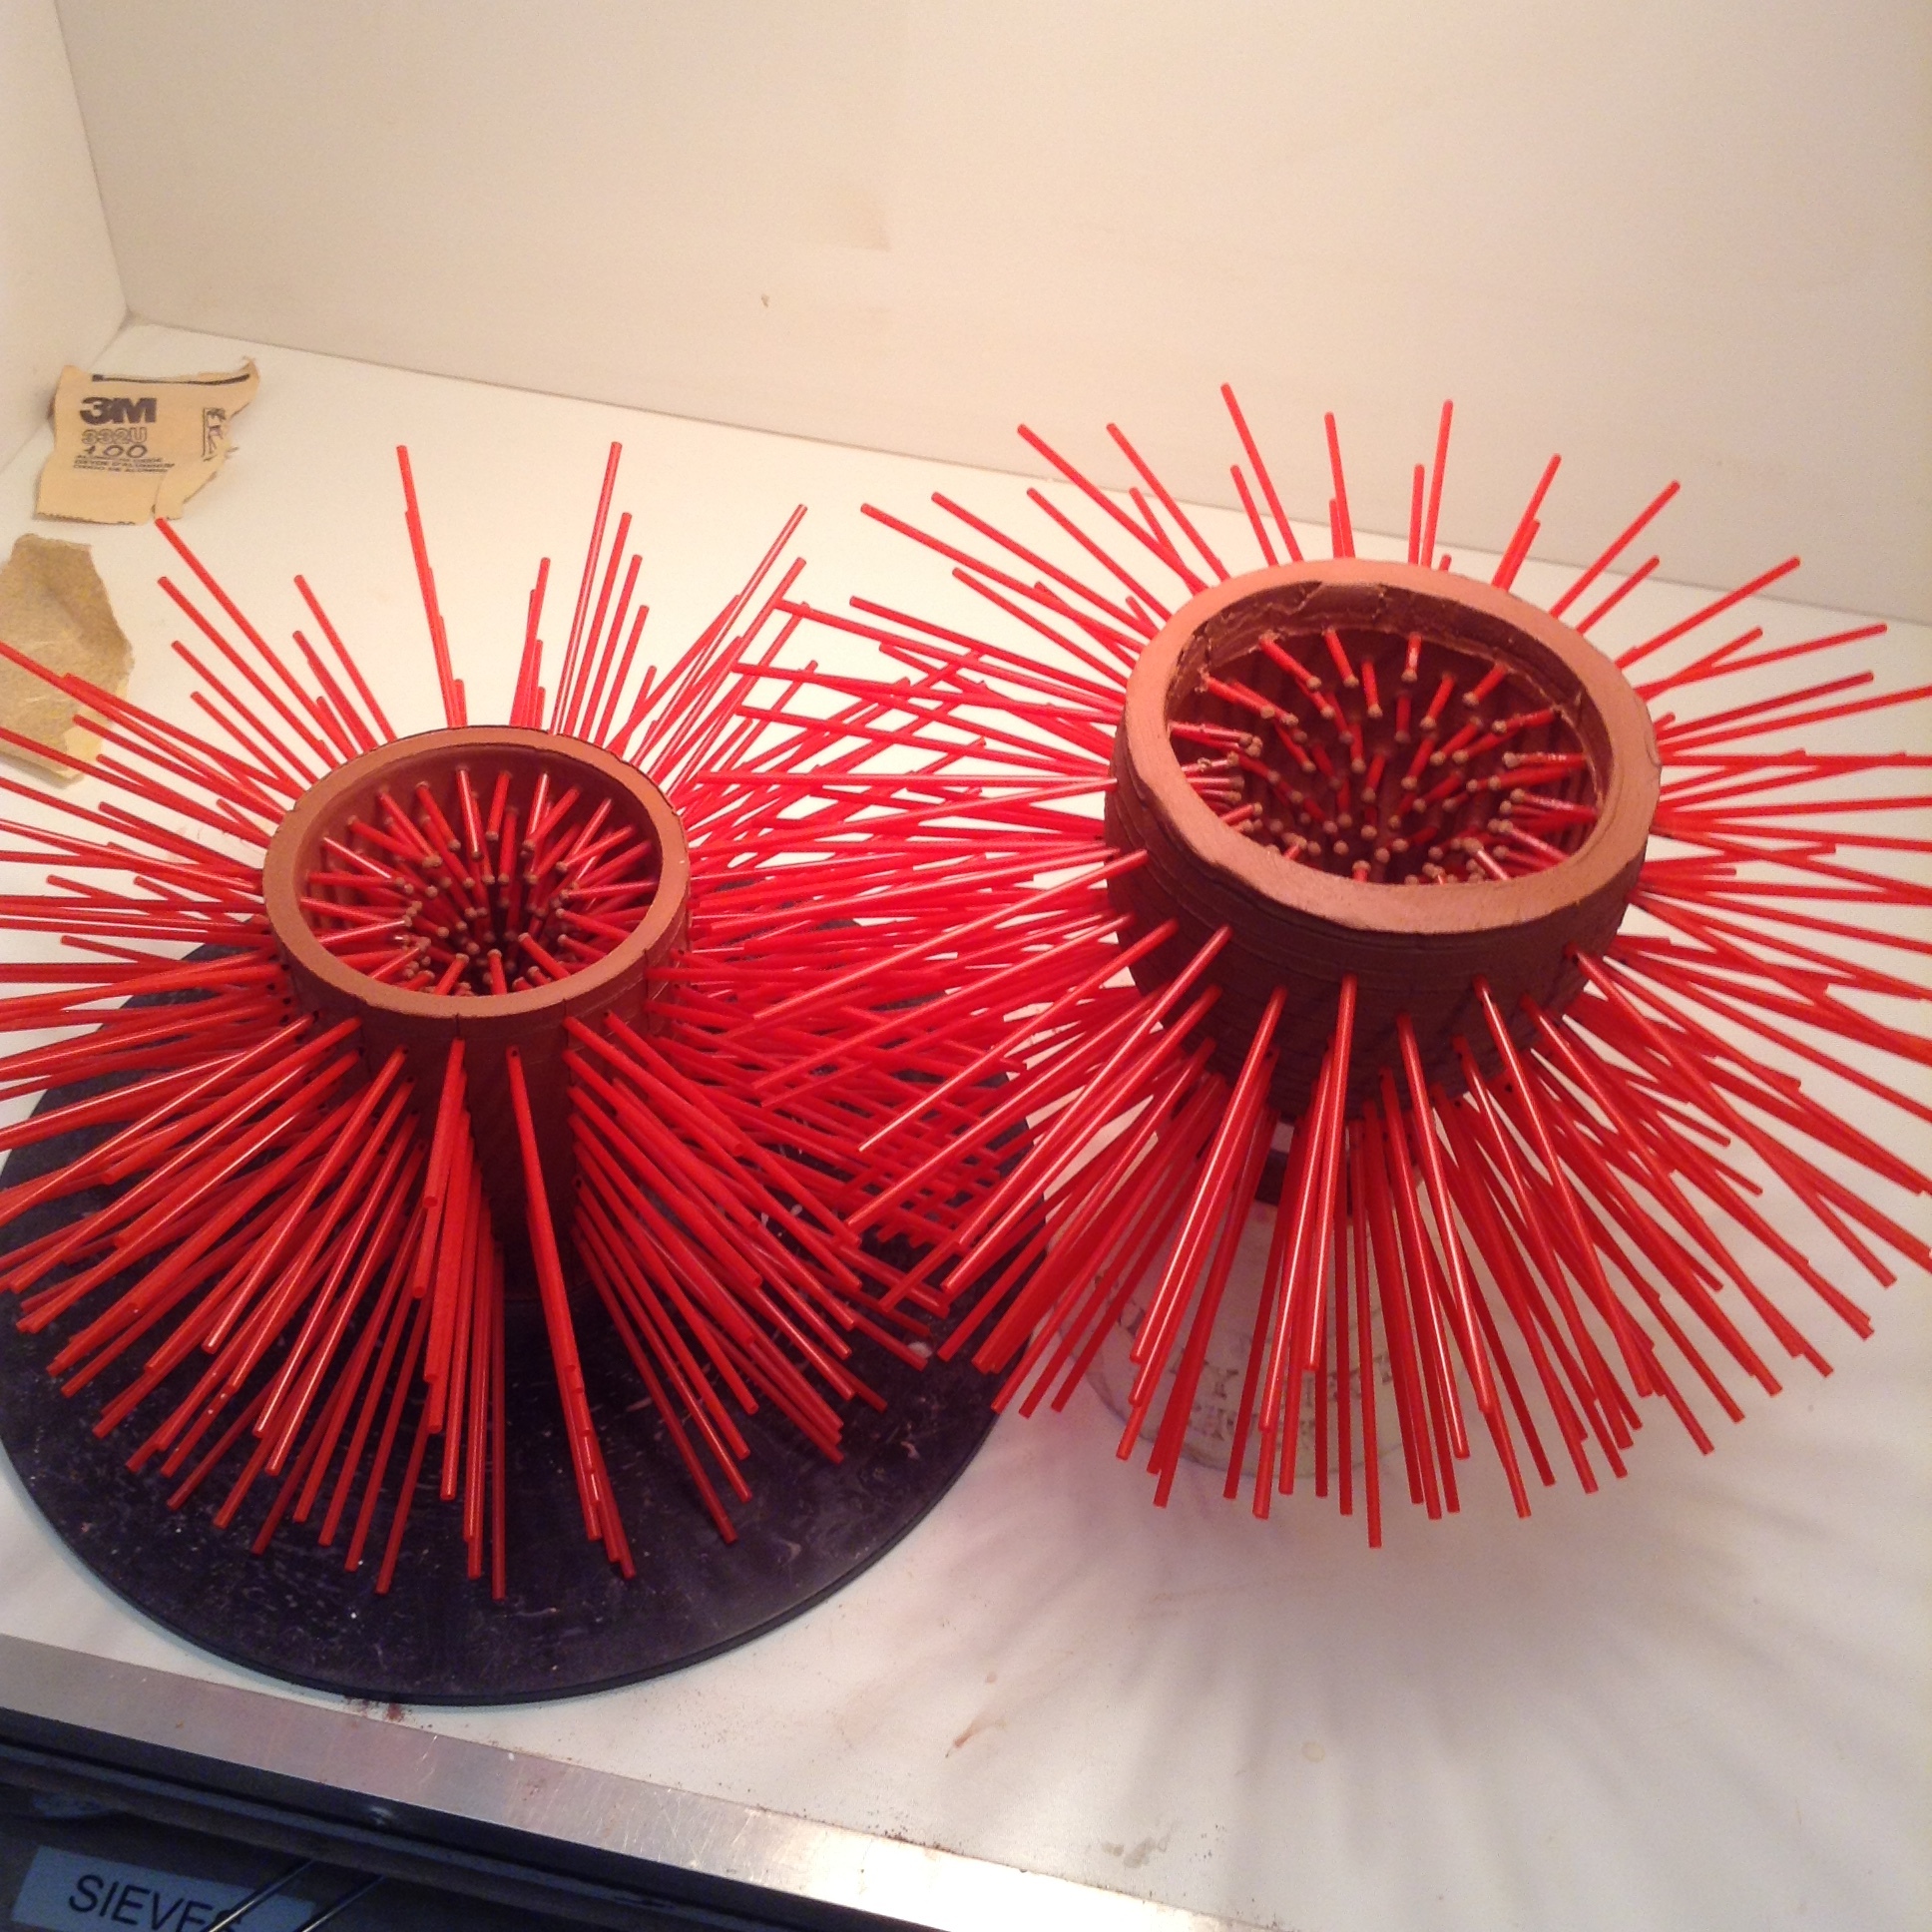
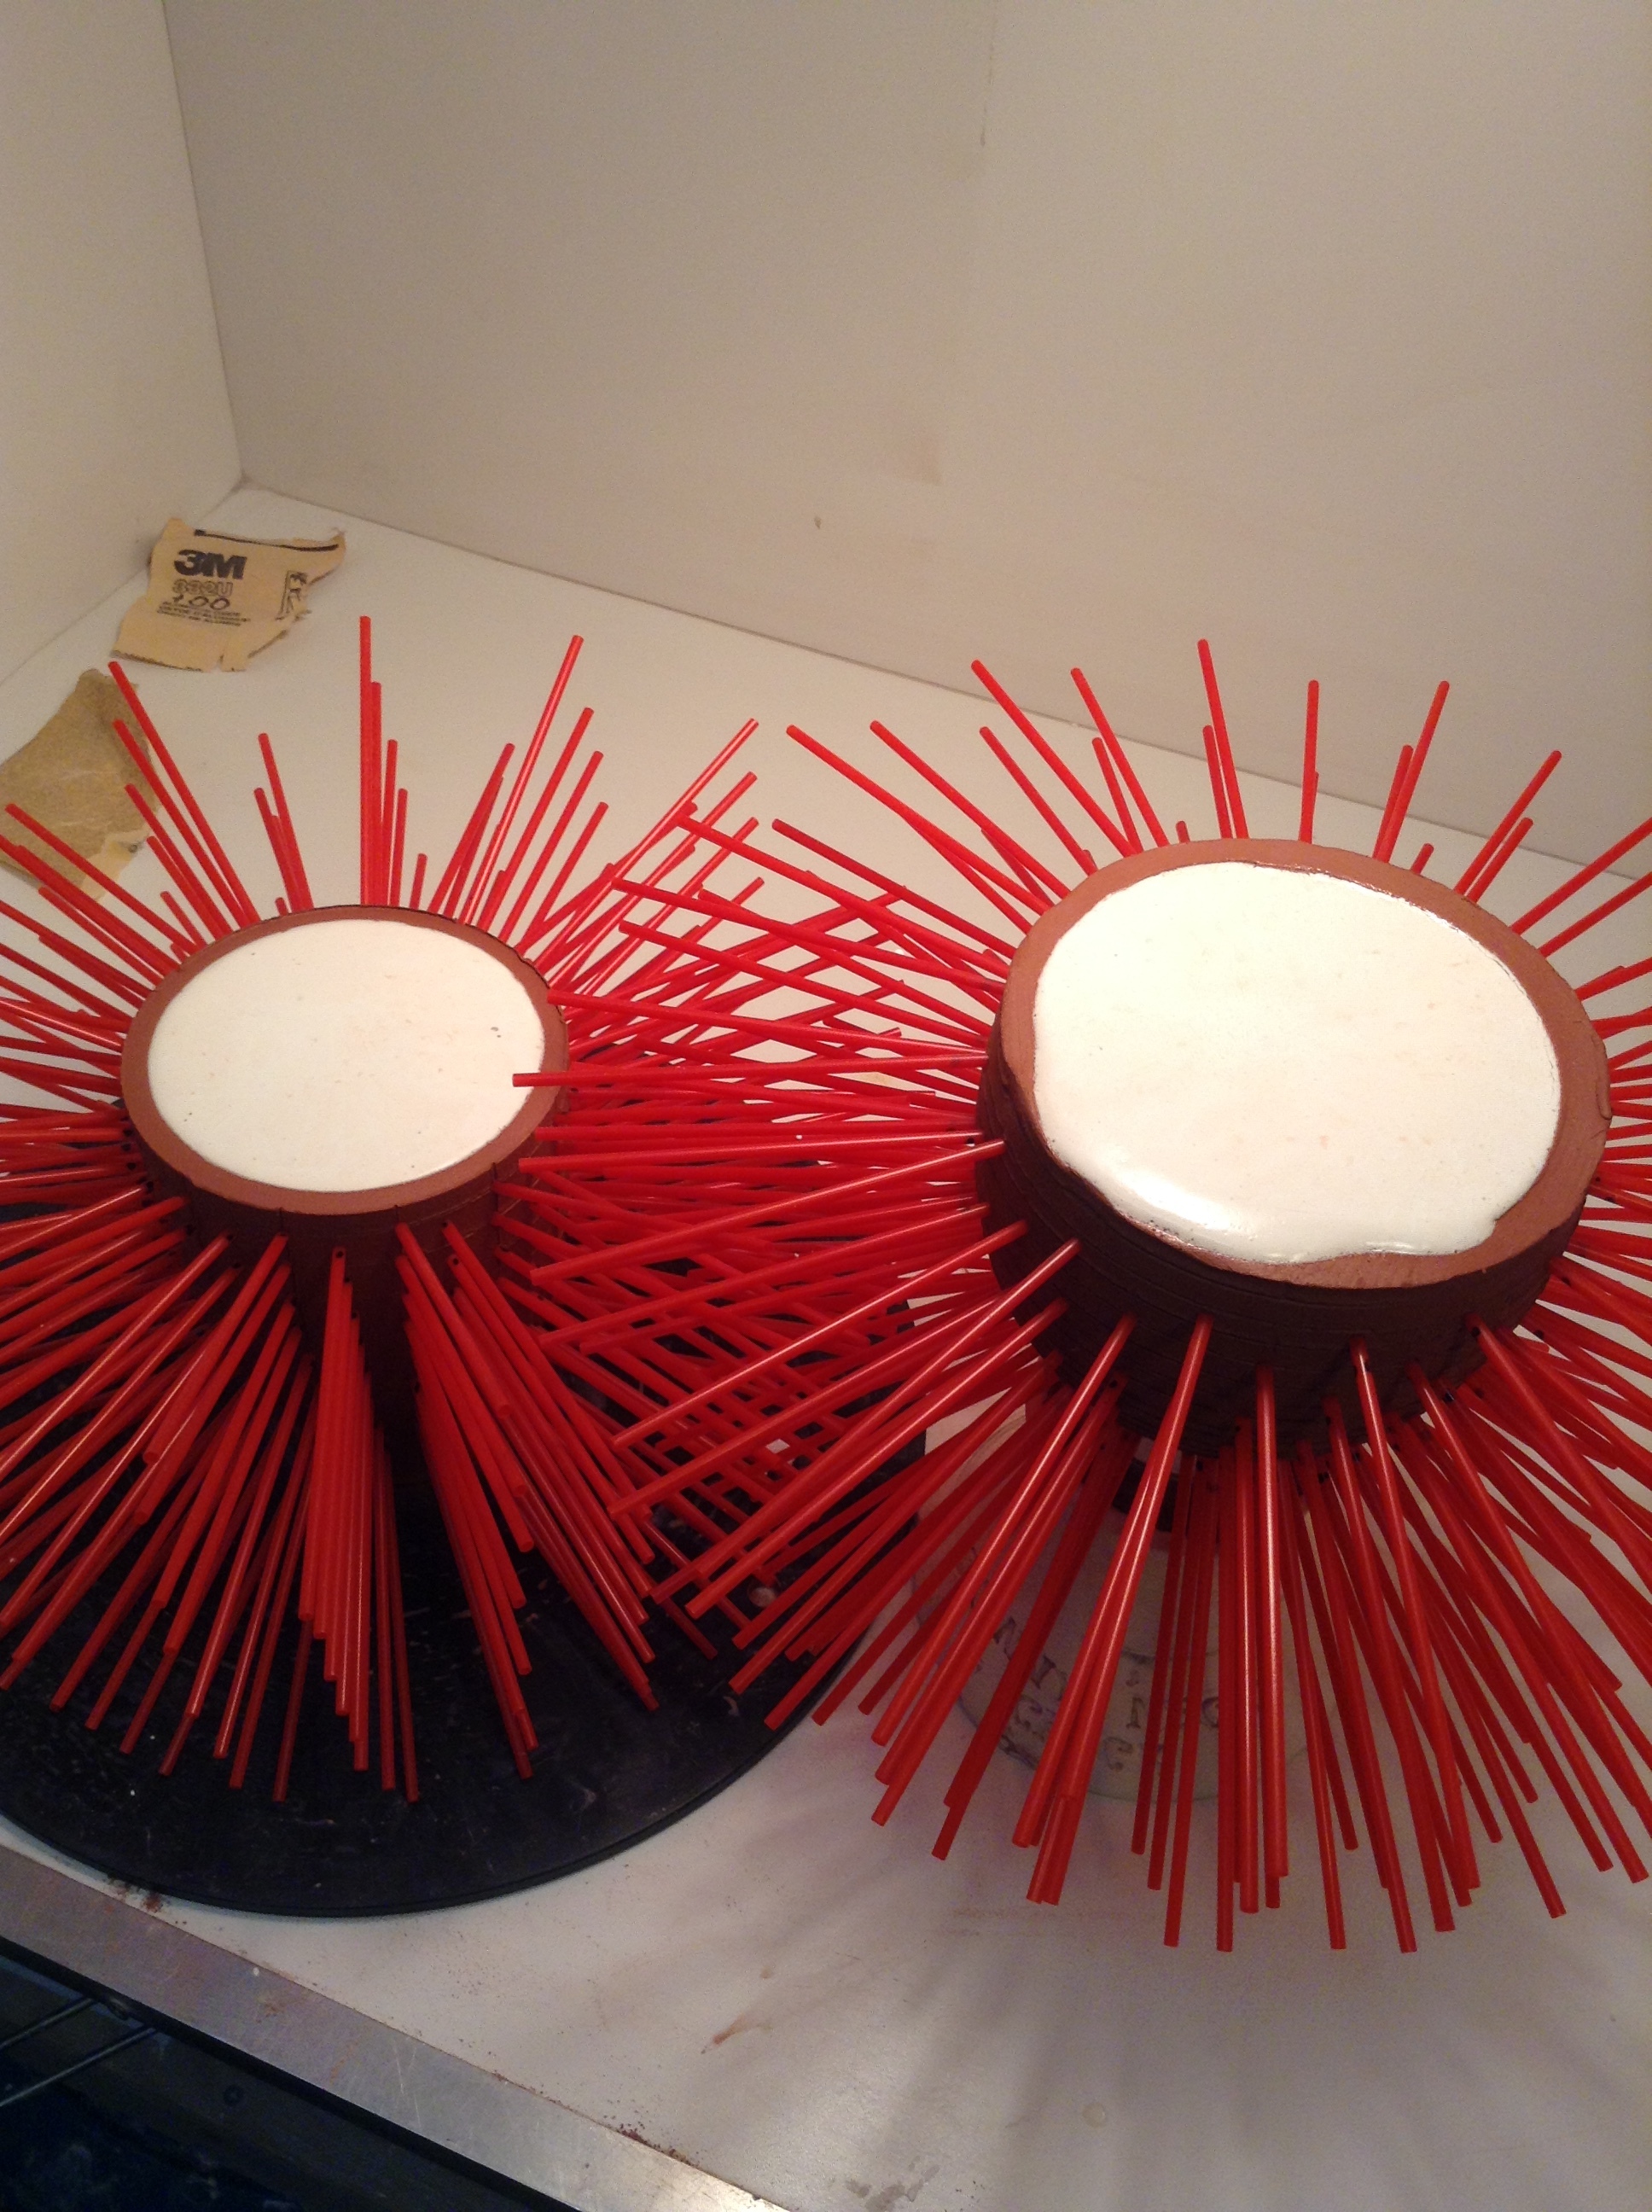
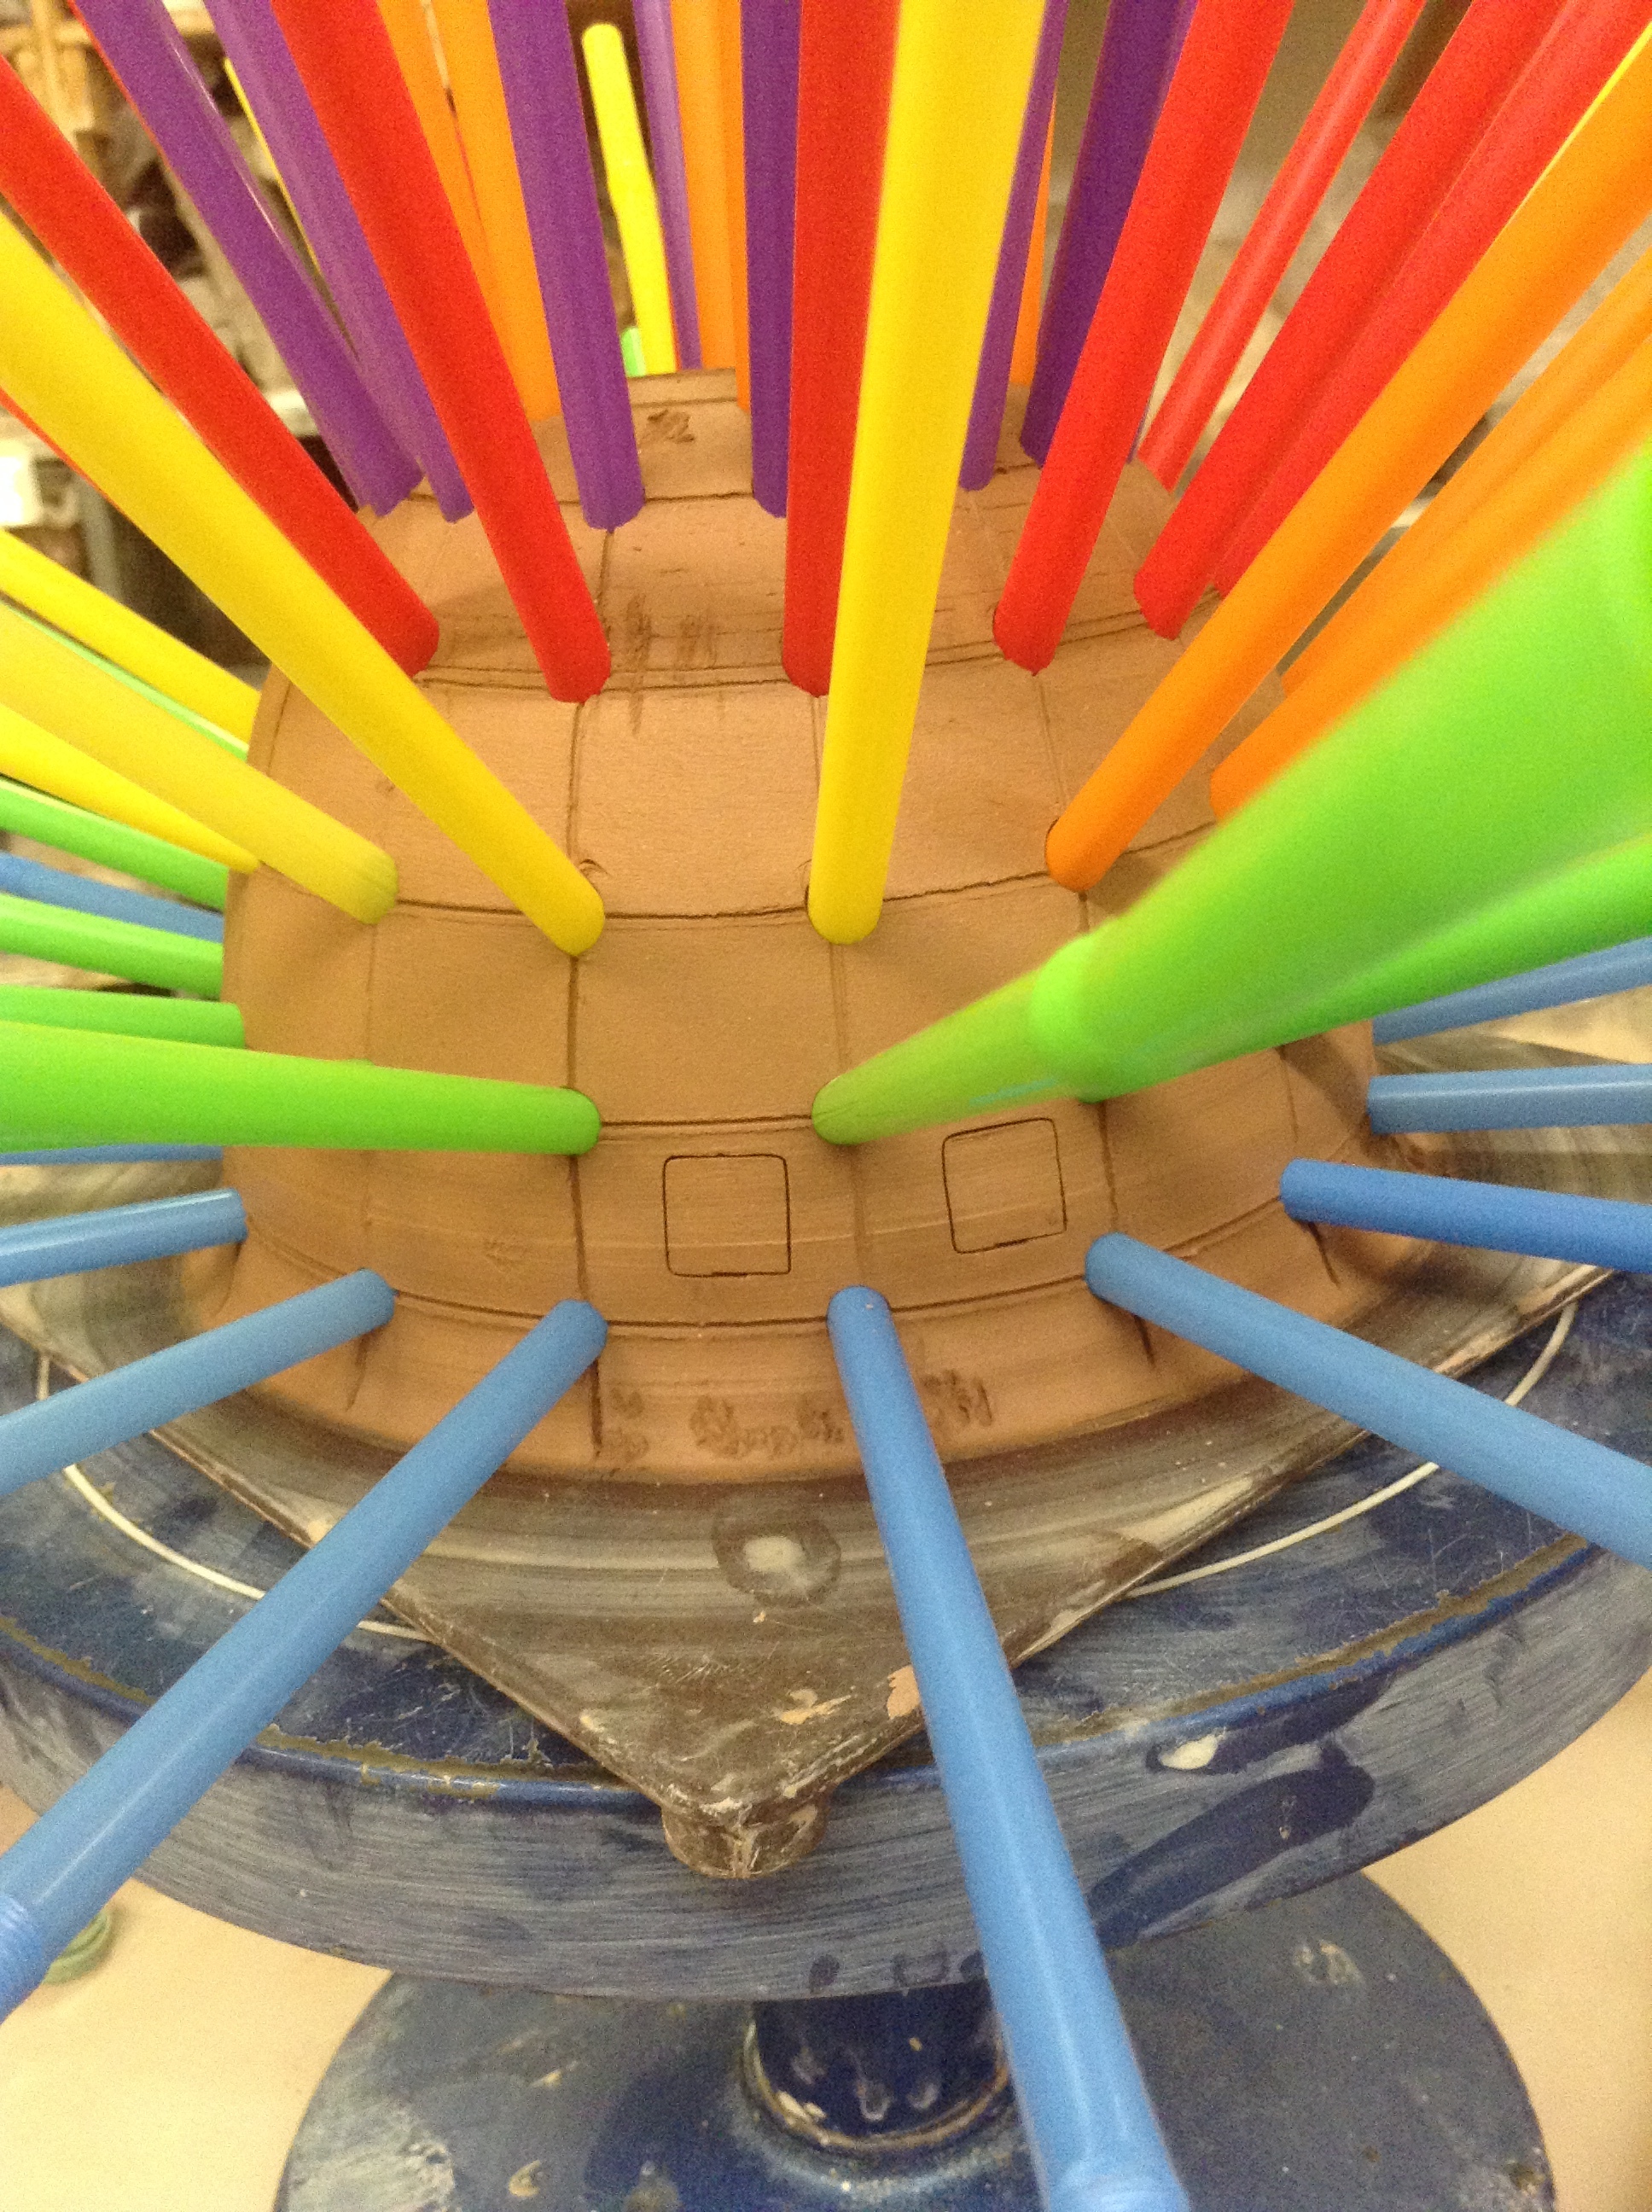
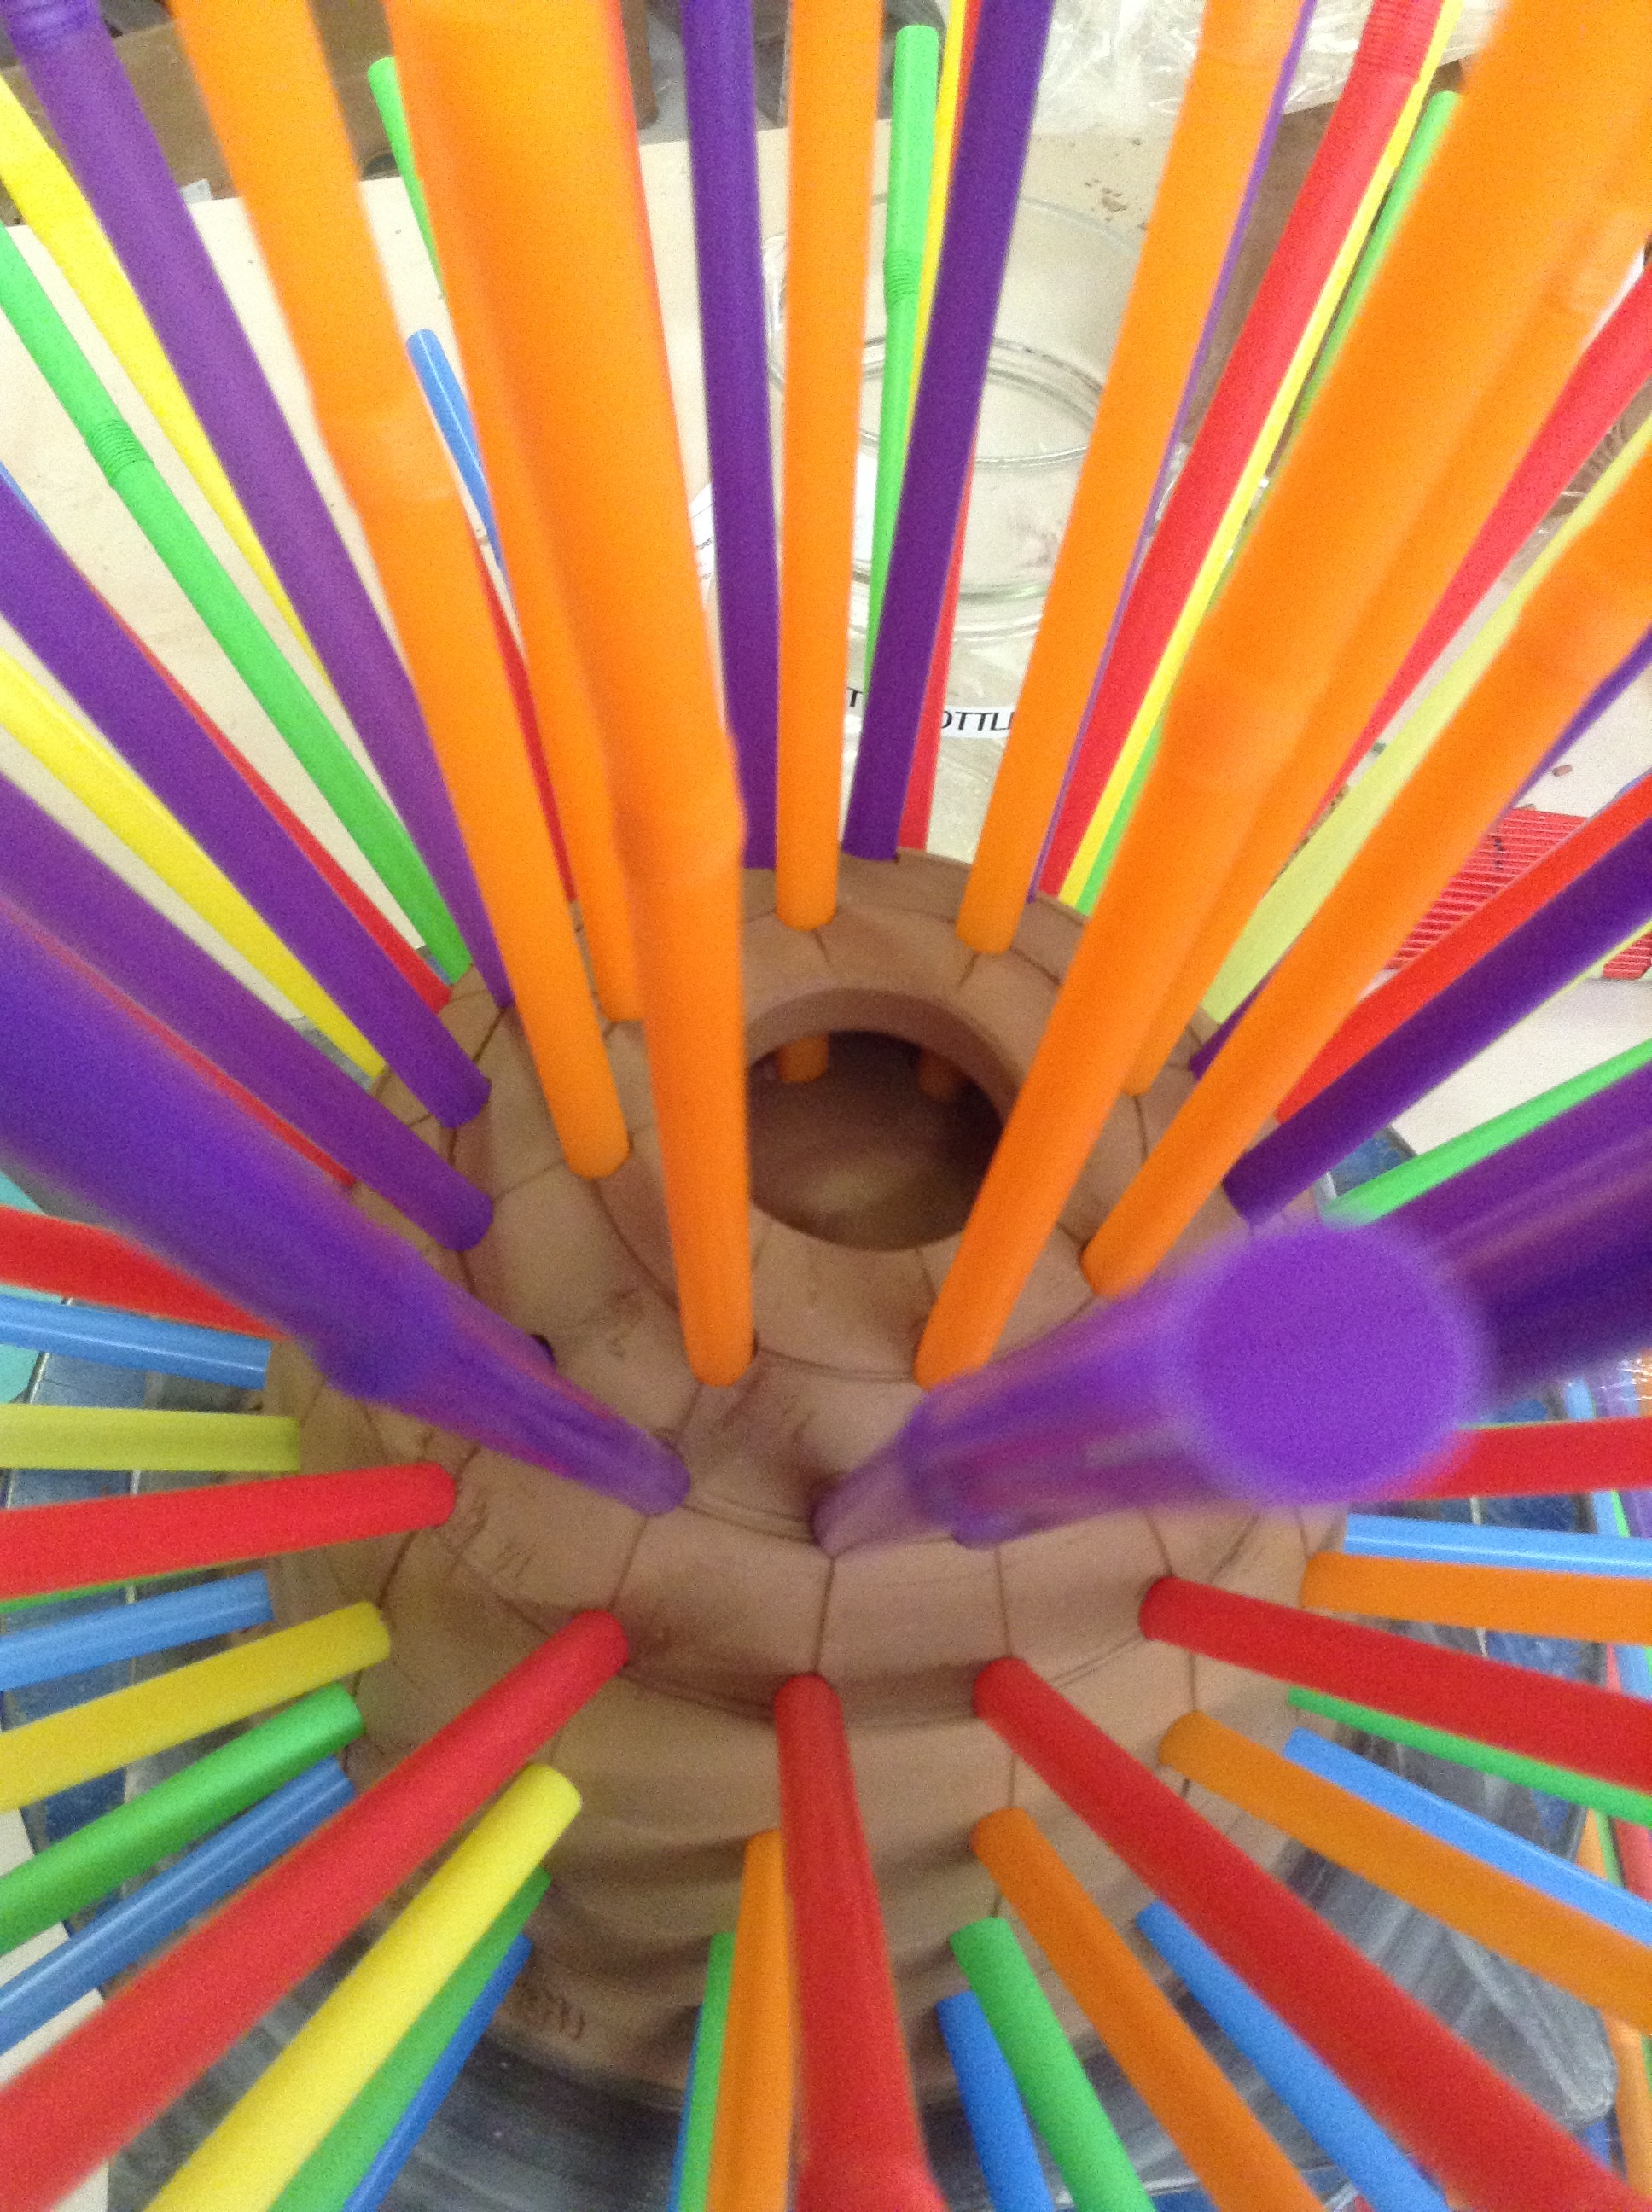
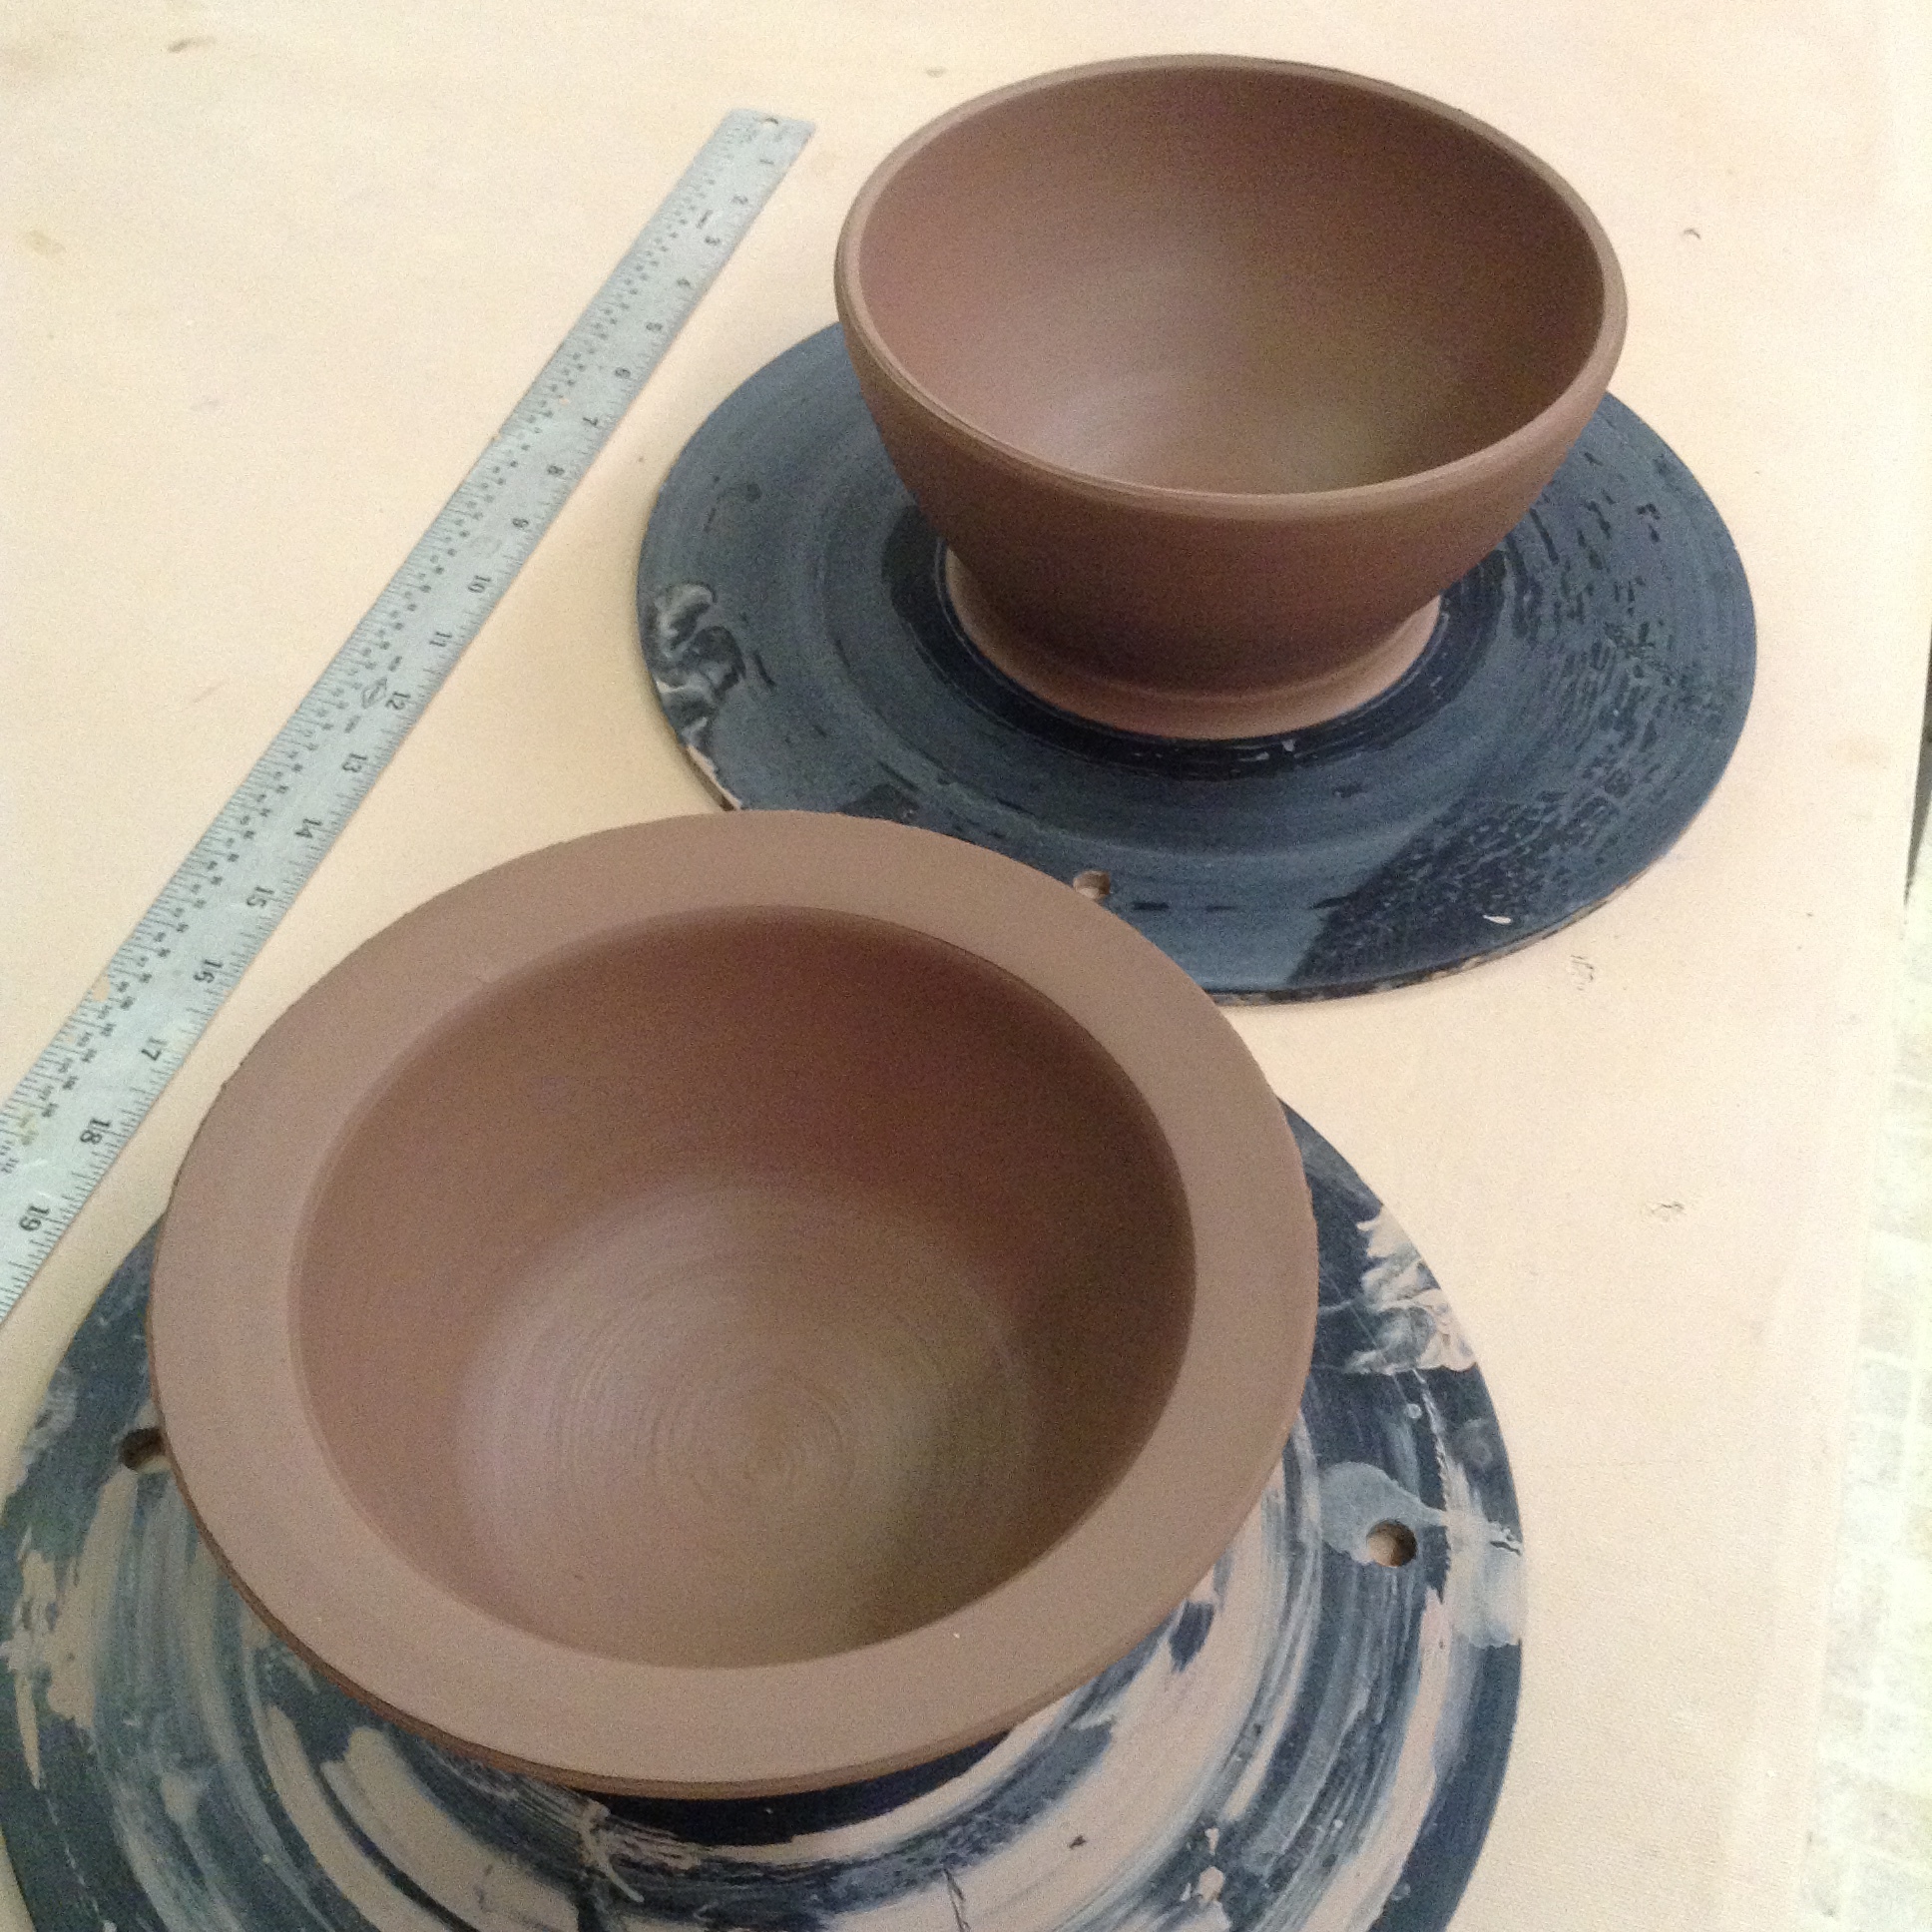
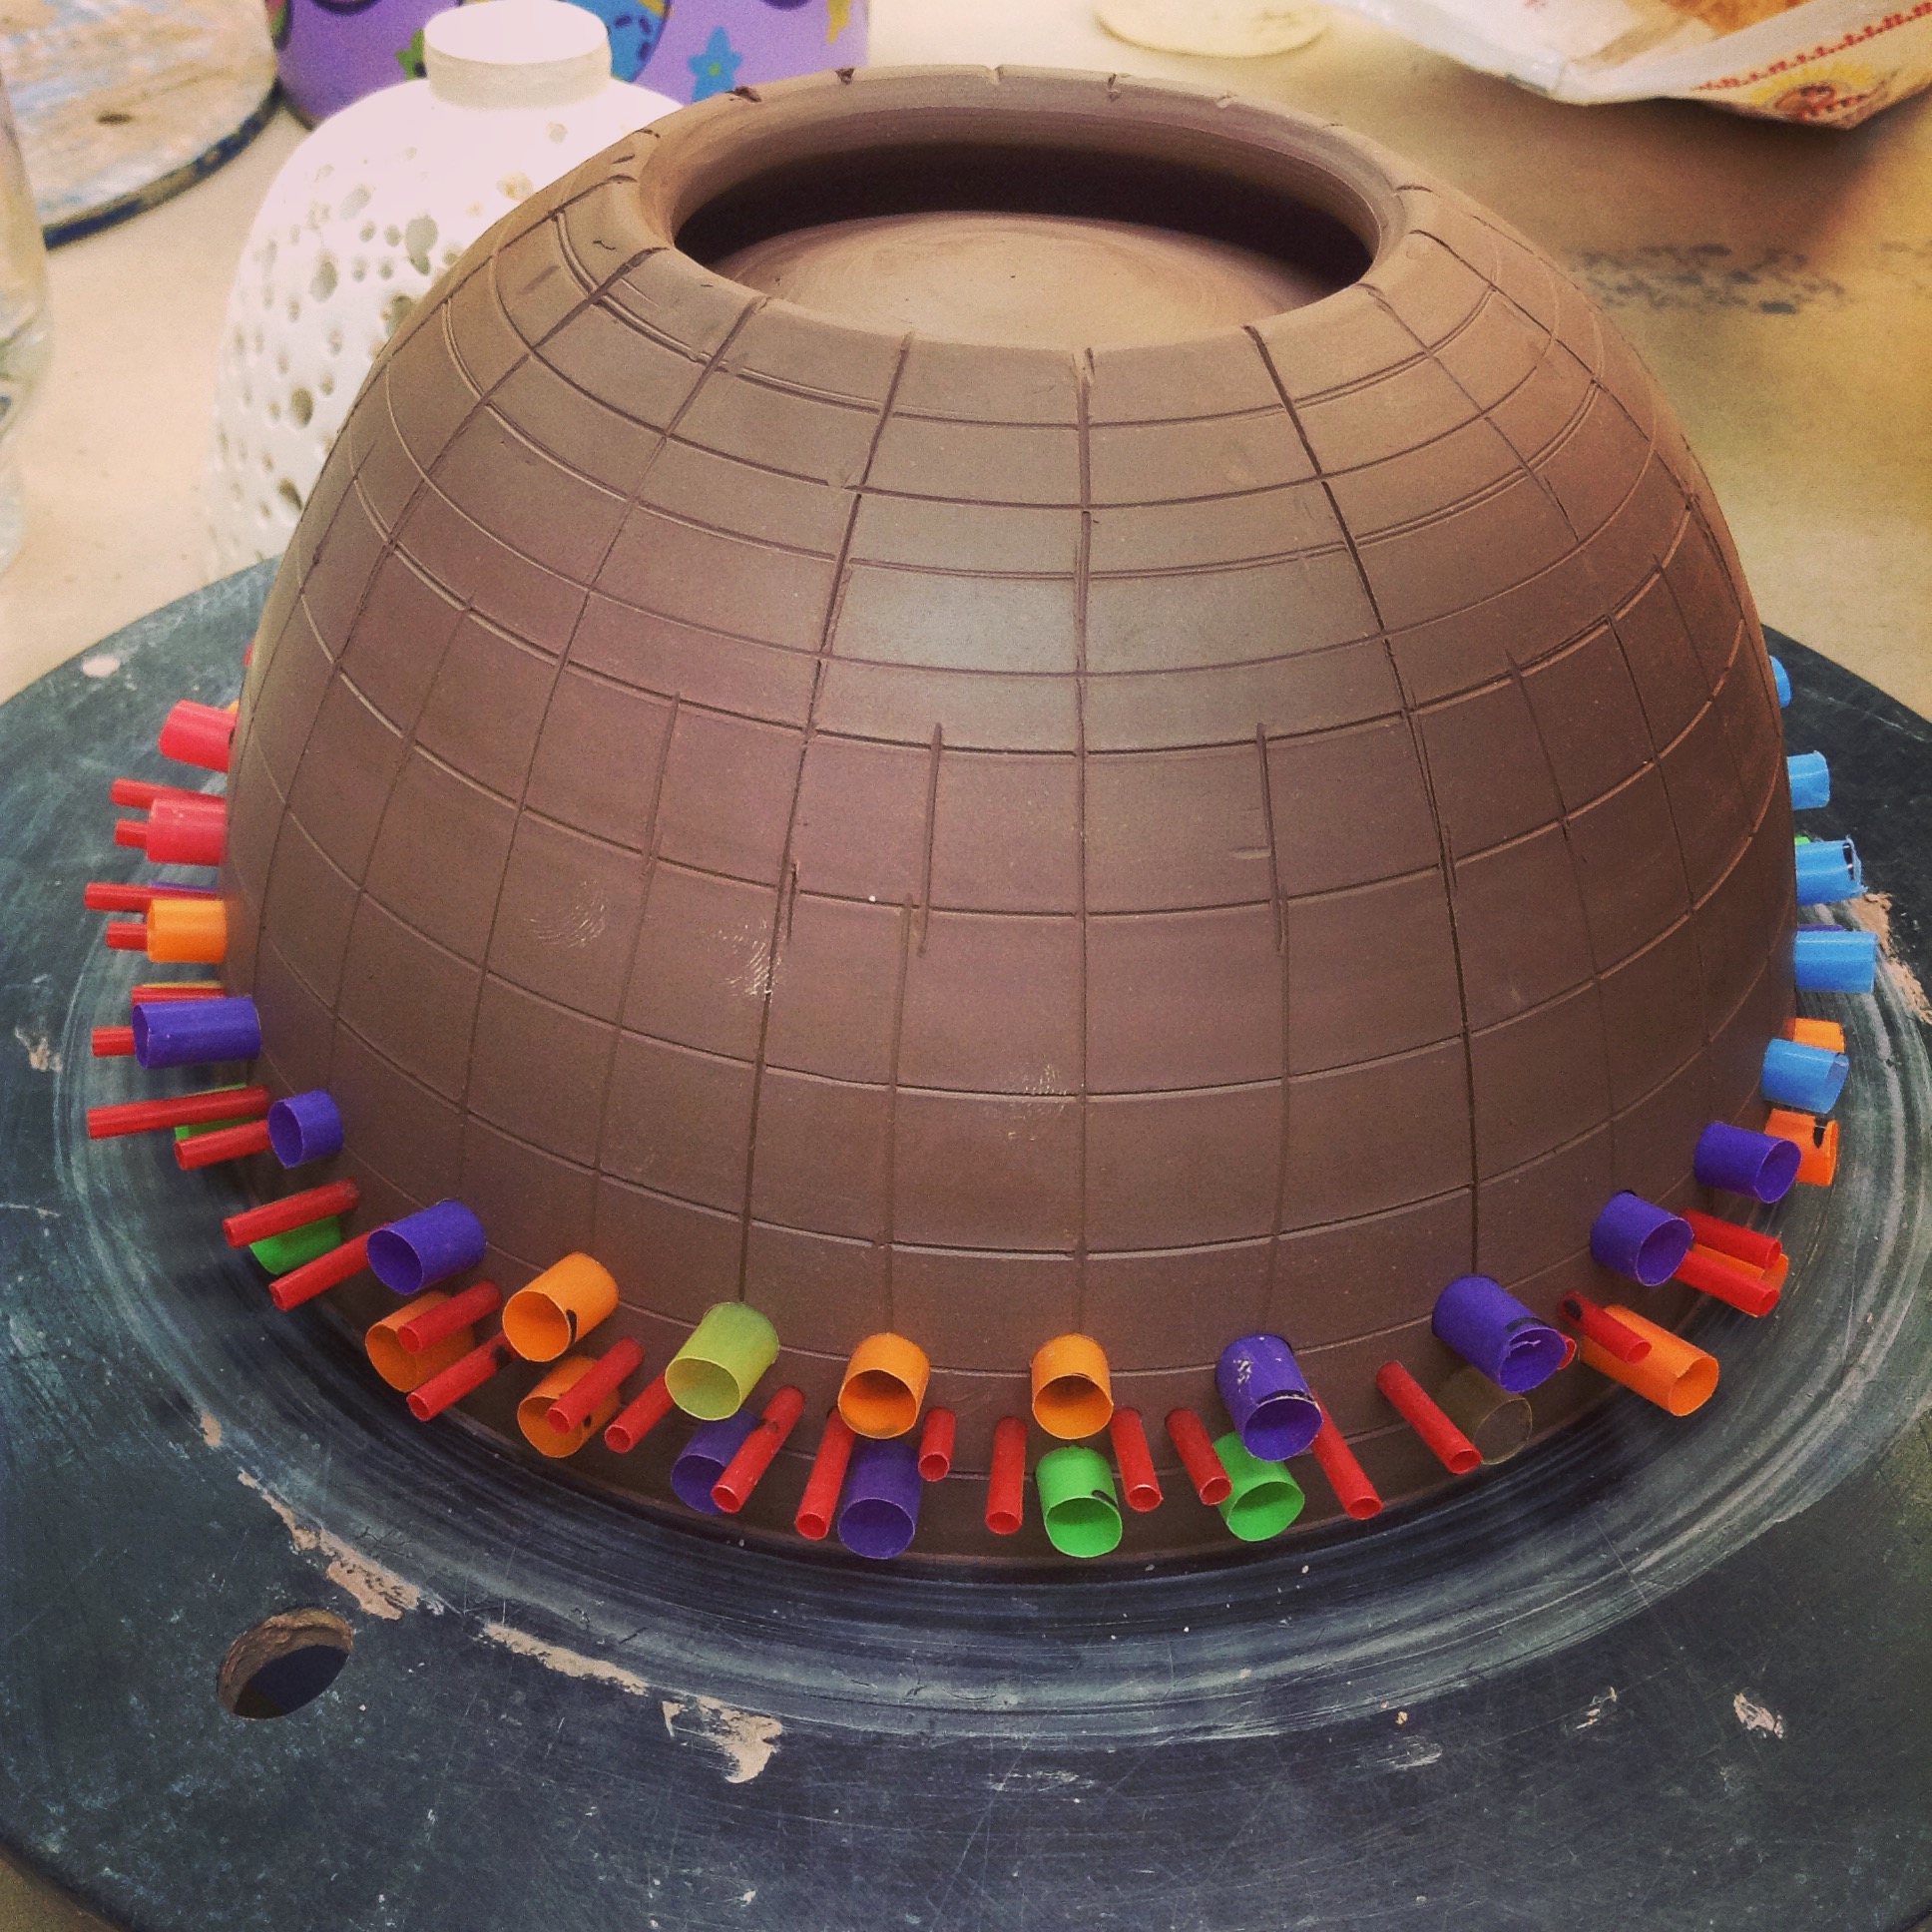
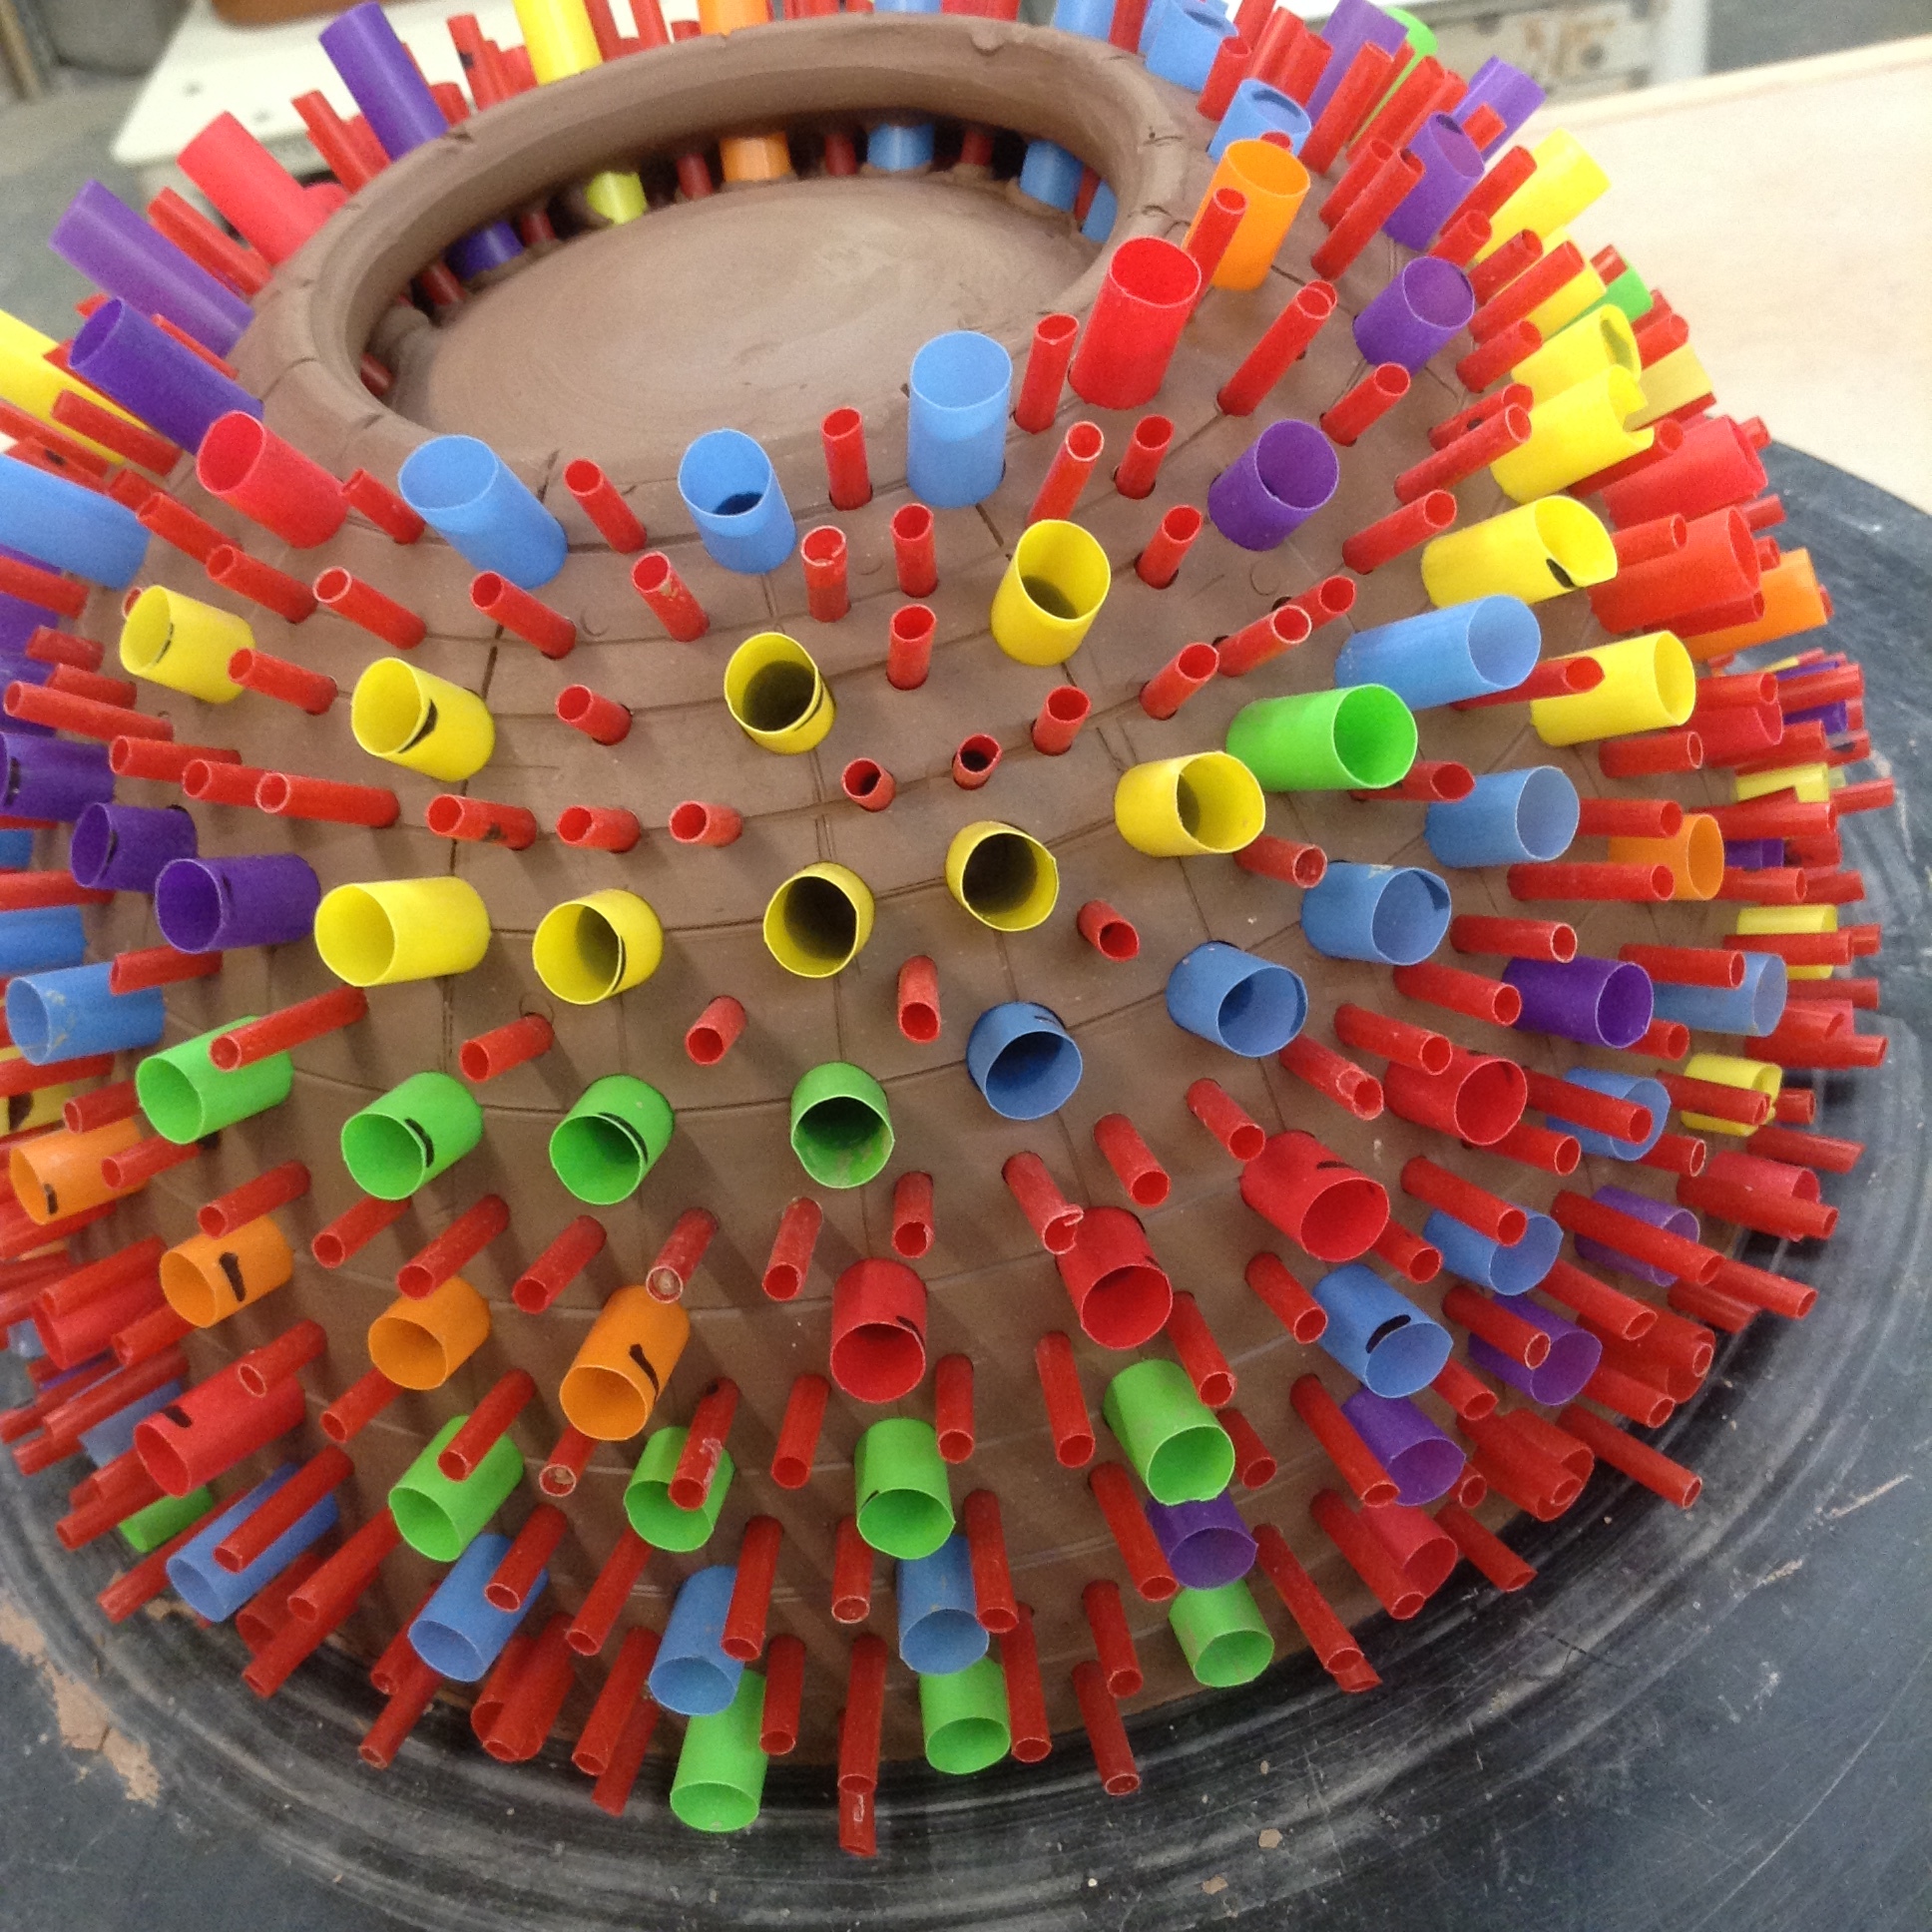
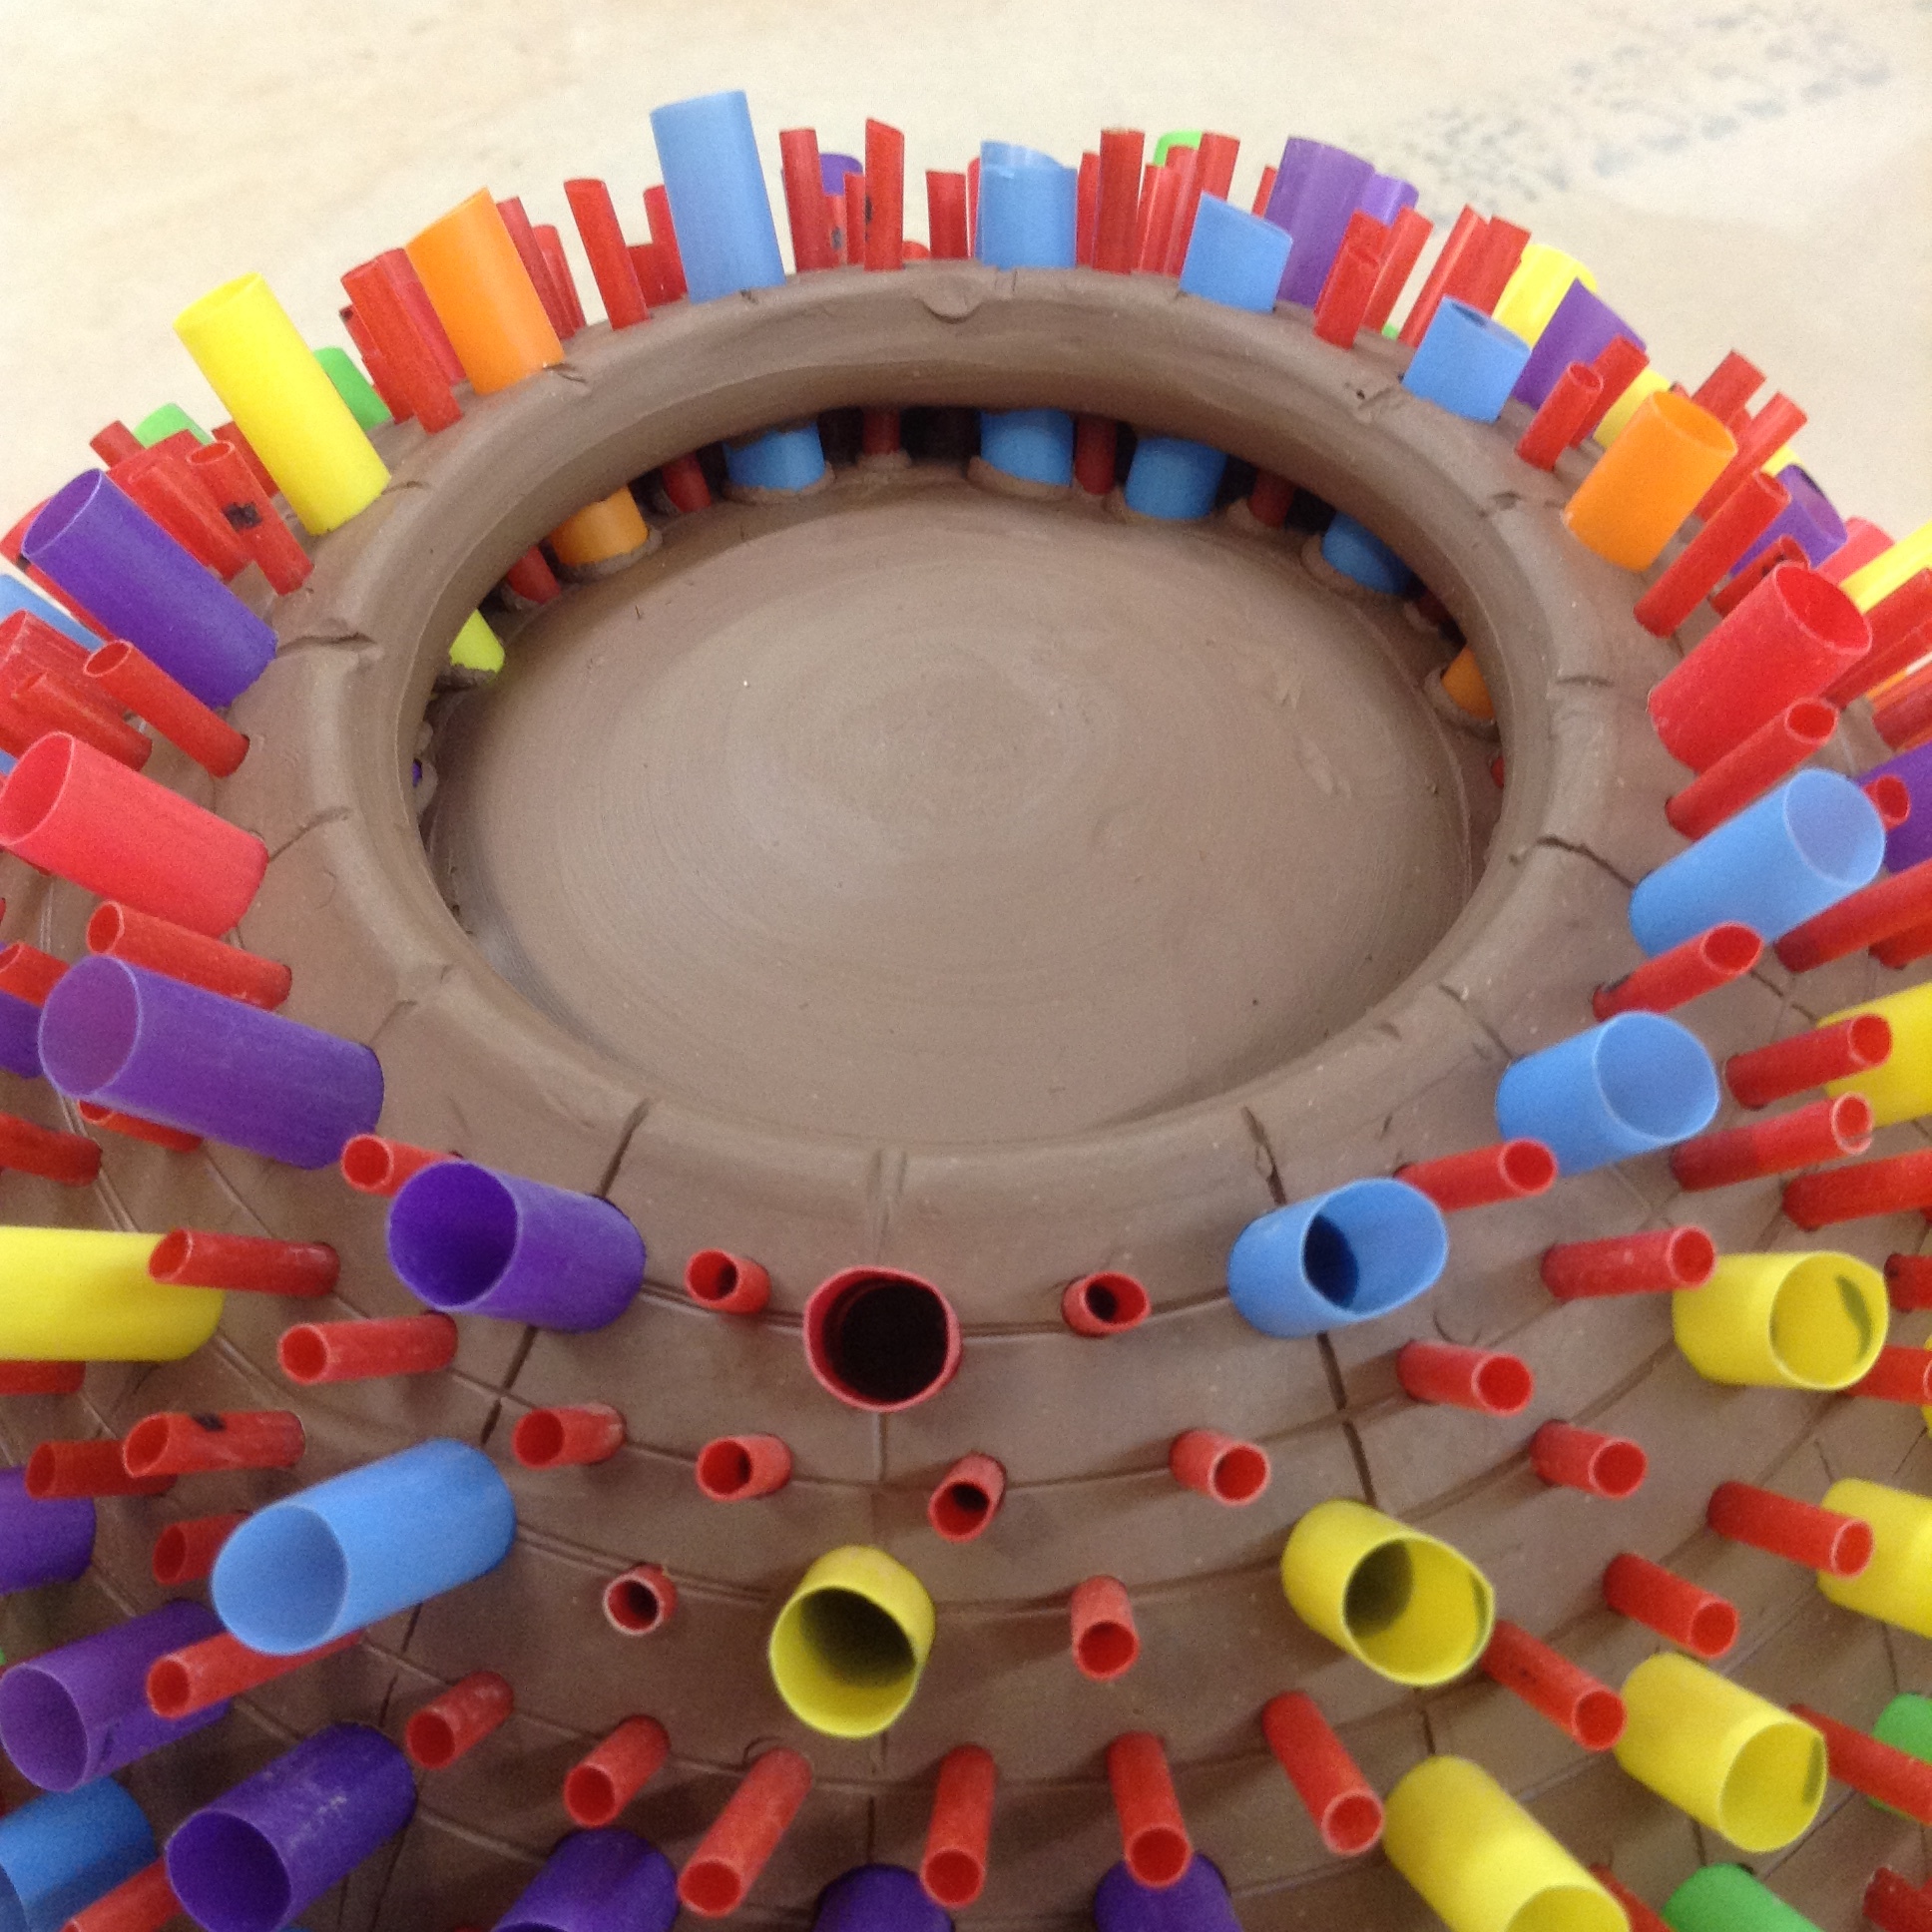
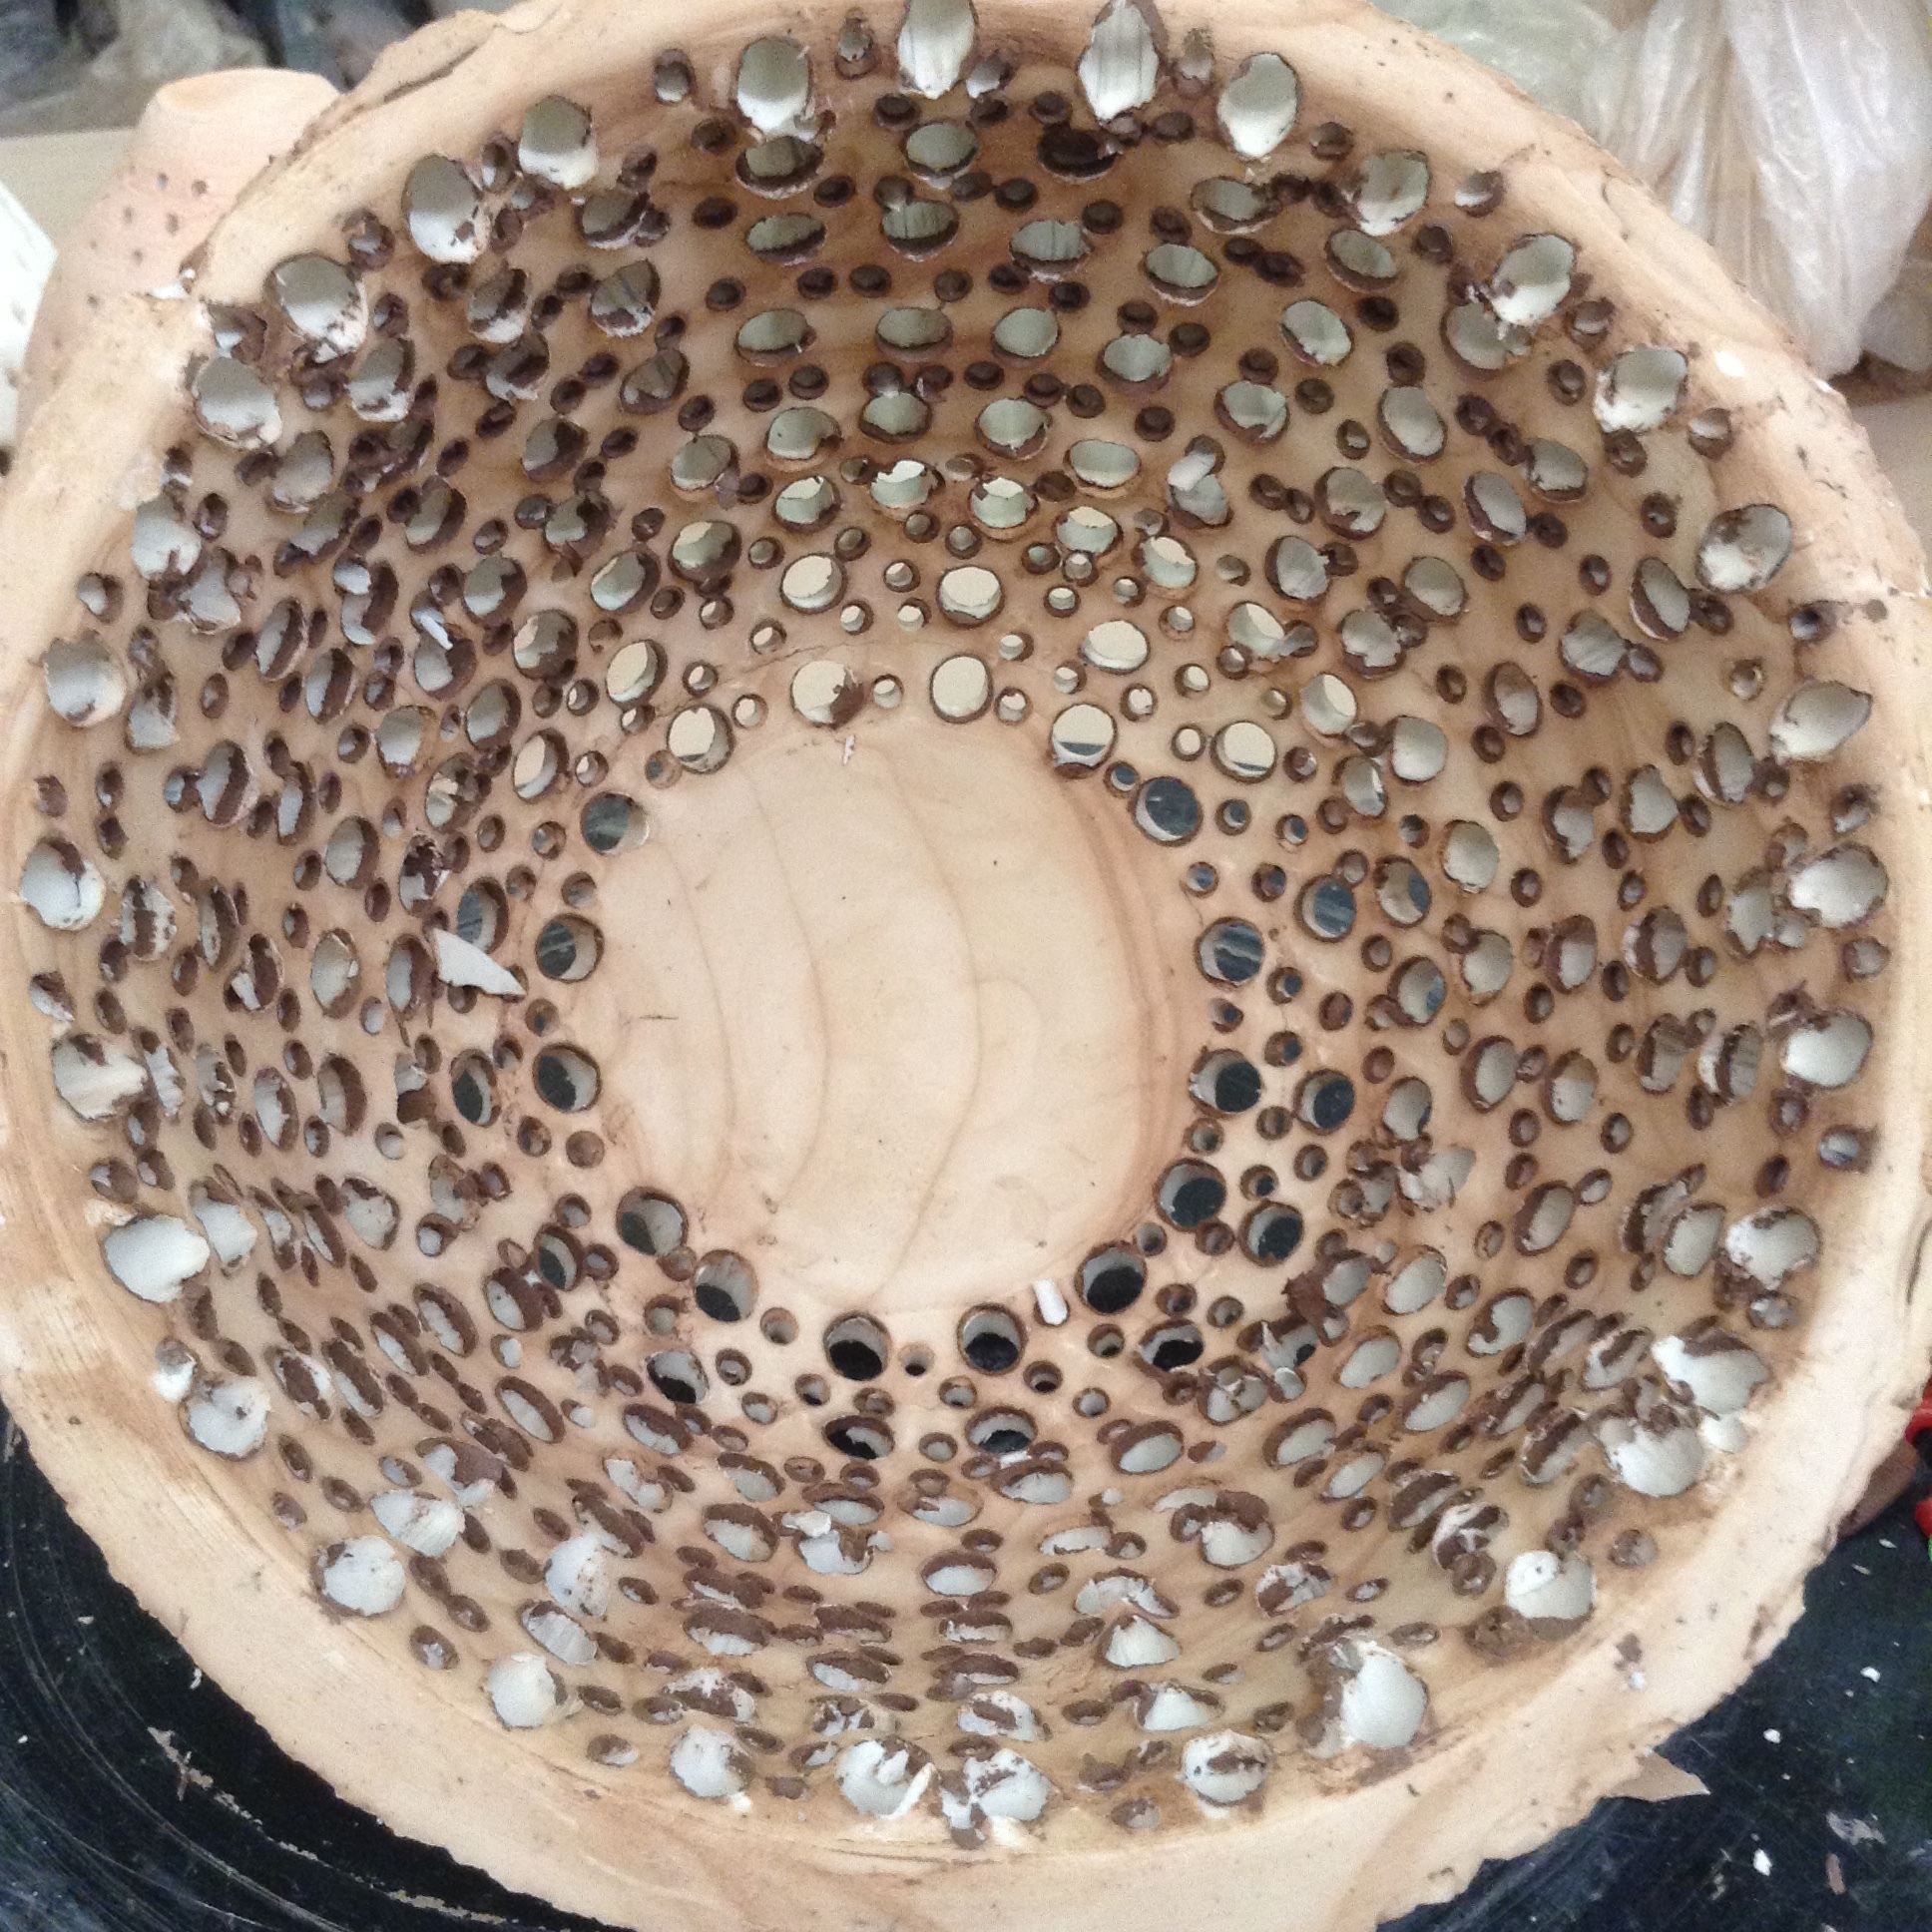
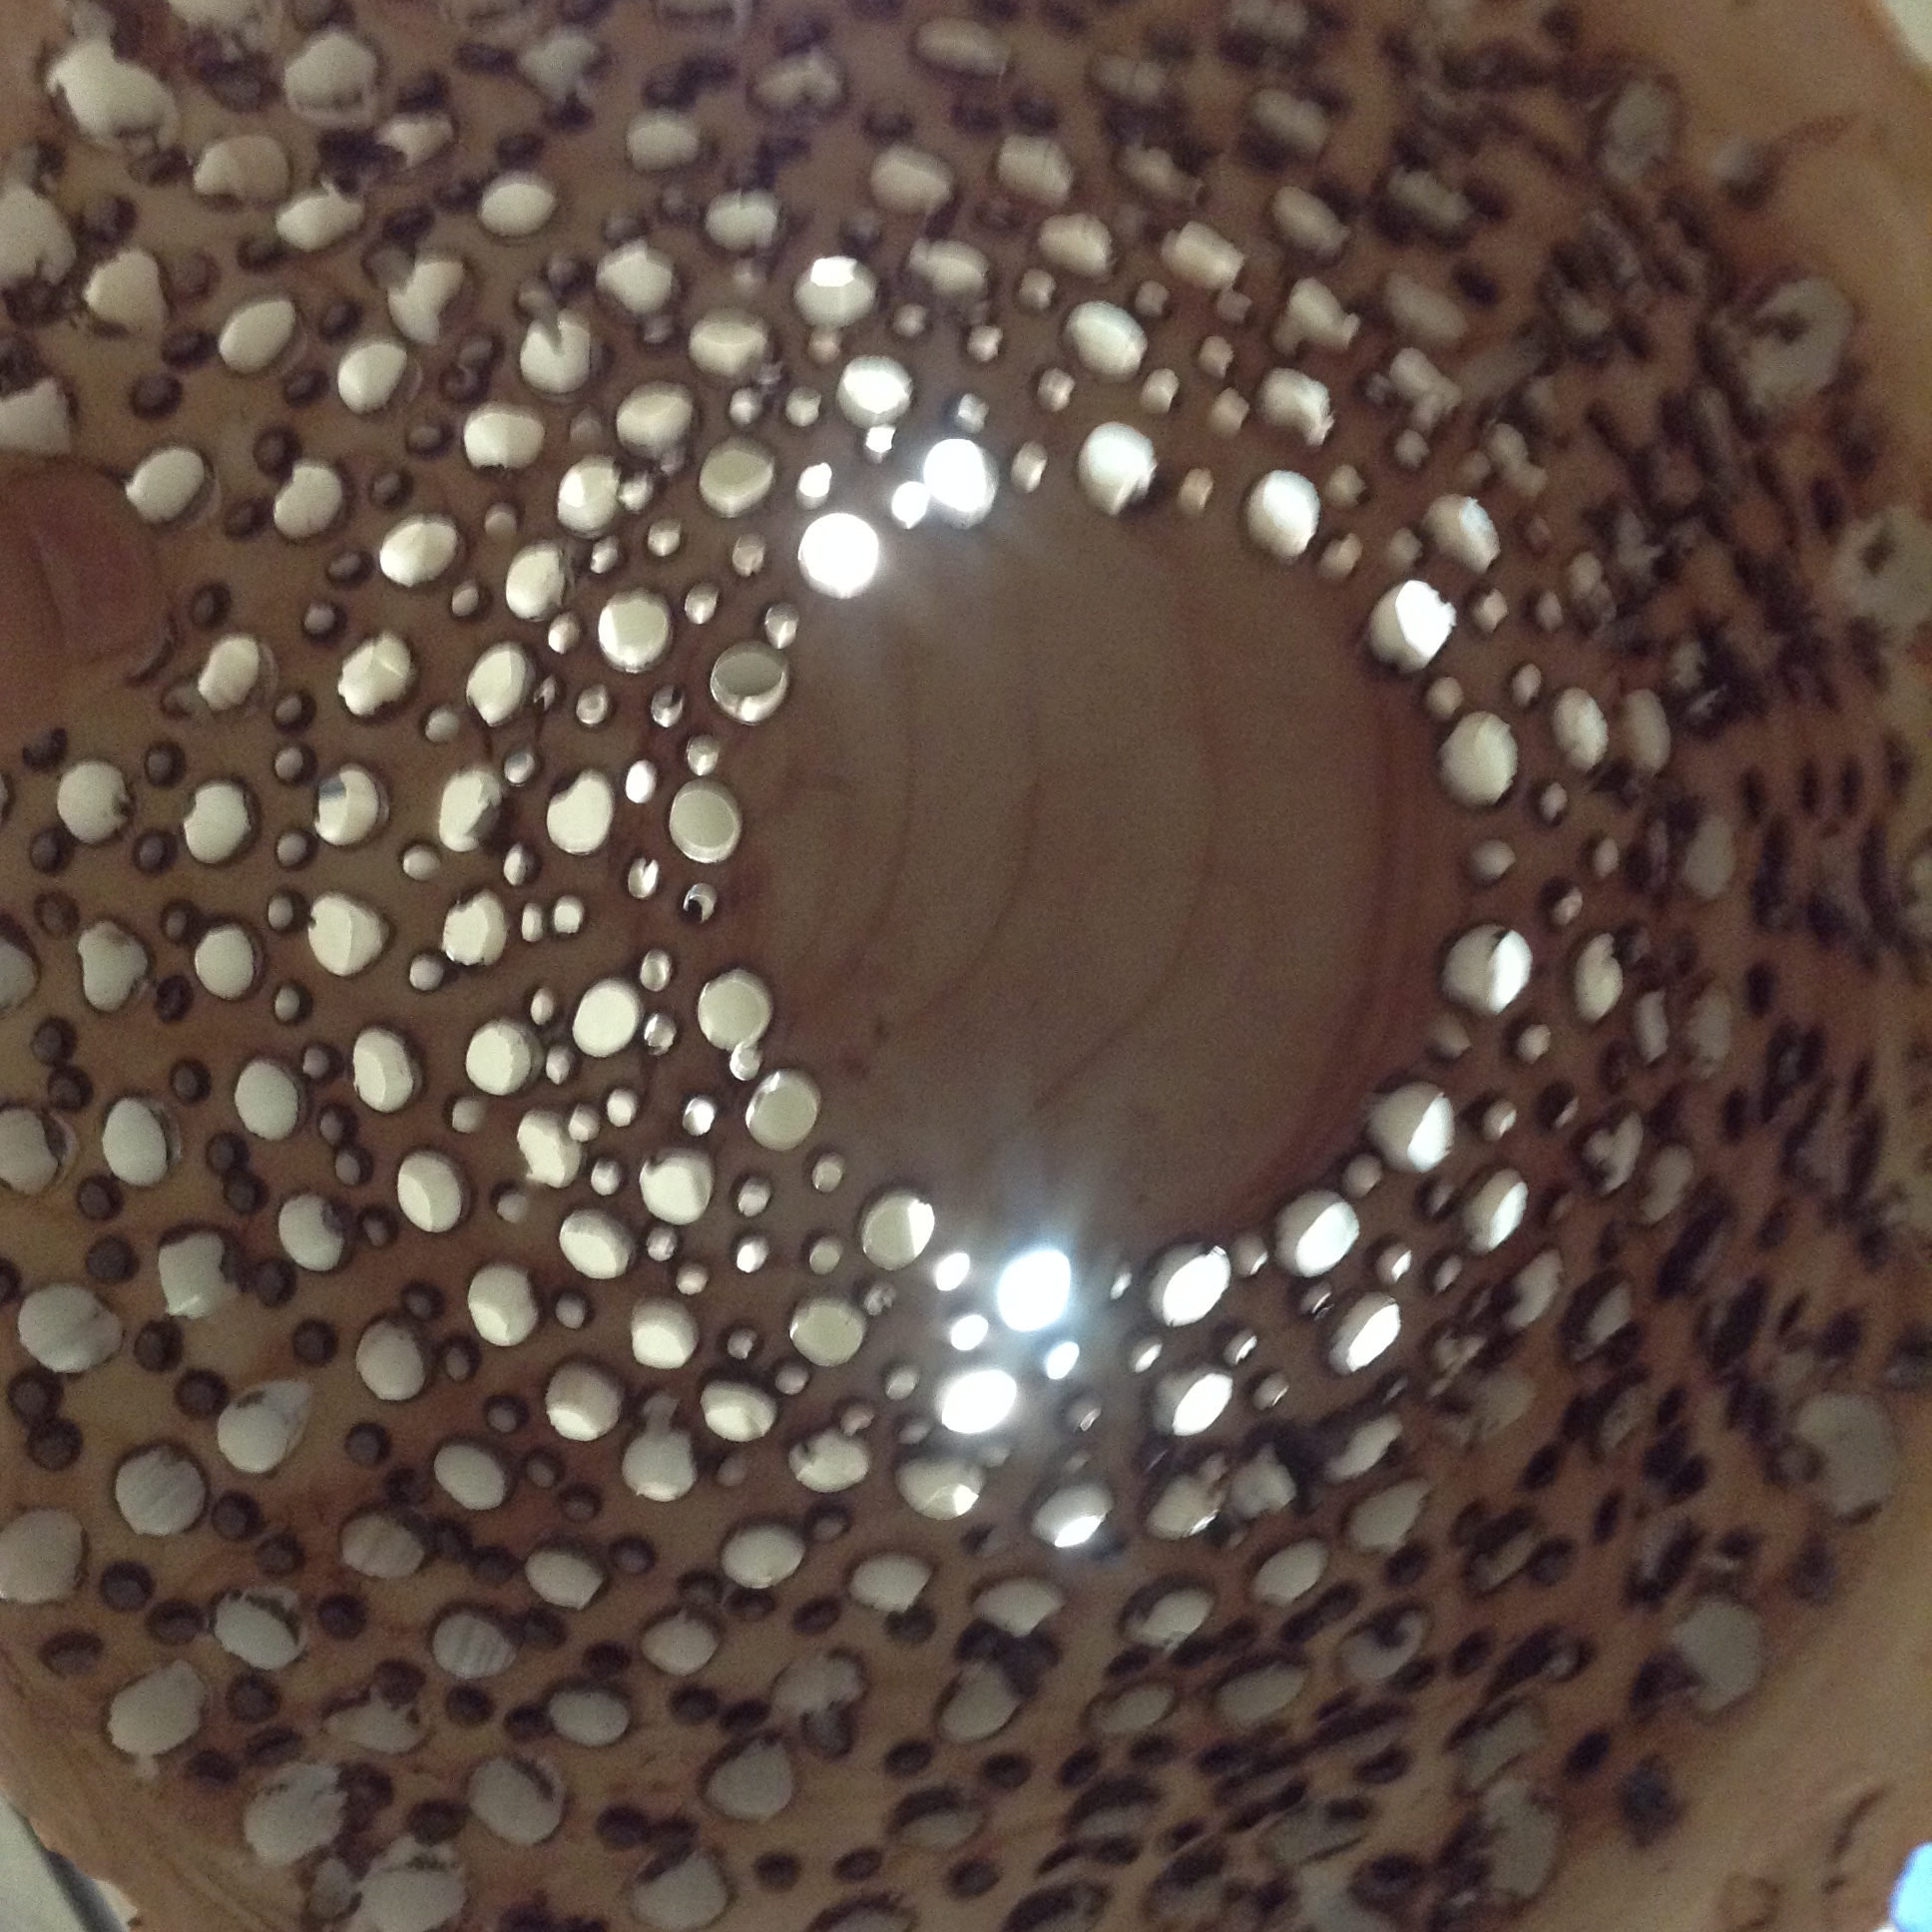
Wet pottery shapes make good temporary vessels for casting plaster. To create holes in the plaster without having a drill press, I'm pushing red plastic straws (coffee stirrers) through the clay wall to poke into the interior. When the plaster is poured, it flows around the rods, leaving those holes later when disassembled. These forms allow me to build string meshes more similar in size to the plaster core shape.

NOTES FOR POTTERS

The fact that I'm stabbing these forms with plastic straws might be irrelevant to your needs, but throwing these forms for plaster filling is easily something you might need. Here are some comments that might help:

  1. Think about how much time you have for the project. If you want to throw the forms and pour the plaster within a few hours' time, throw with as stiff a clay as you can manage, so that you don't worry that the weight and water content of the plaster doesn't collapse your form before the plaster sets harder.
  2. For more leisurely timing across a number of days, throw with any clay you can handle, let the forms get to leather hard on their own. Make sure that tall, narrow forms get to the late leather-hard stage for stability.
  3. Use a flexible rib on the interior of the outer form, and on the outside of the inner form, to remove water, slip, throwing lines, and to refine the shape, if that's a priority for you. Freshly thrown clay, especially if wide of design, and made of really floppy clay,  might collapse under the weight of the plaster. For the double wall form, where both forms are connected by their rims to the throwing surface, shape distortion is less of an issue.
  4. Check to see whether the rim of your forms are level. It will be convenient if the rim is parallel to the table surface where you'll be pouring the plaster. Use a cutting tool to trim off any extra height wobble the thrown piece may have. This will allow you to fill the entire for with plaster.
  5. It will be very convenient if the rim of the outer form is flared slightly when made. This flare flattens against the base surface, which can then be flattened and sealed with your fingers.
  6. Don't make the walls thinner than about the thickness of your pinky finger. This shouldn't give you too much trouble throwing, and will still be stable enough to support the weight of the plaster.
  7. Try smaller shapes first, possibly setting up two or three. Then when you mix the plaster, you can fill all the molds at once.


SOLID PLASTER FORMS FROM SIMPLE THROWN SHAPES

Here are videos of the pouring plaster, and of the dismantling of the plaster after it has hardened.

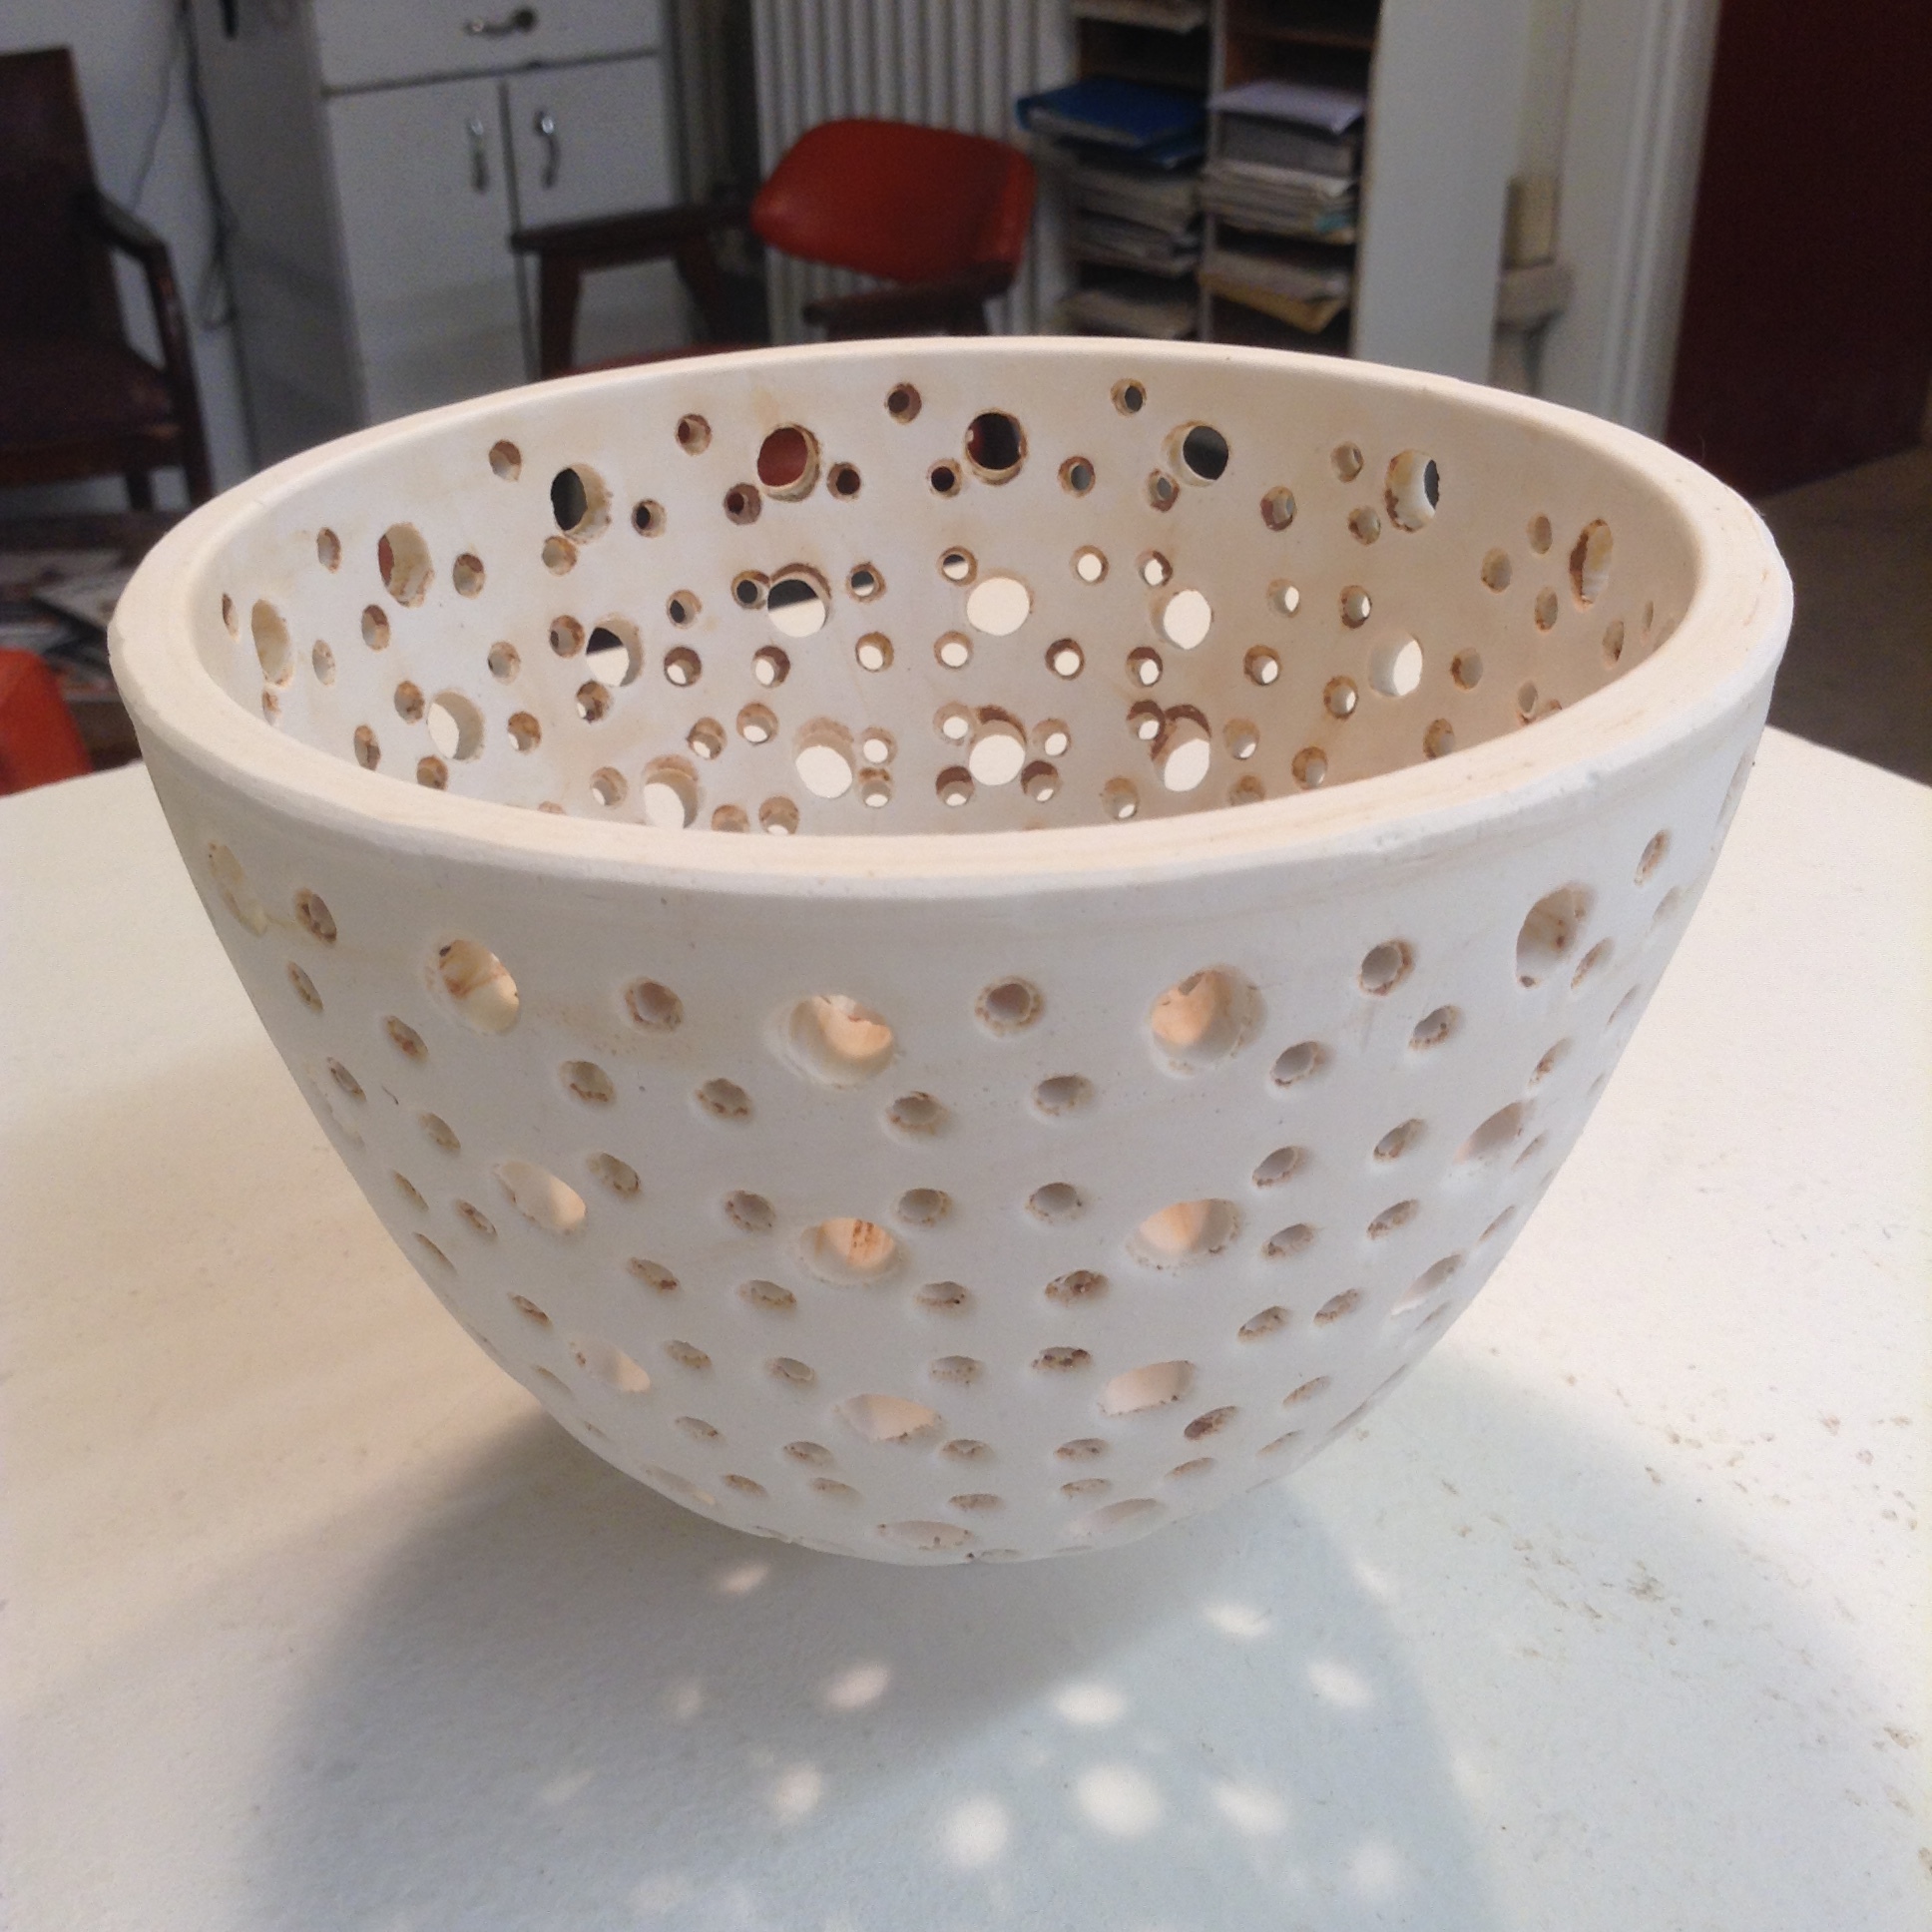
These are solid plaster, with holes. The videos in this section show how they were made.

These are solid plaster, with holes. The videos in this section show how they were made.

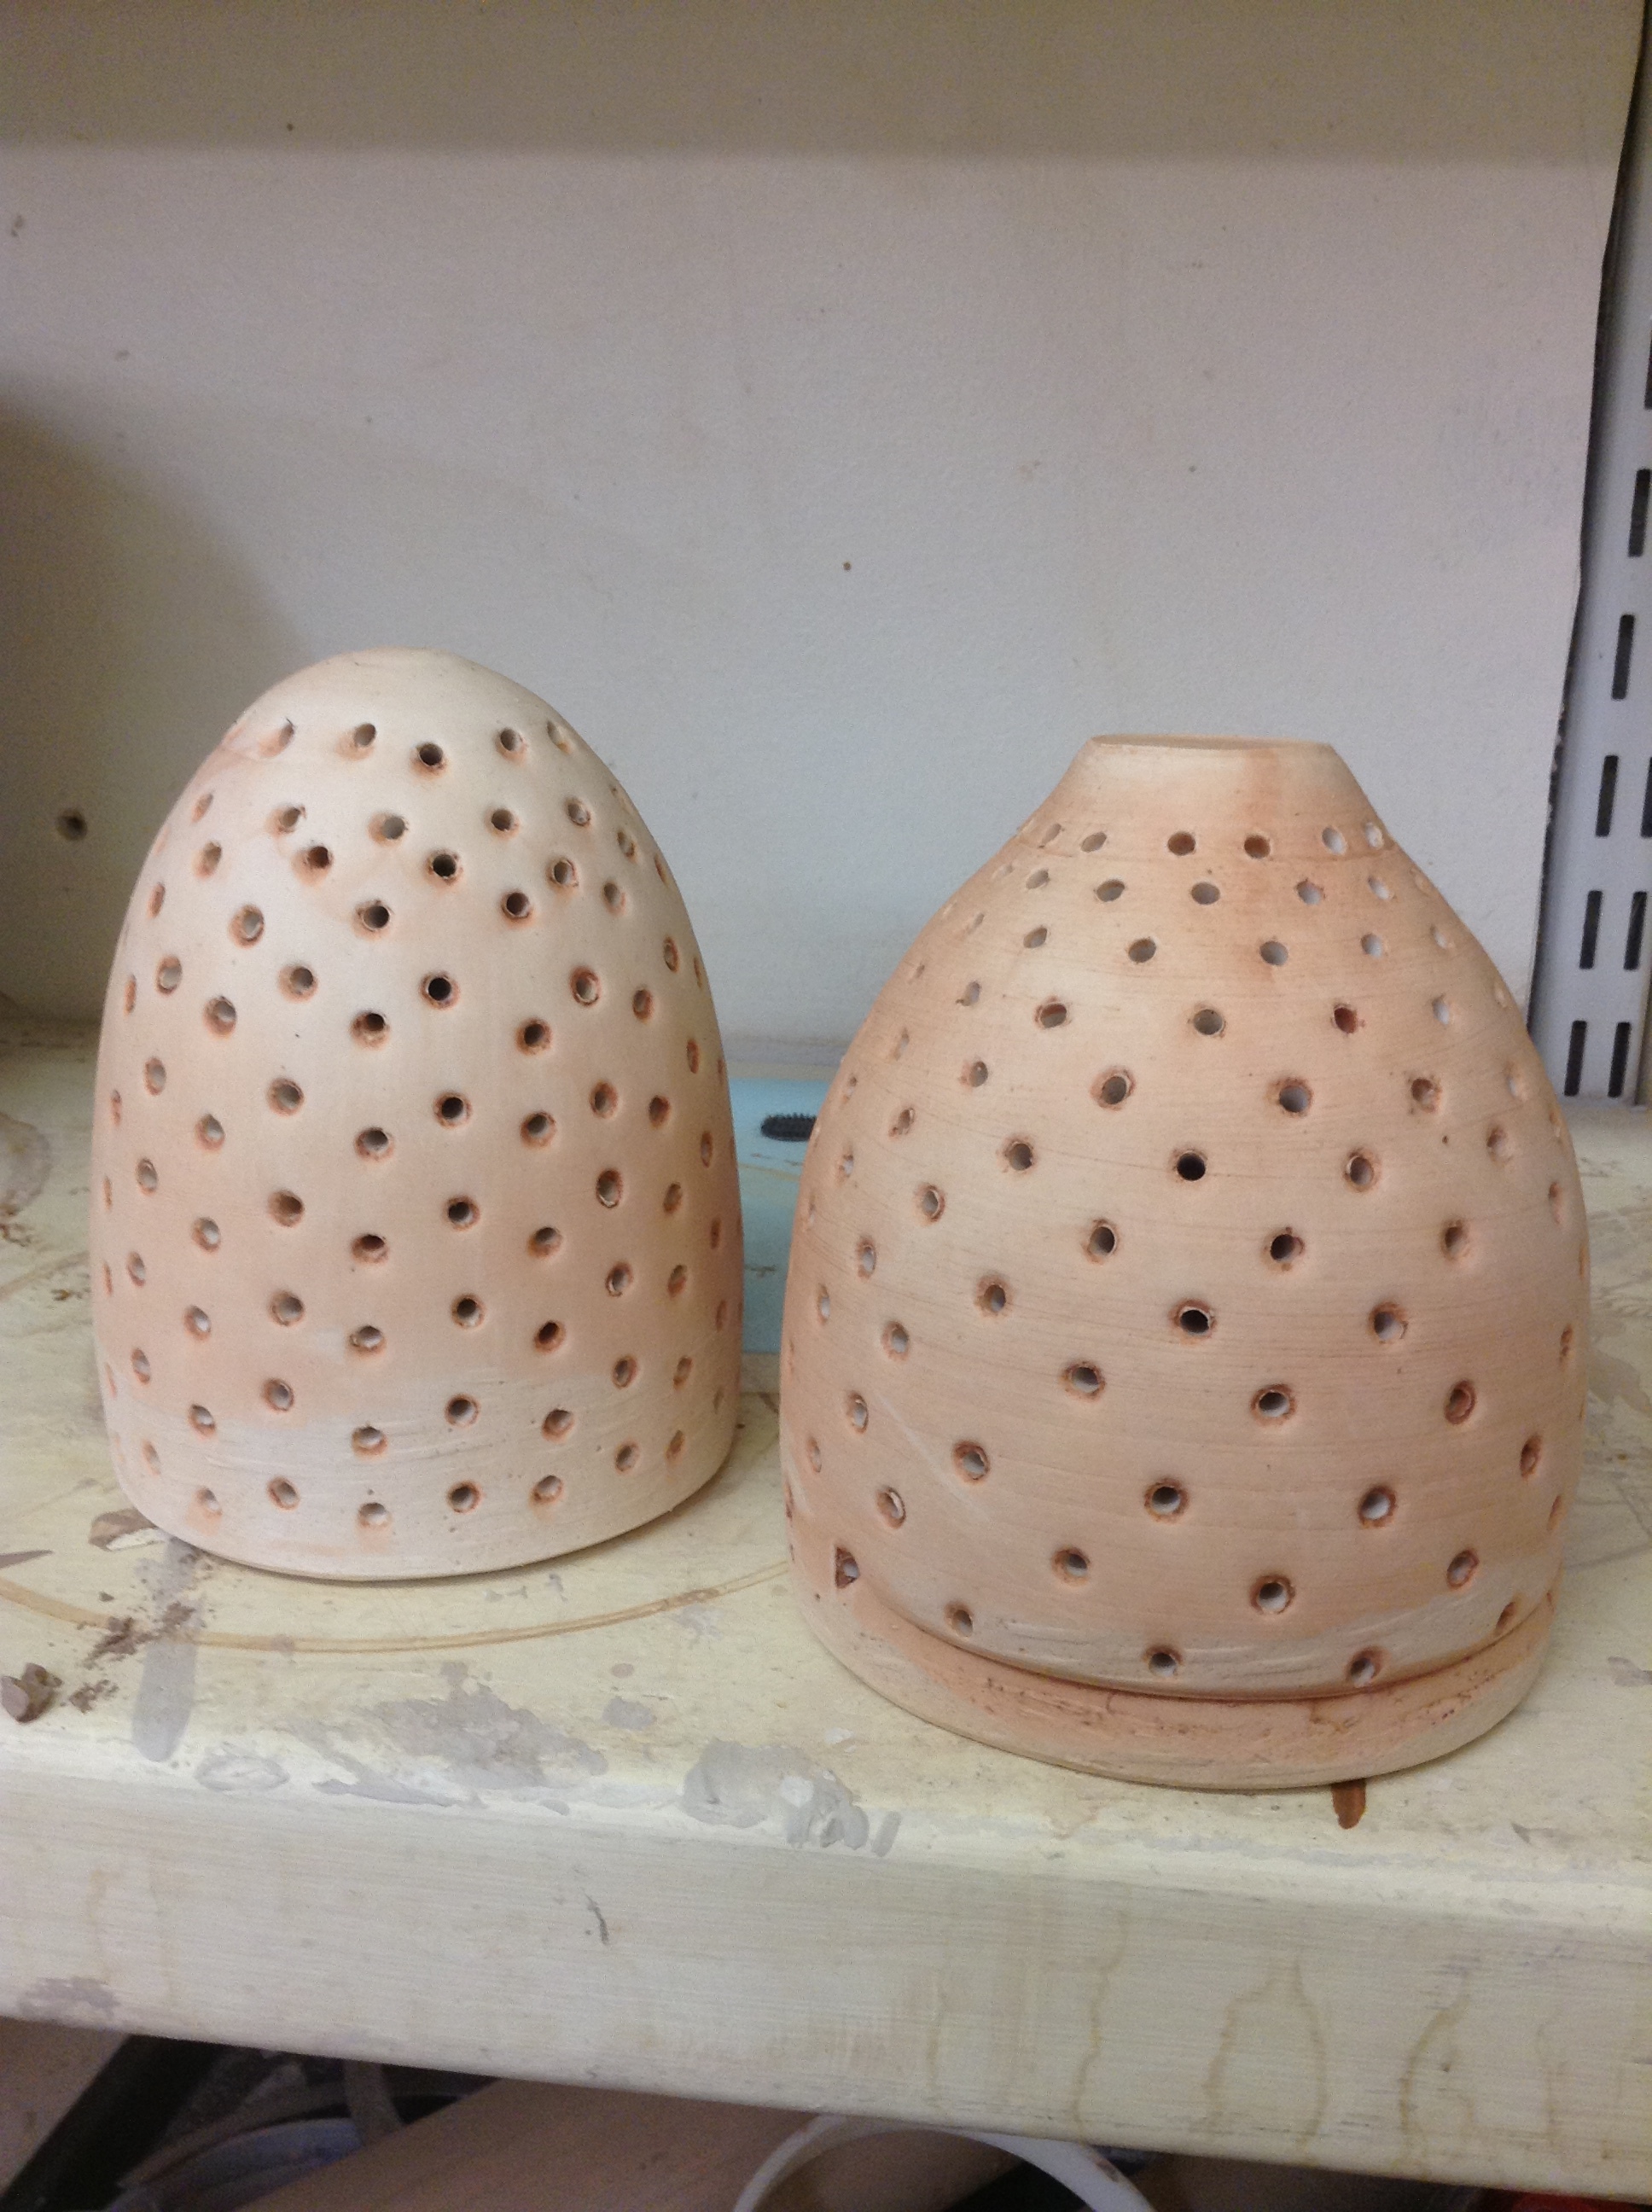
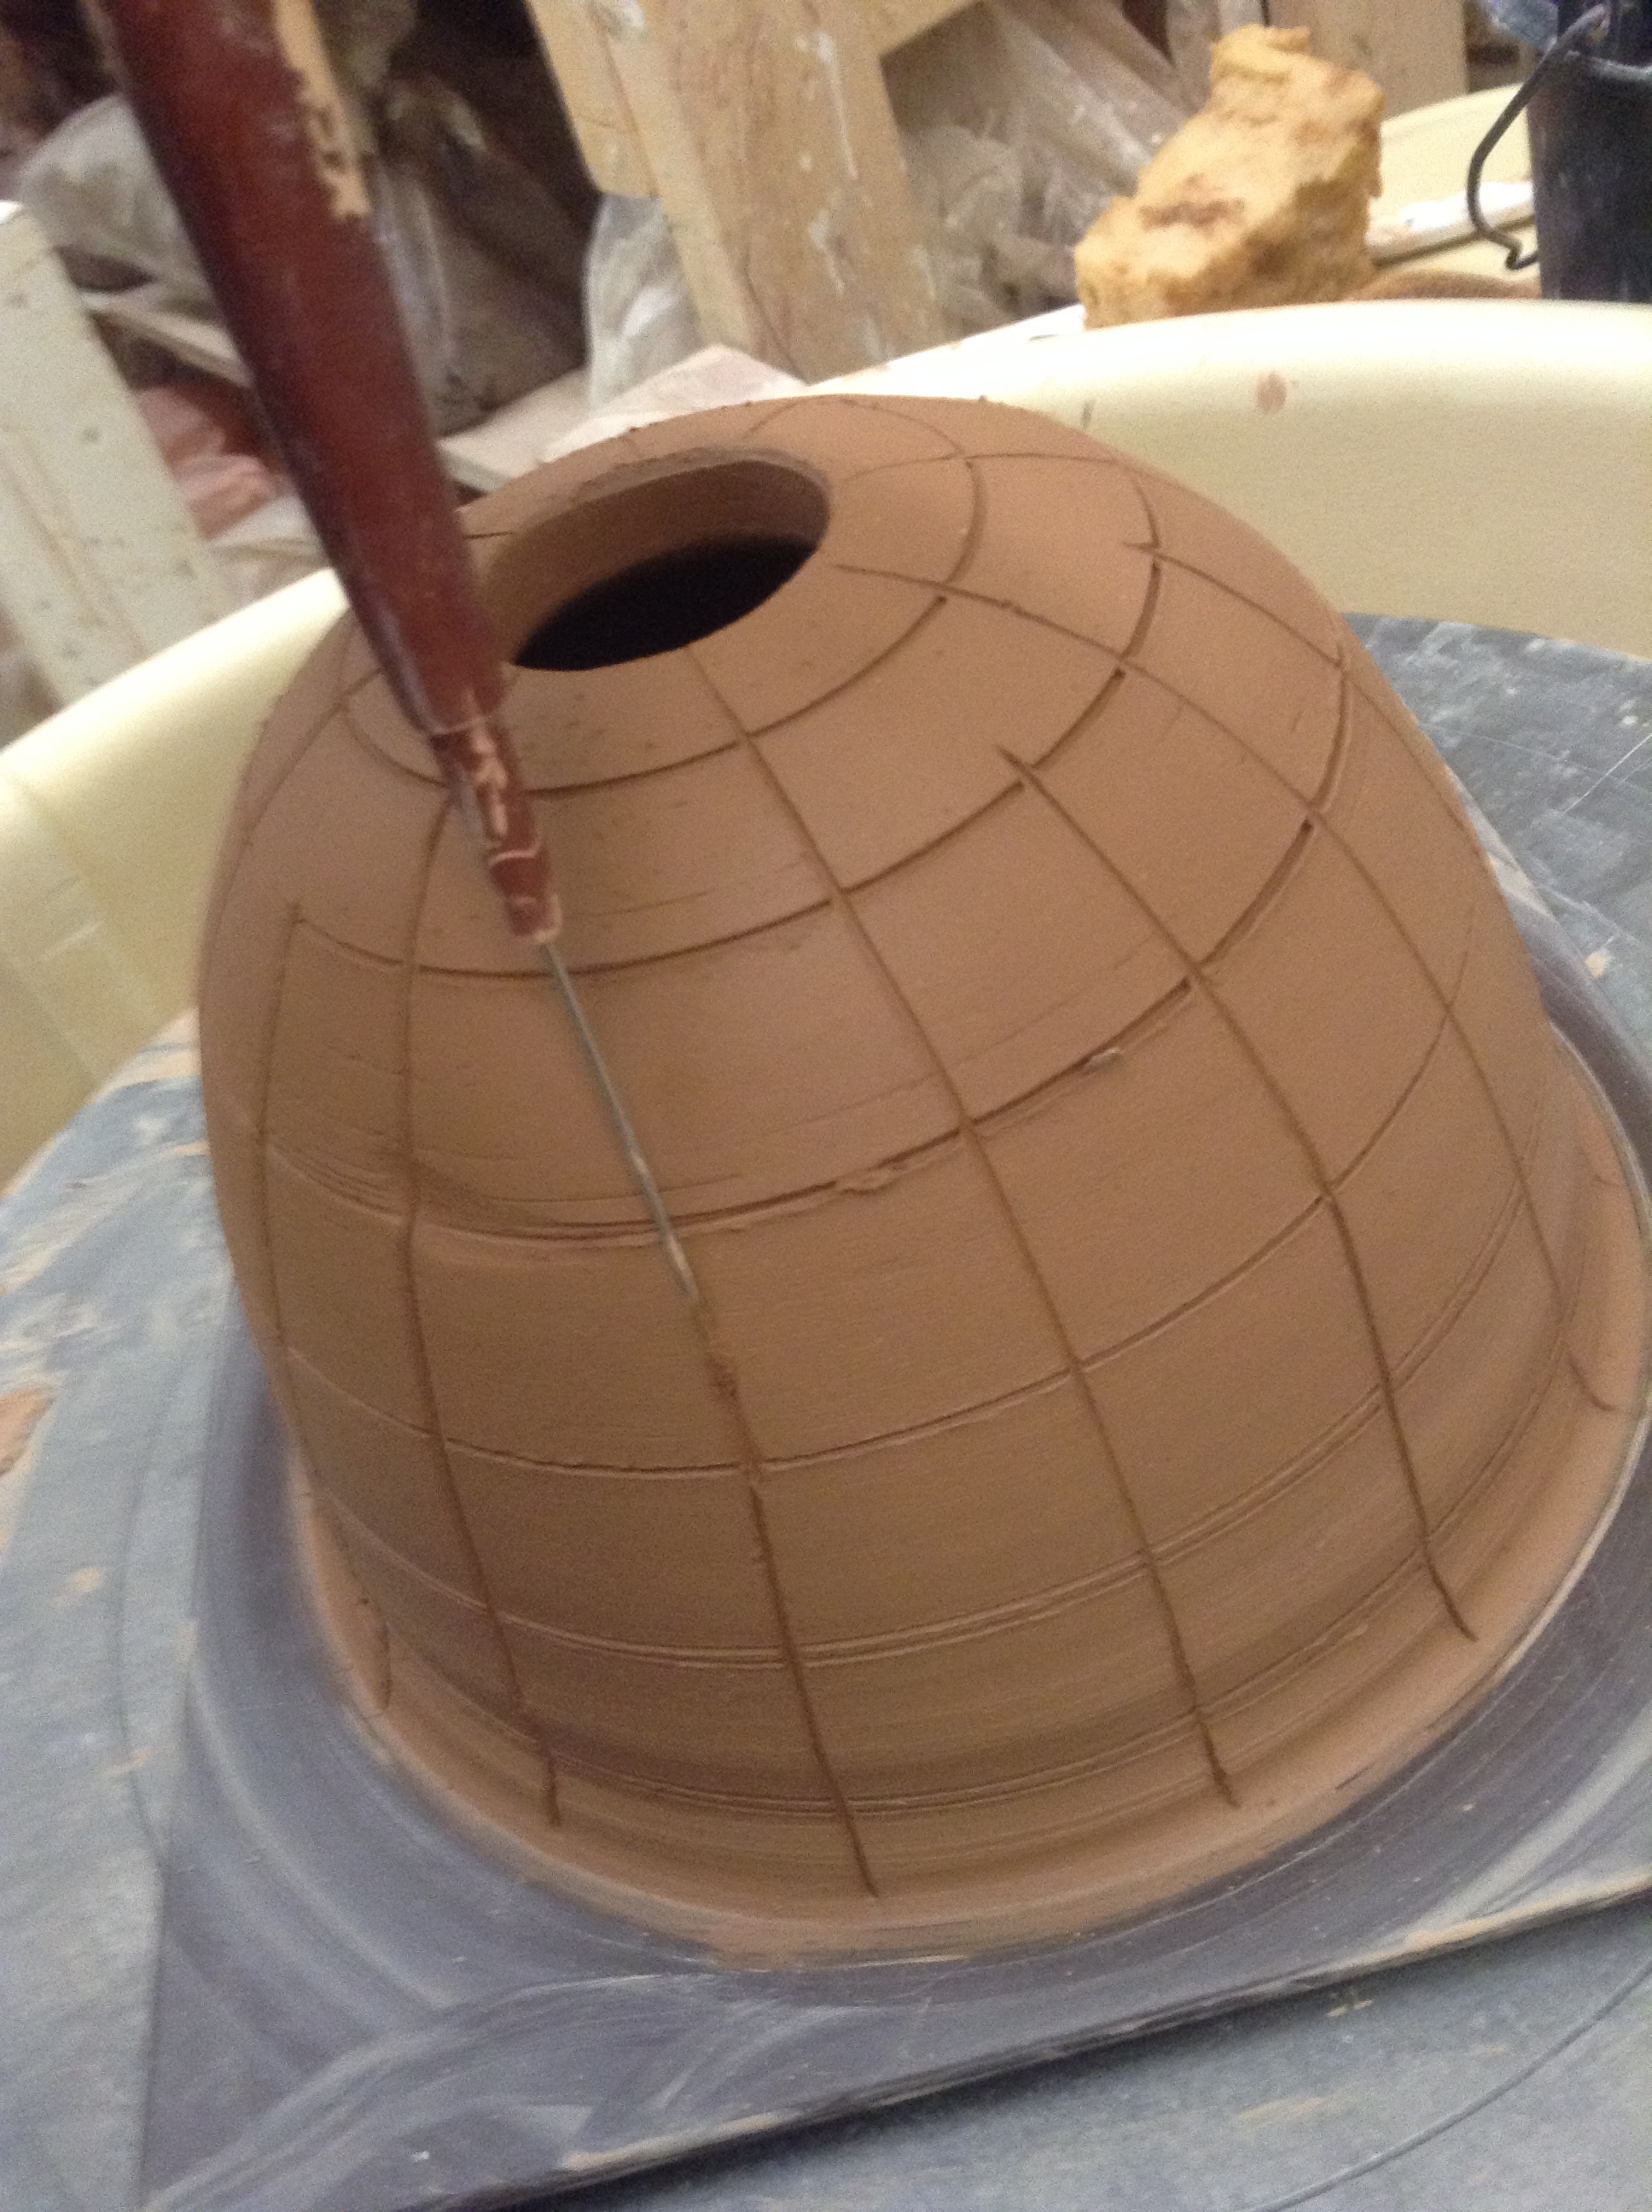
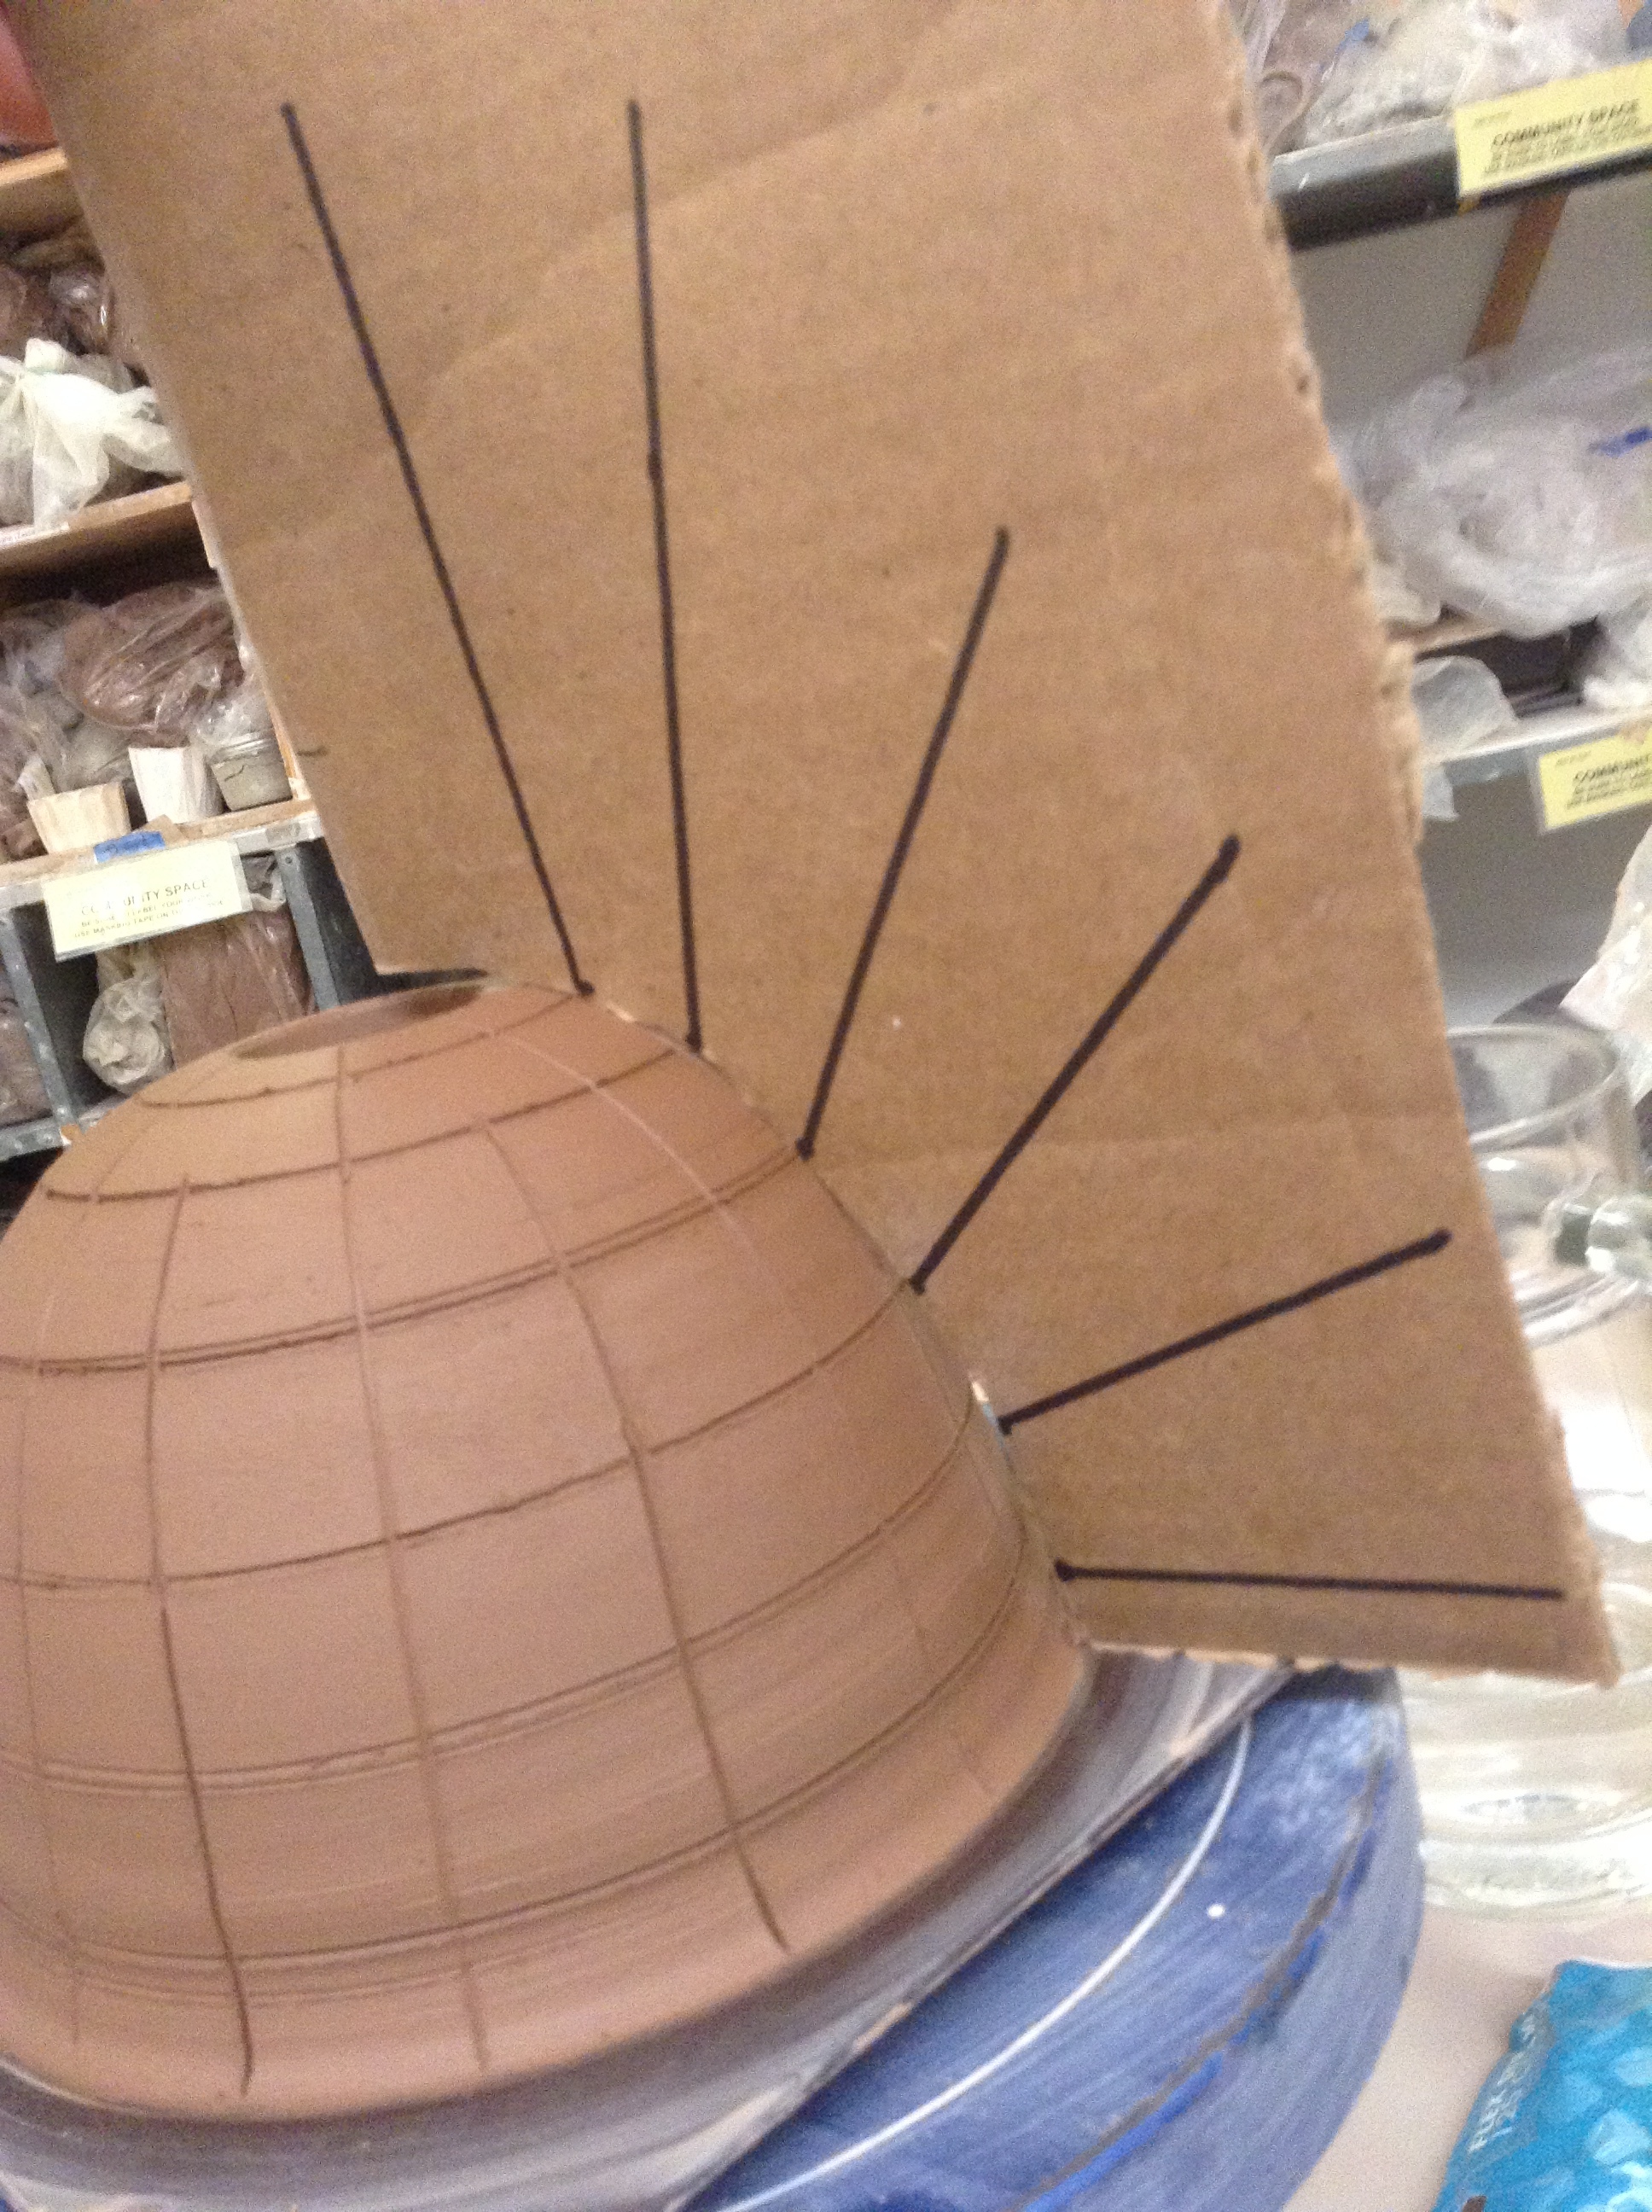
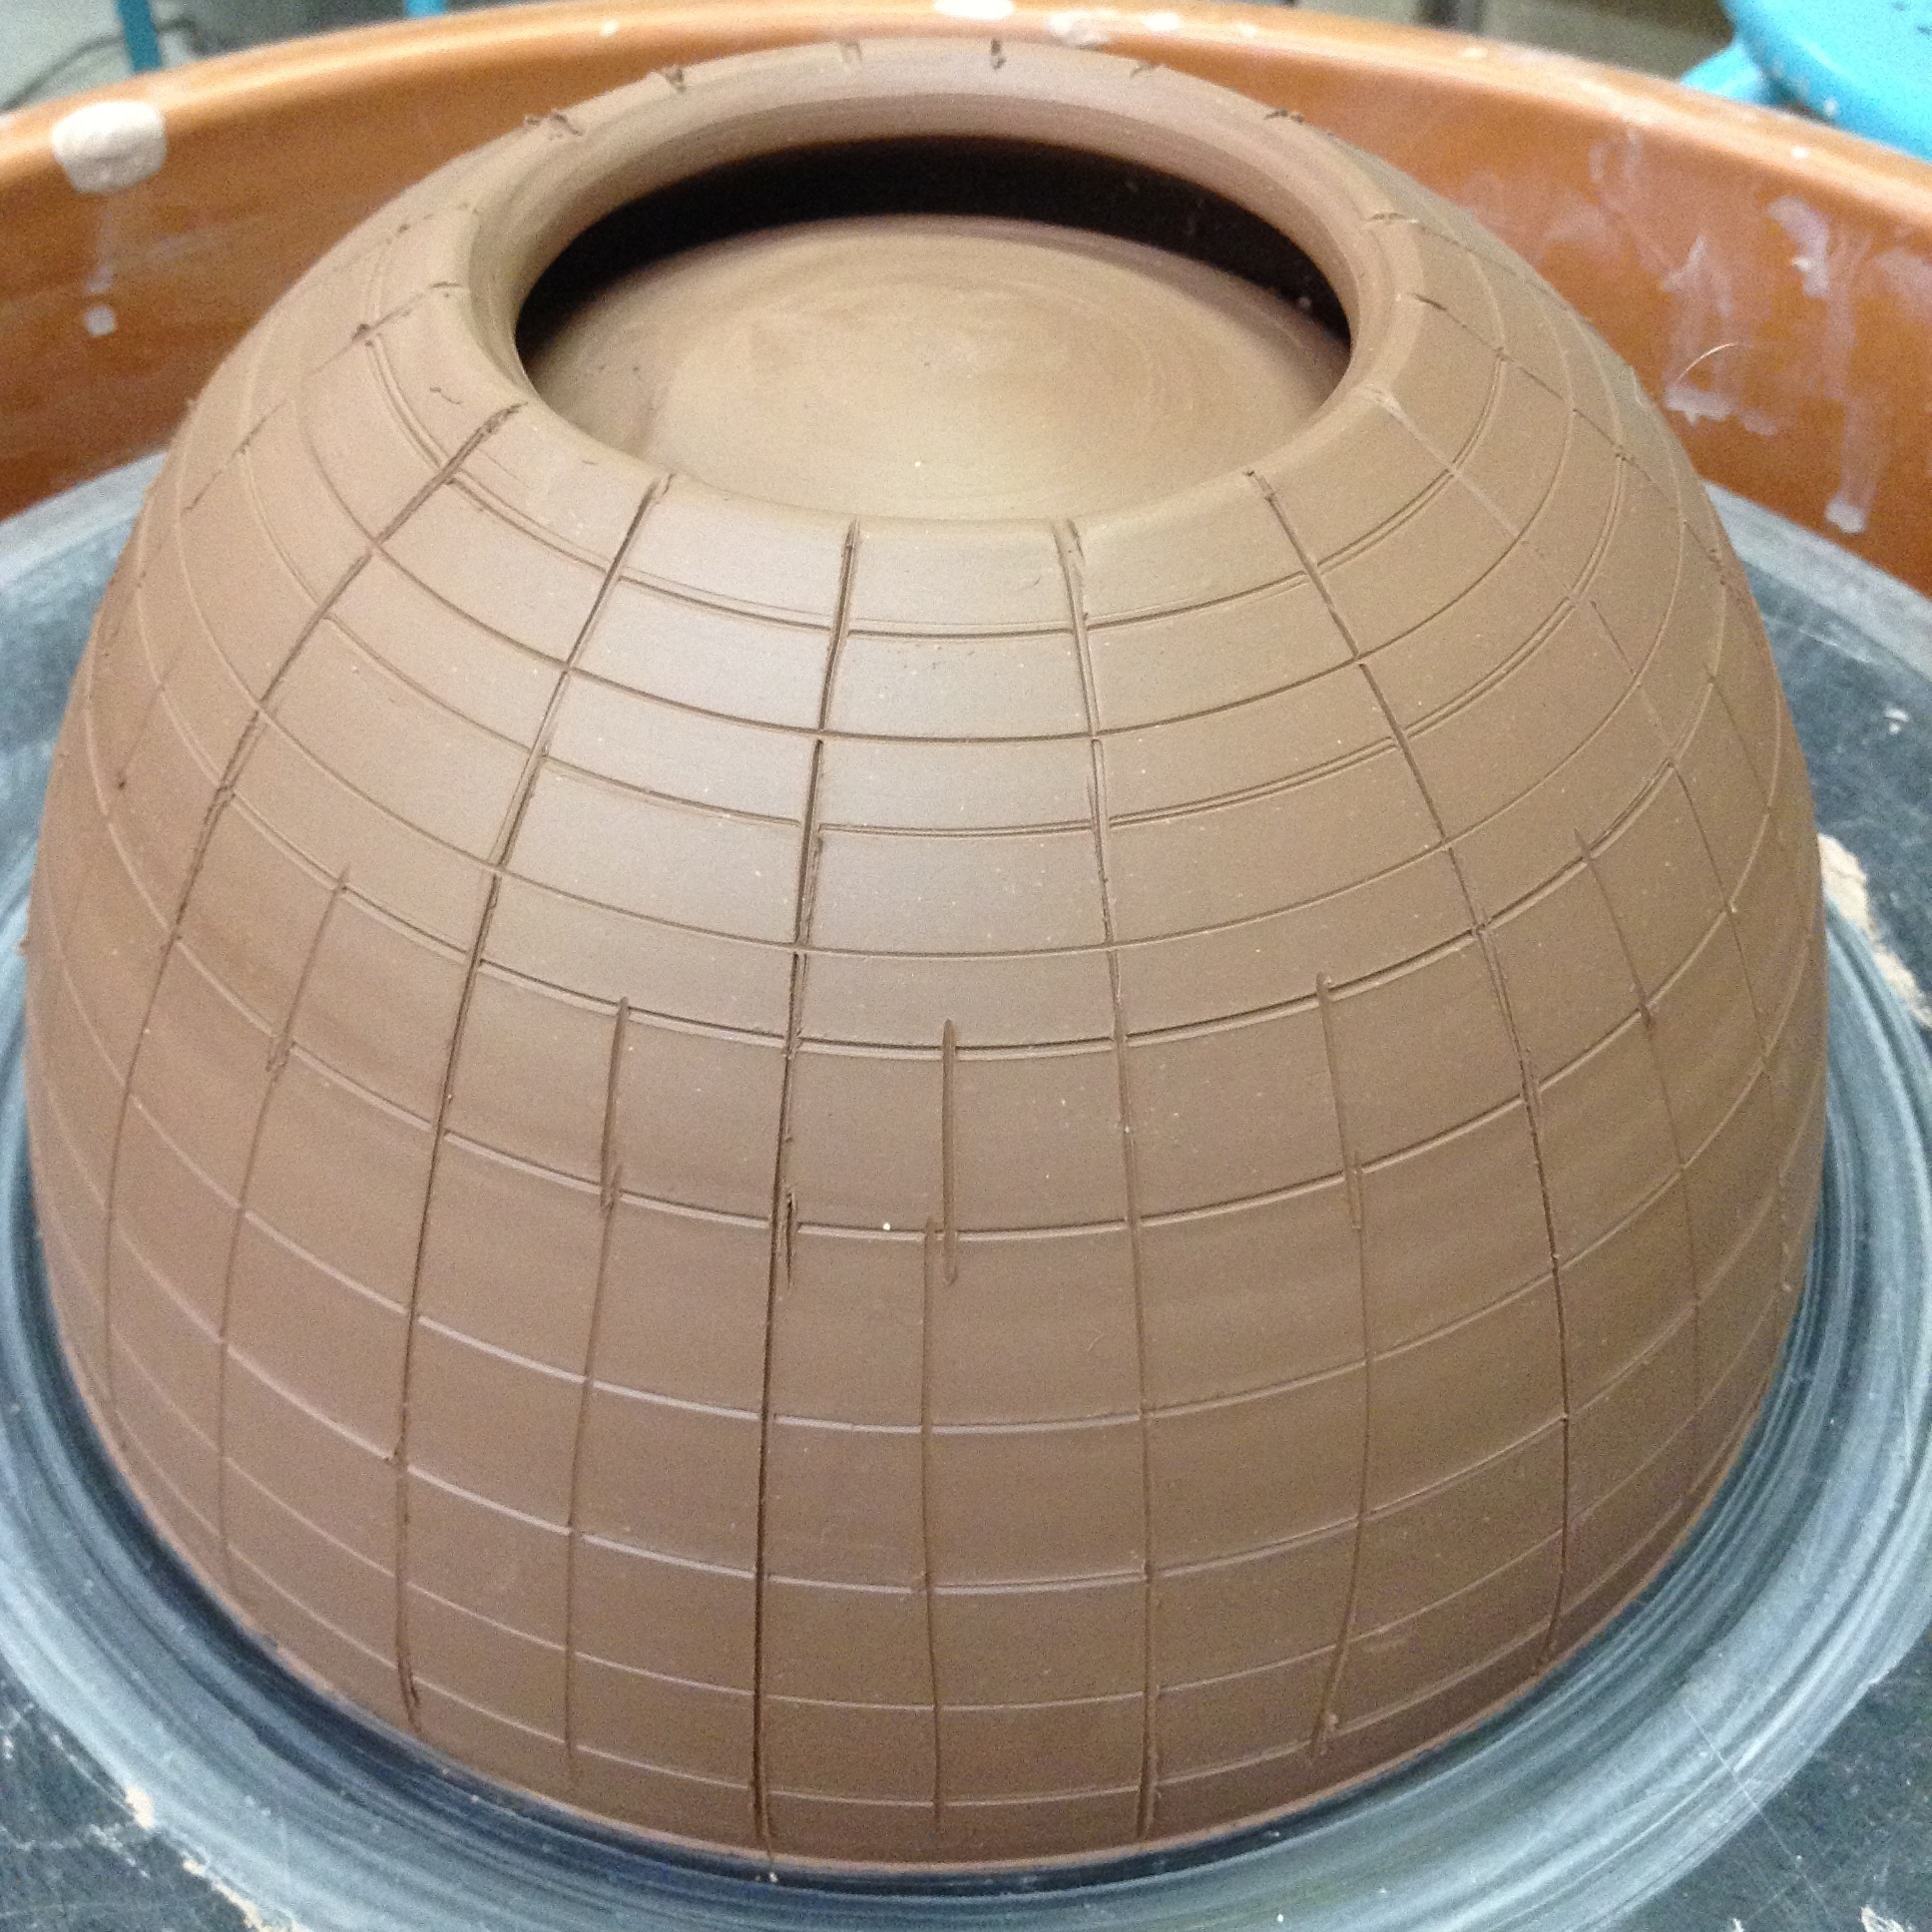
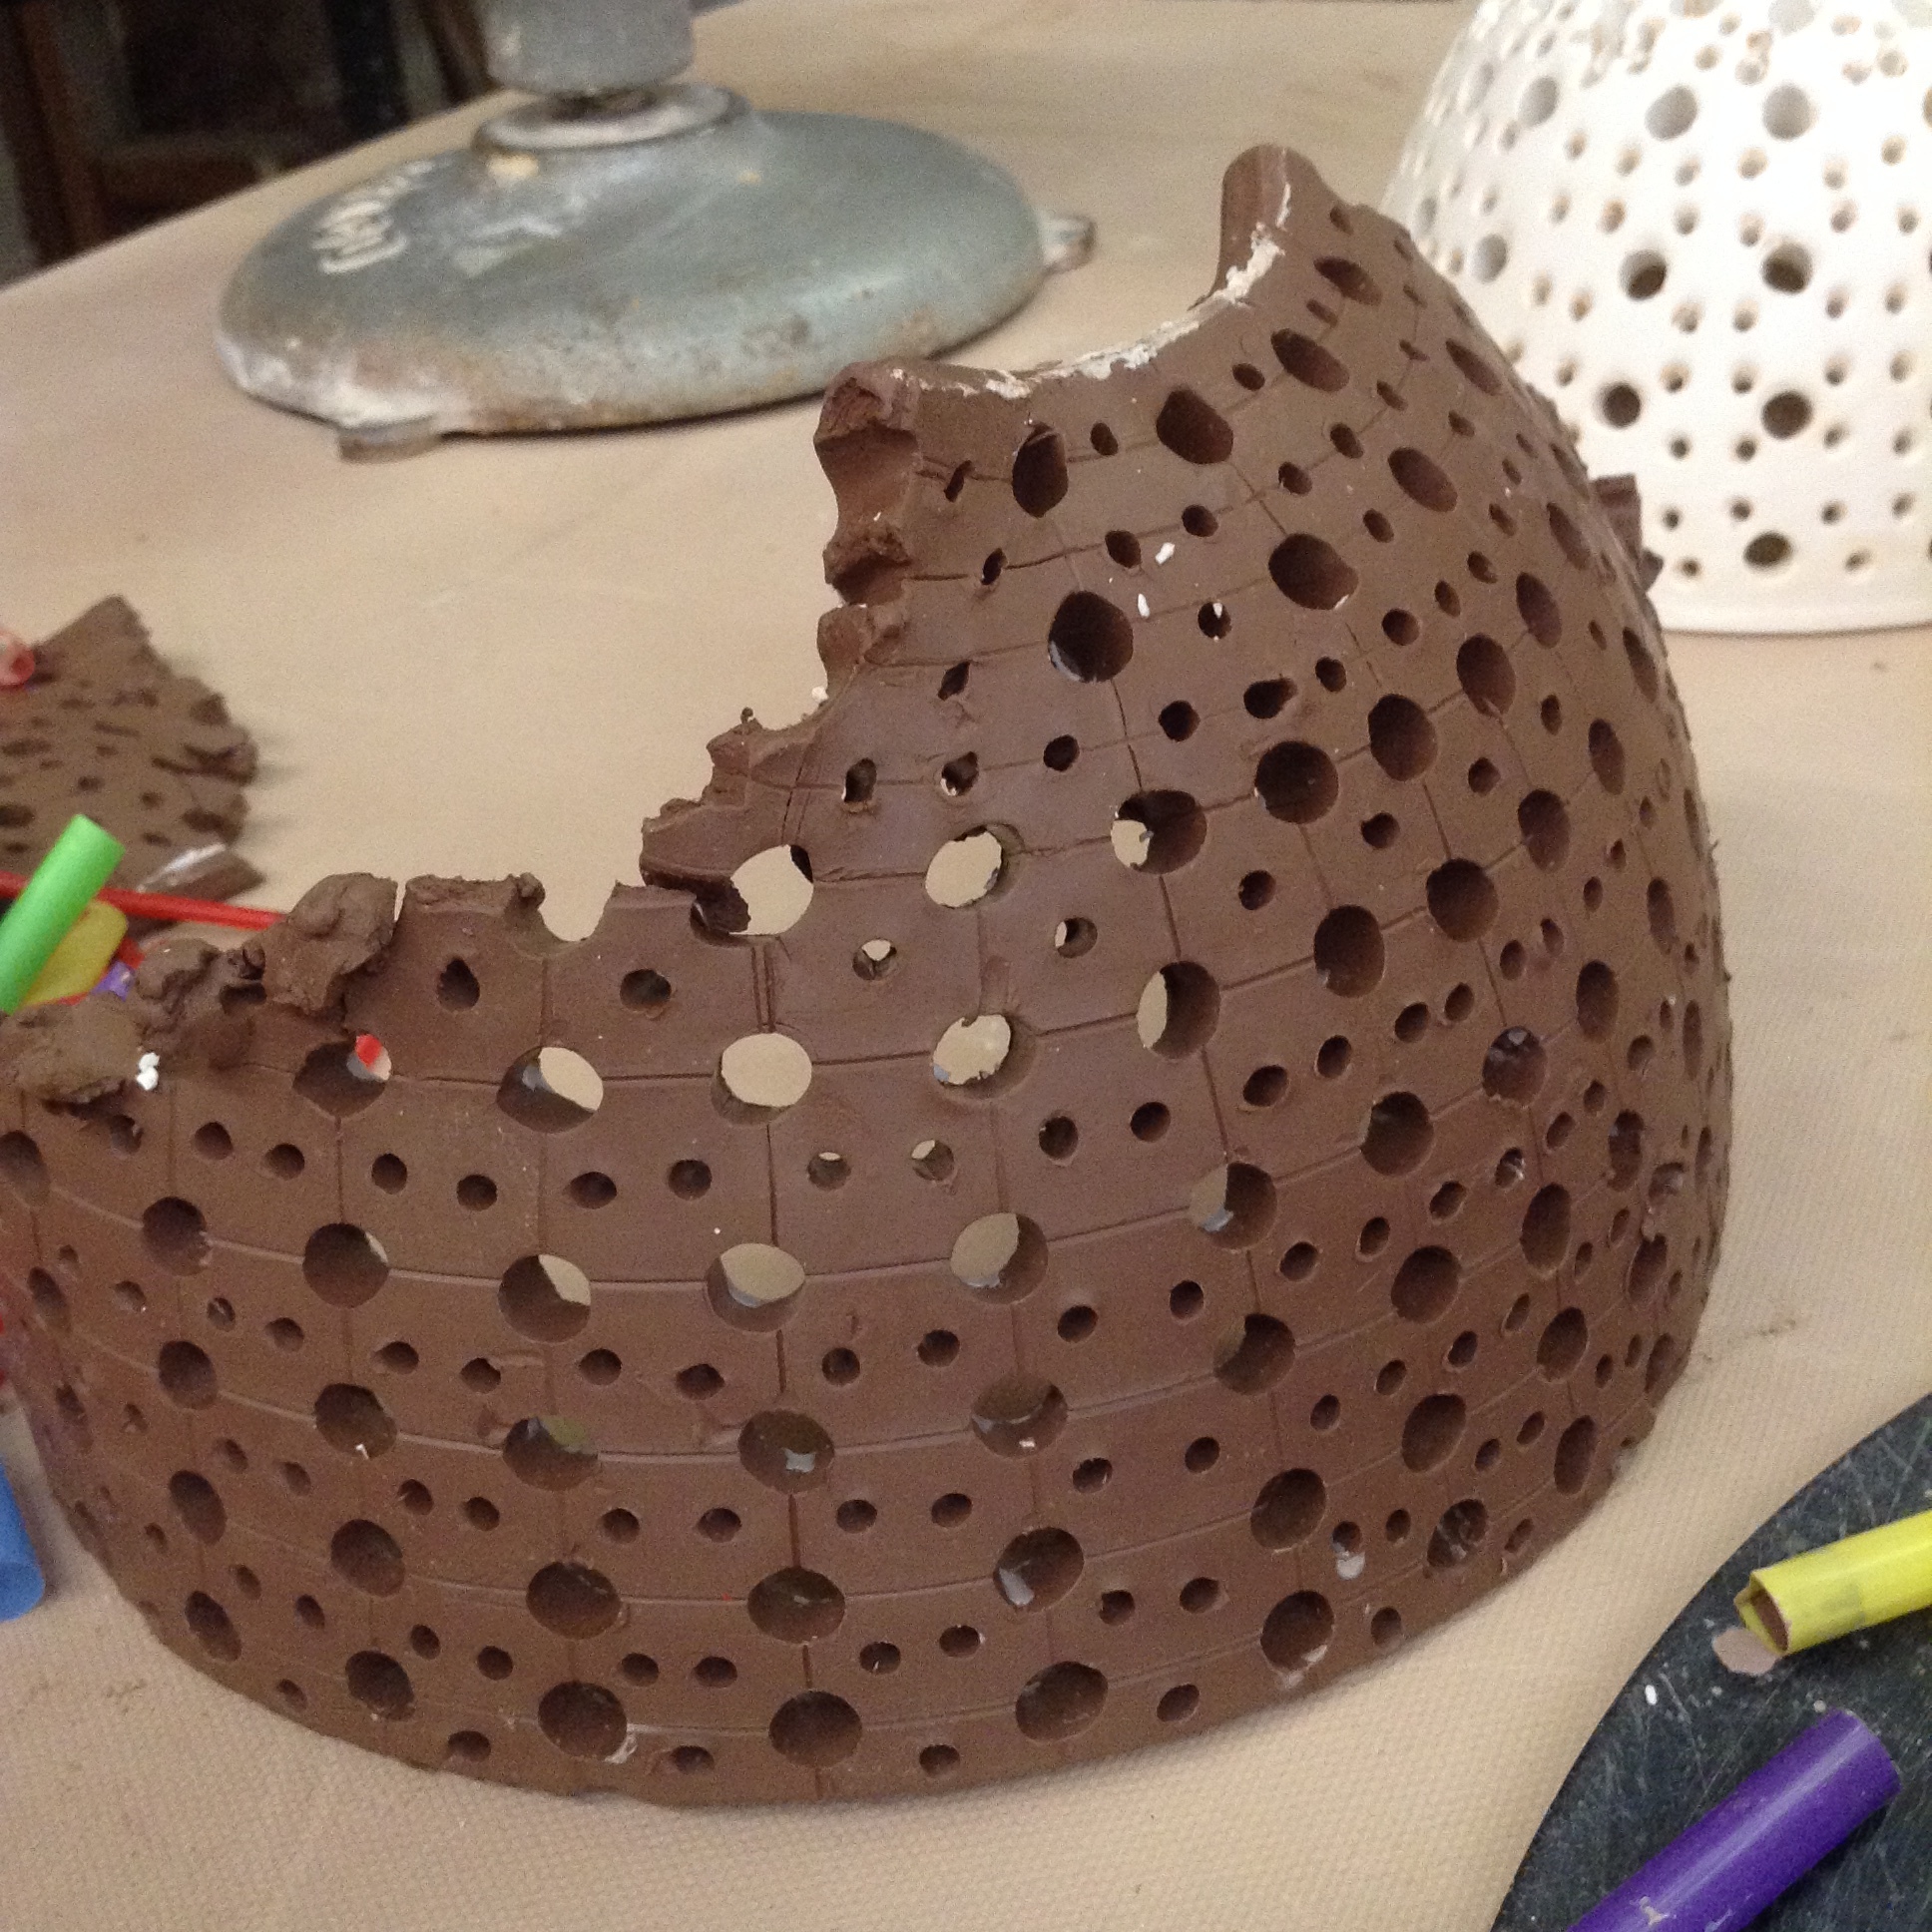
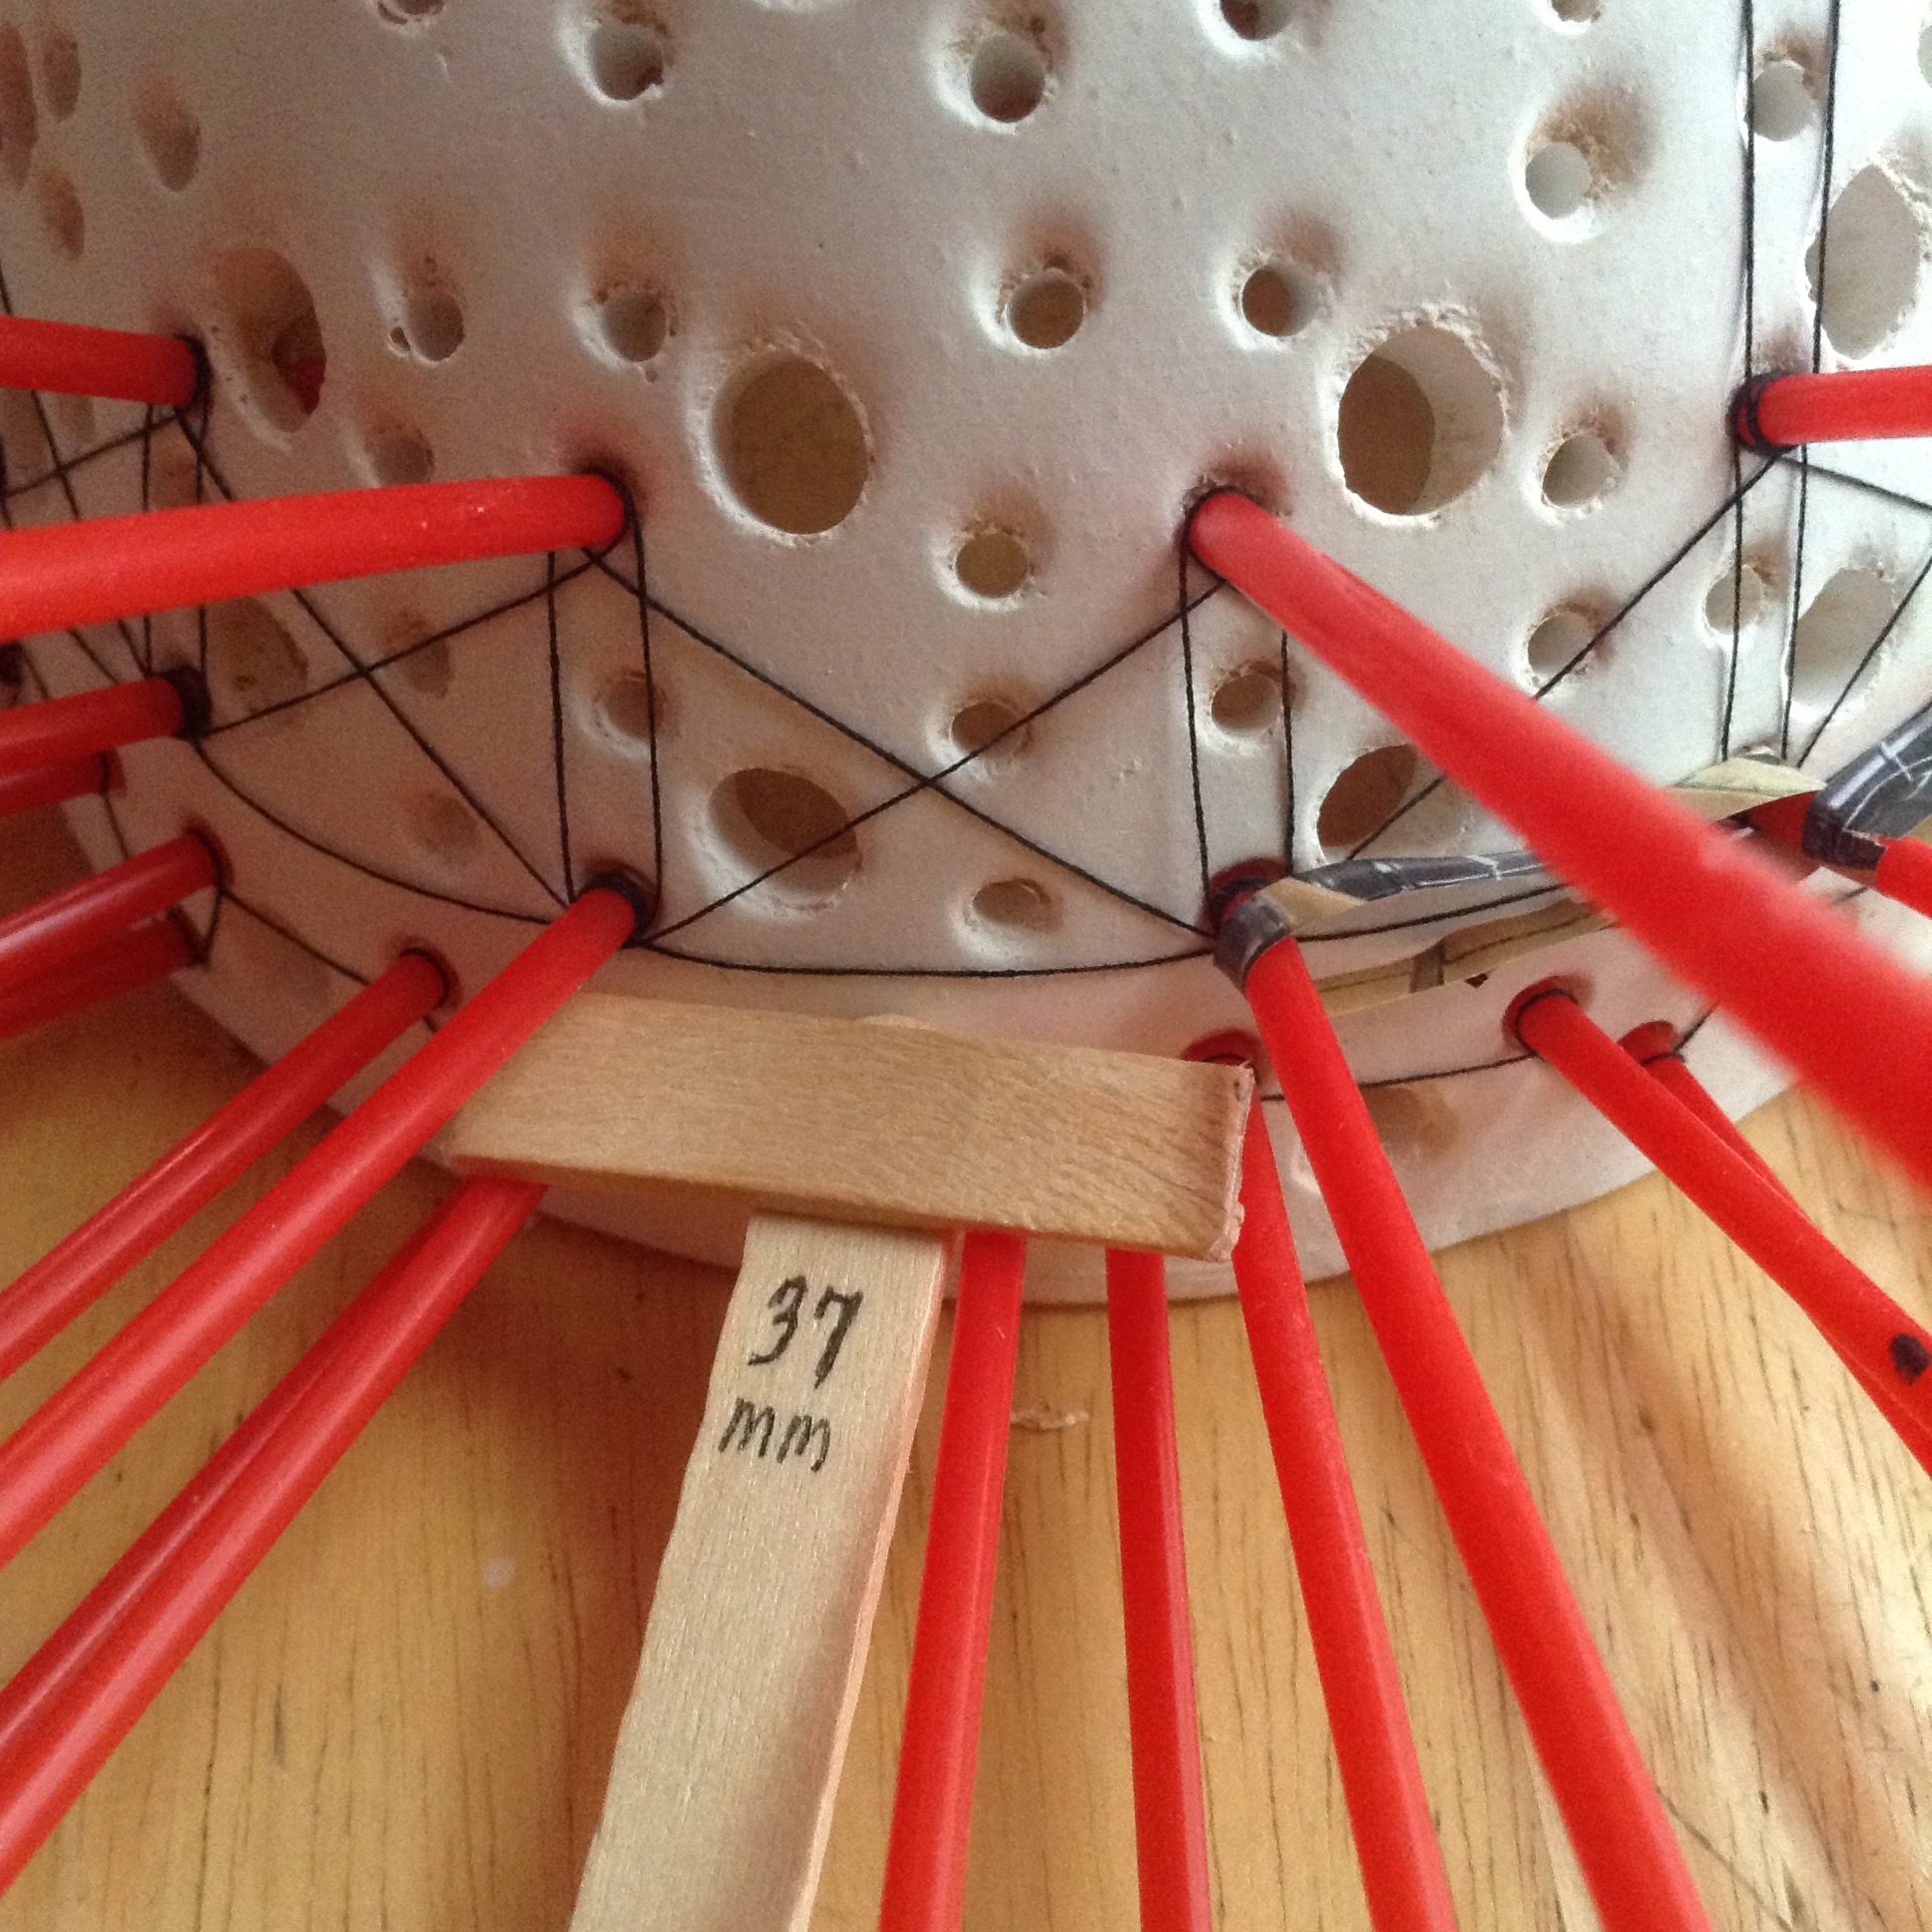
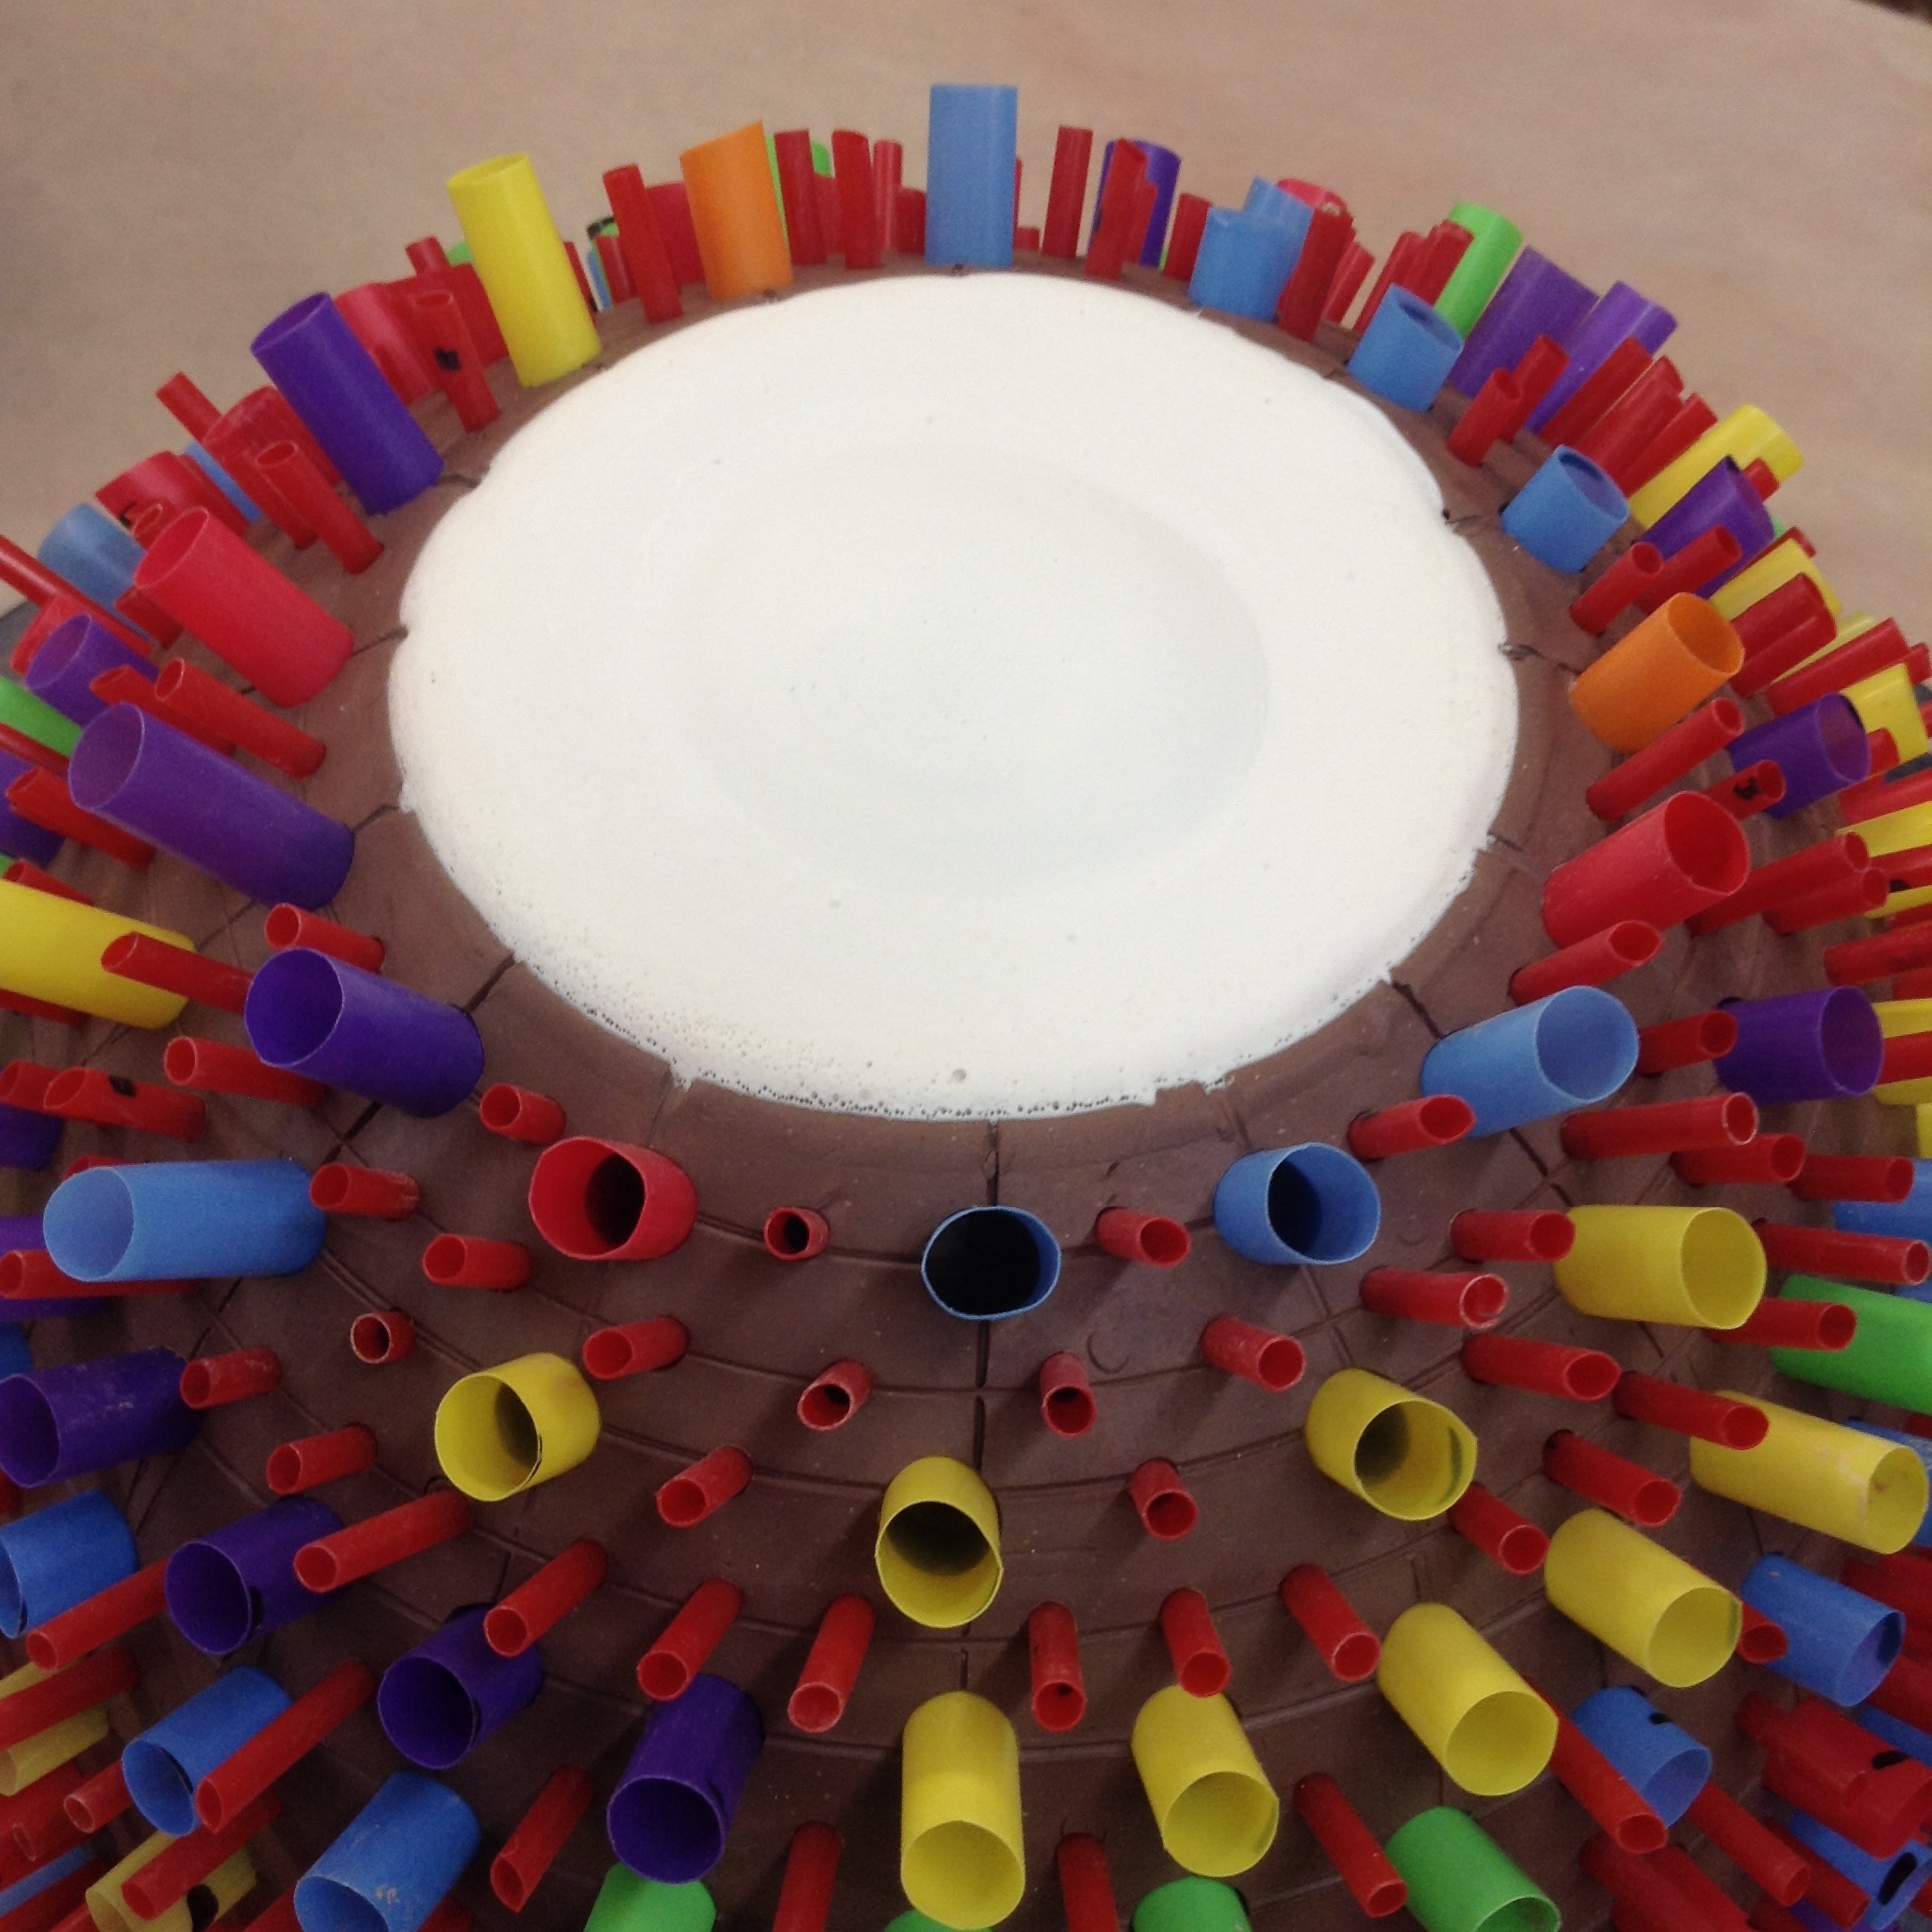
Nothing weird about stabbing a clay vase with plastic coffee stirrers. No, not the slightest bit weird. The outside was divided up by lines, and I put straws at the intersections. This really is for filling with plaster since the straws go pretty far in.
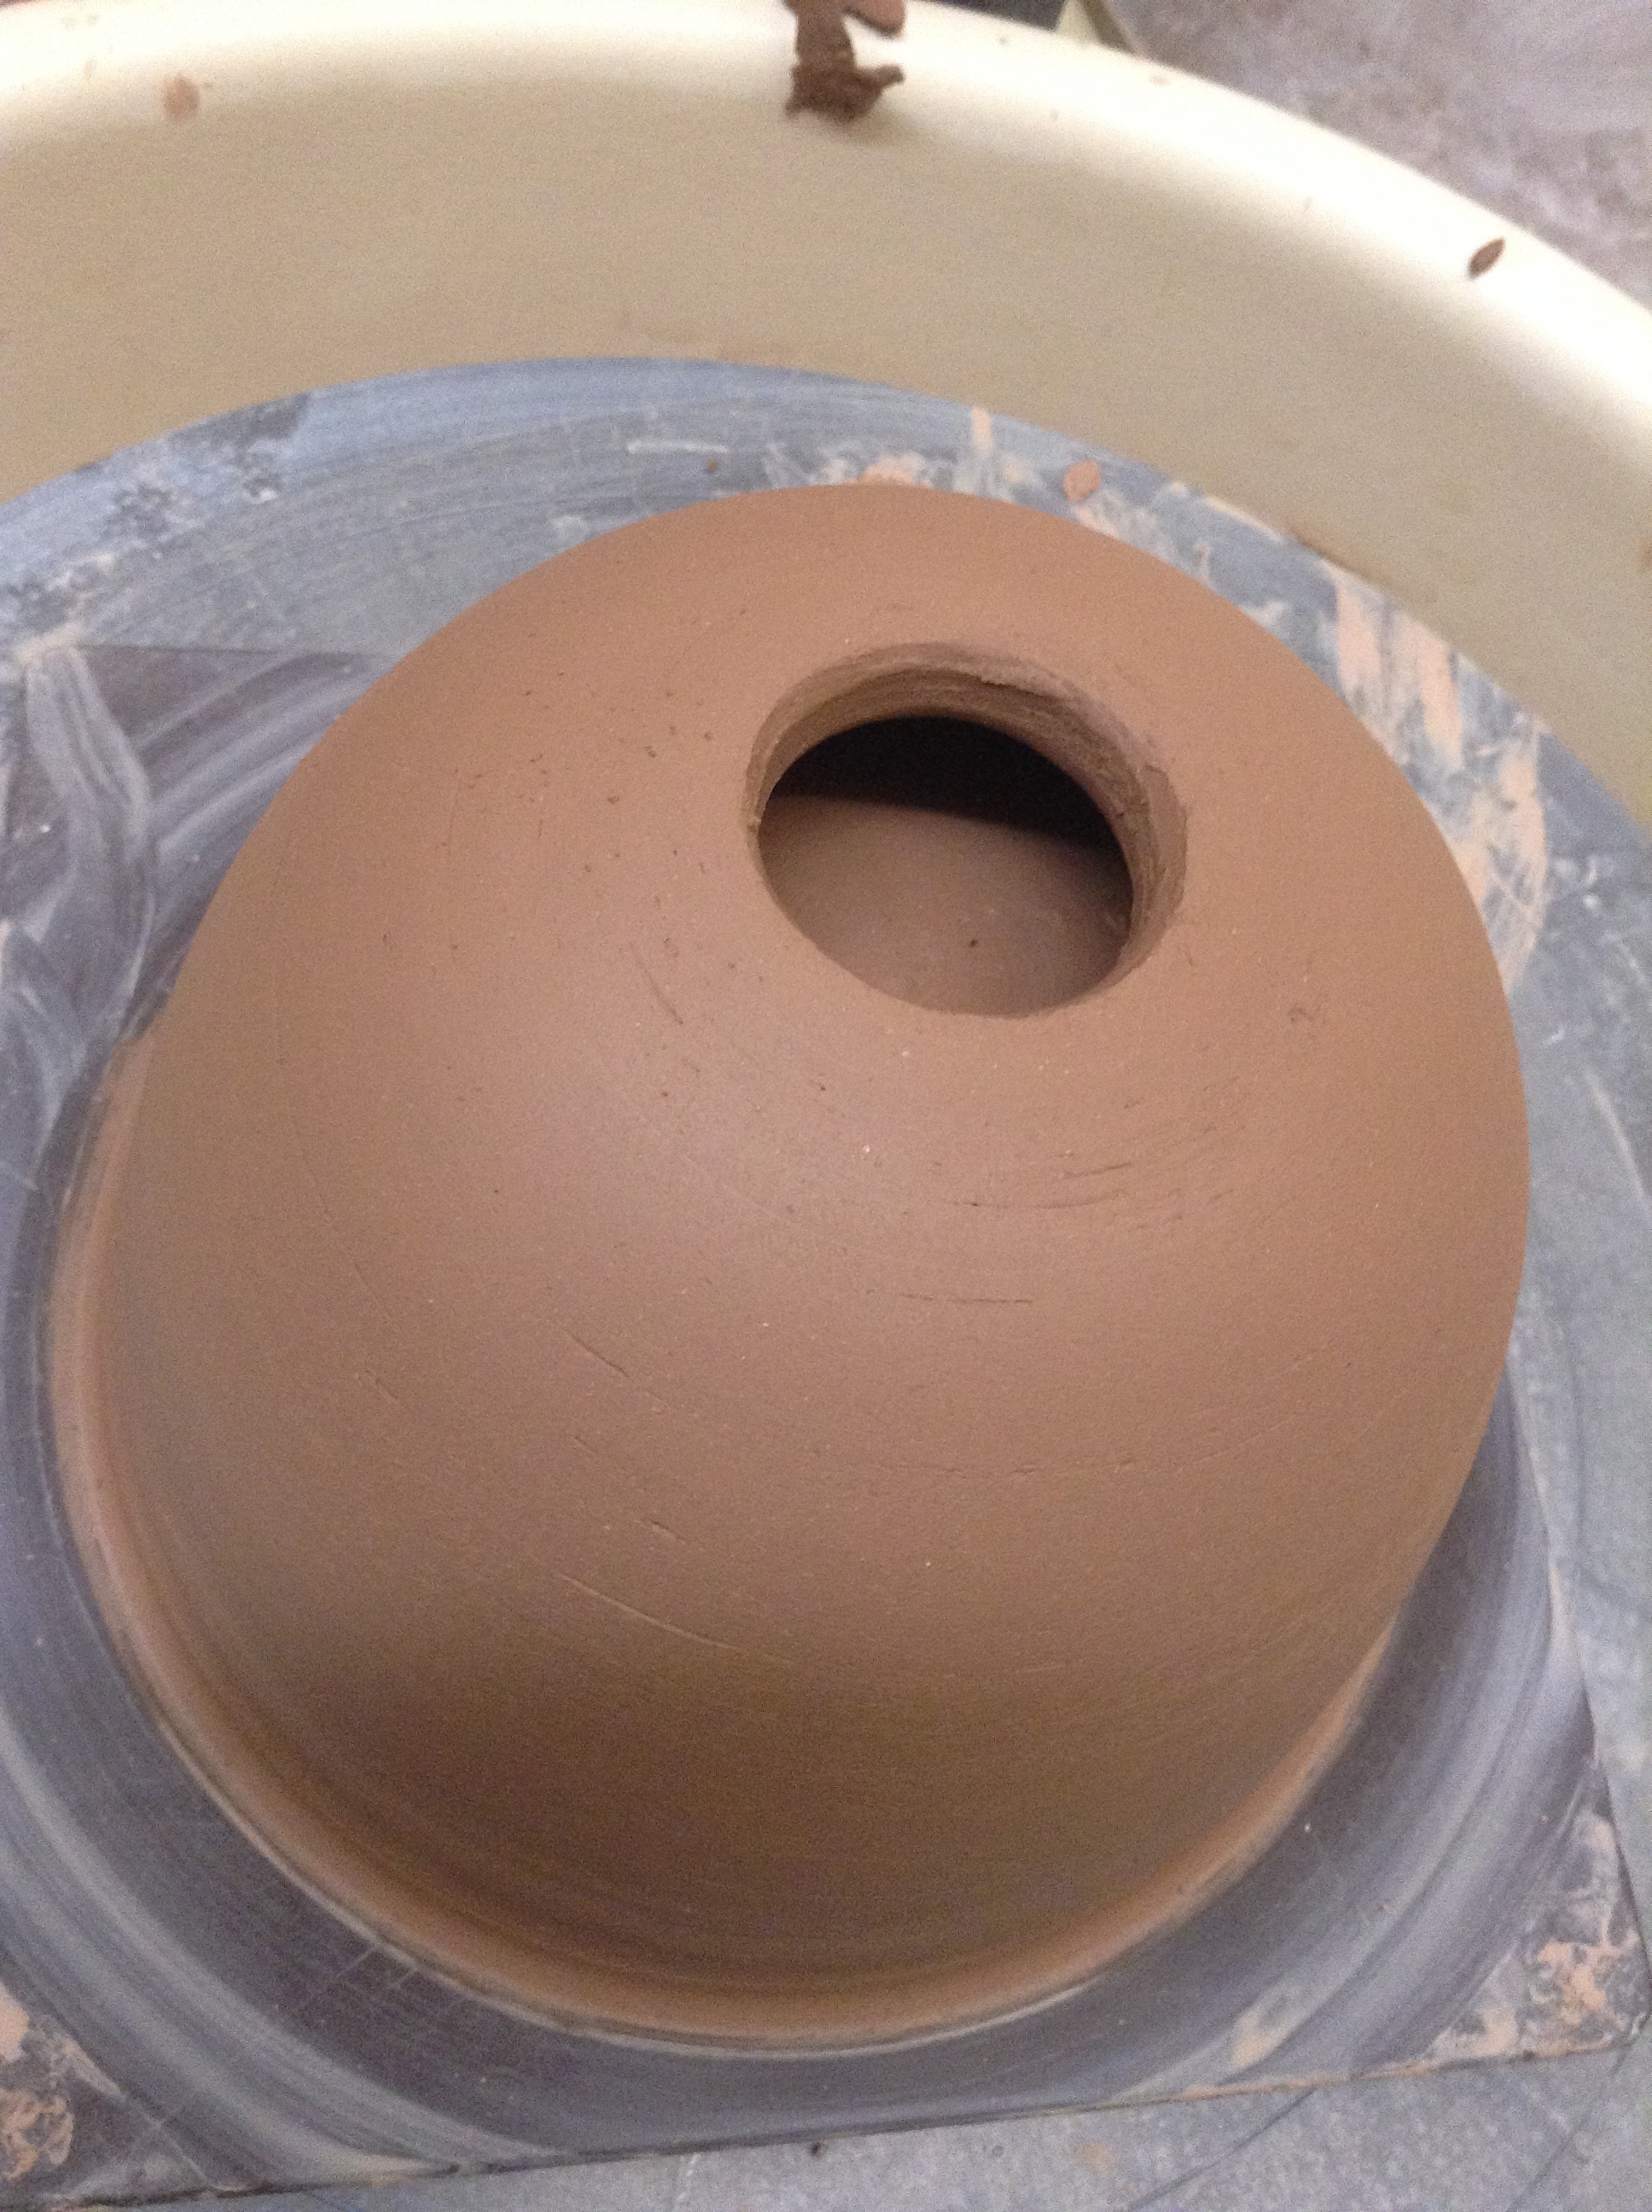
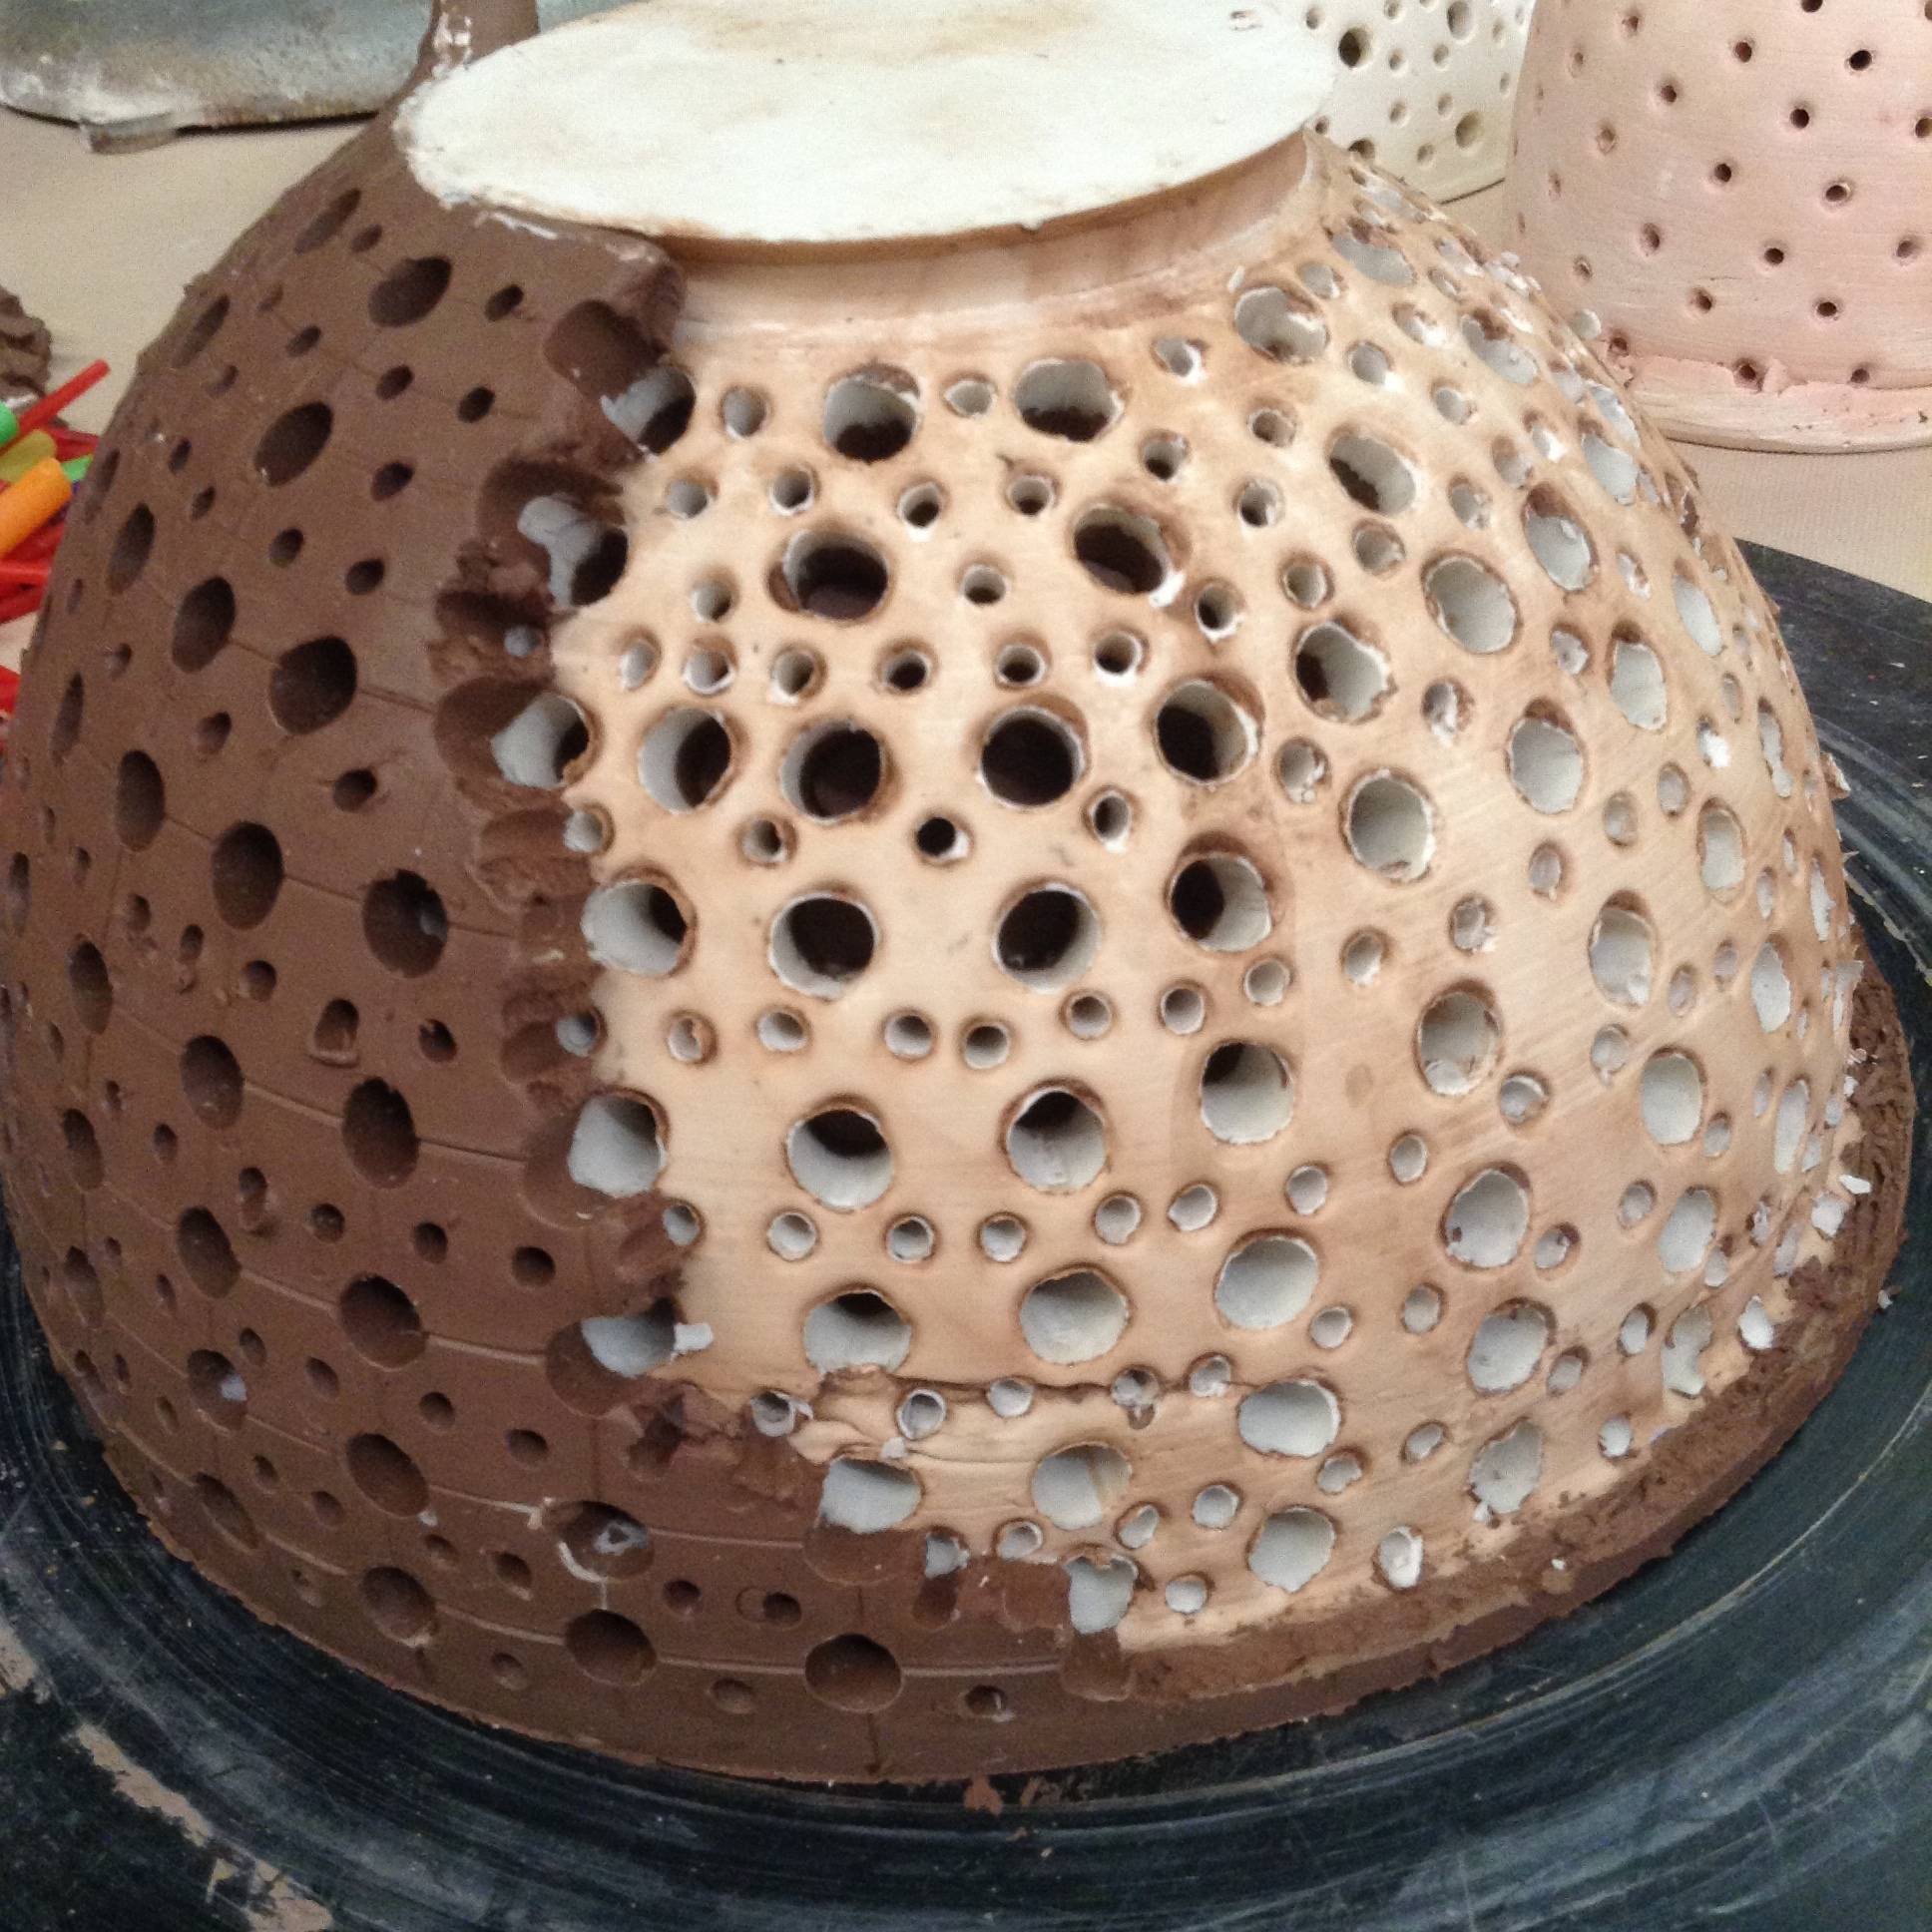
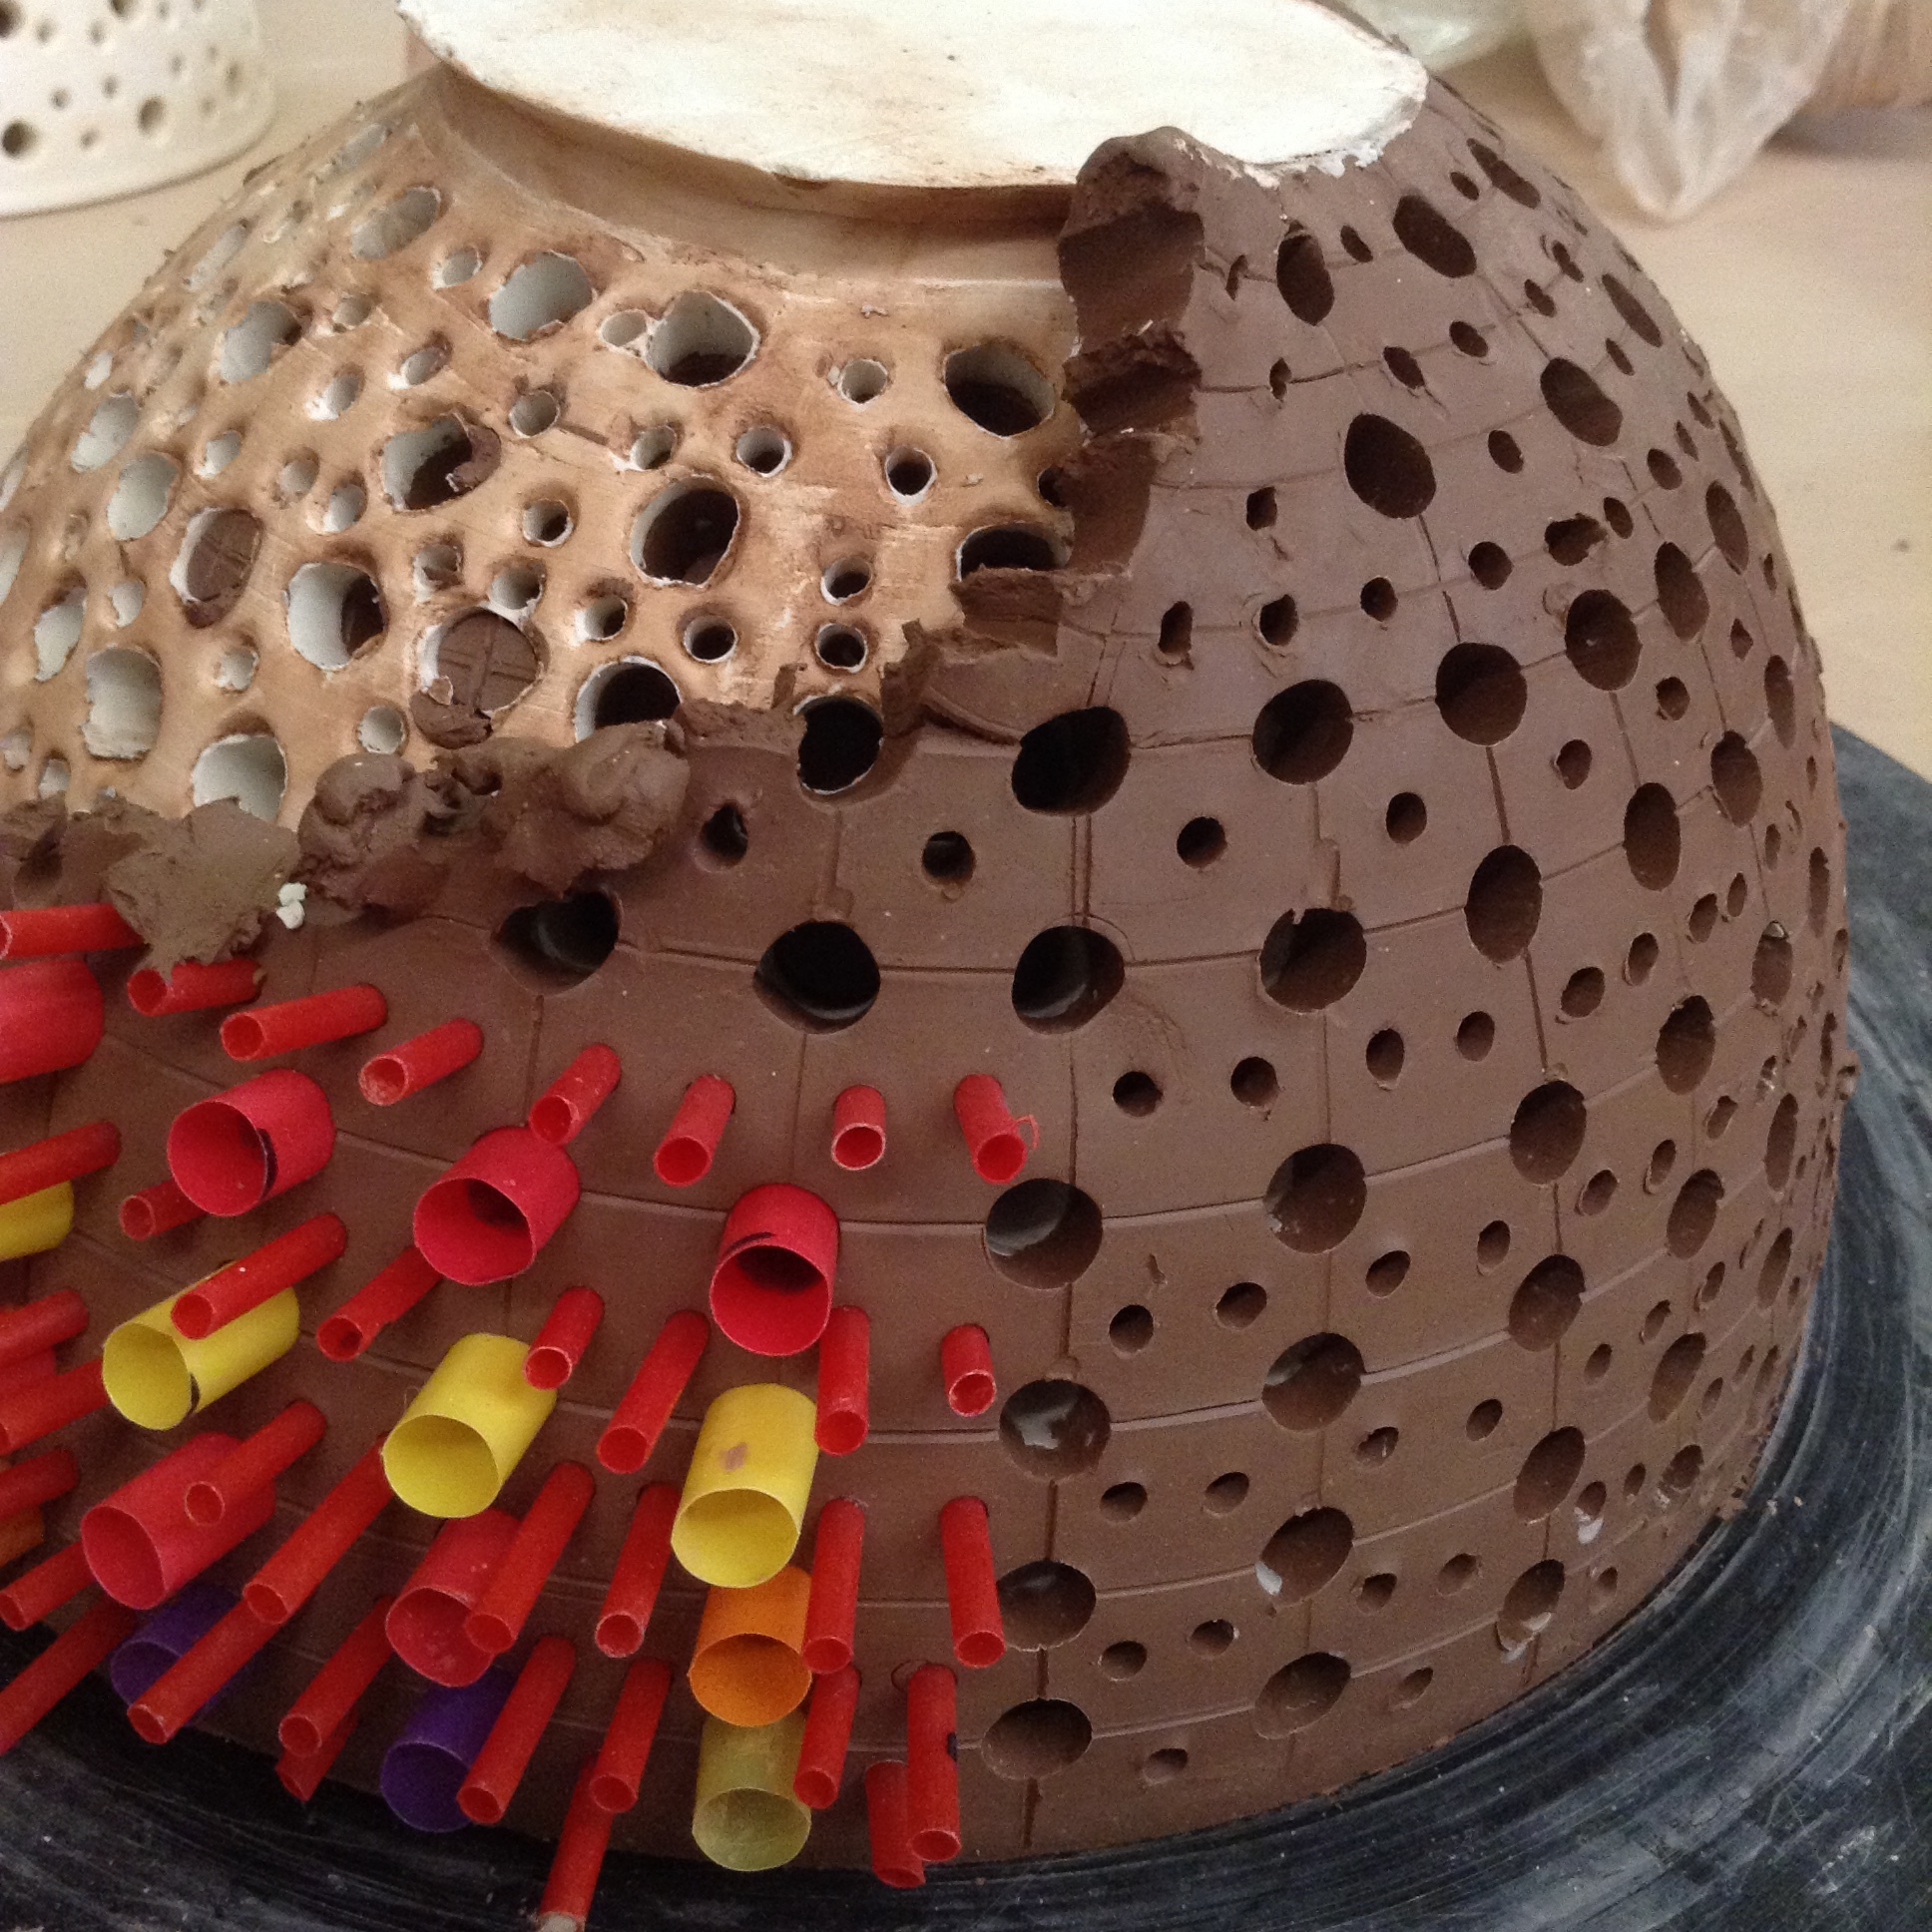
Making a plaster shape inside a clay dome! I also wanted to have holes in the plaster shape, but I didn't want to use a drill press. The red straws make the right size holes, and look great while getting sunk in plaster.
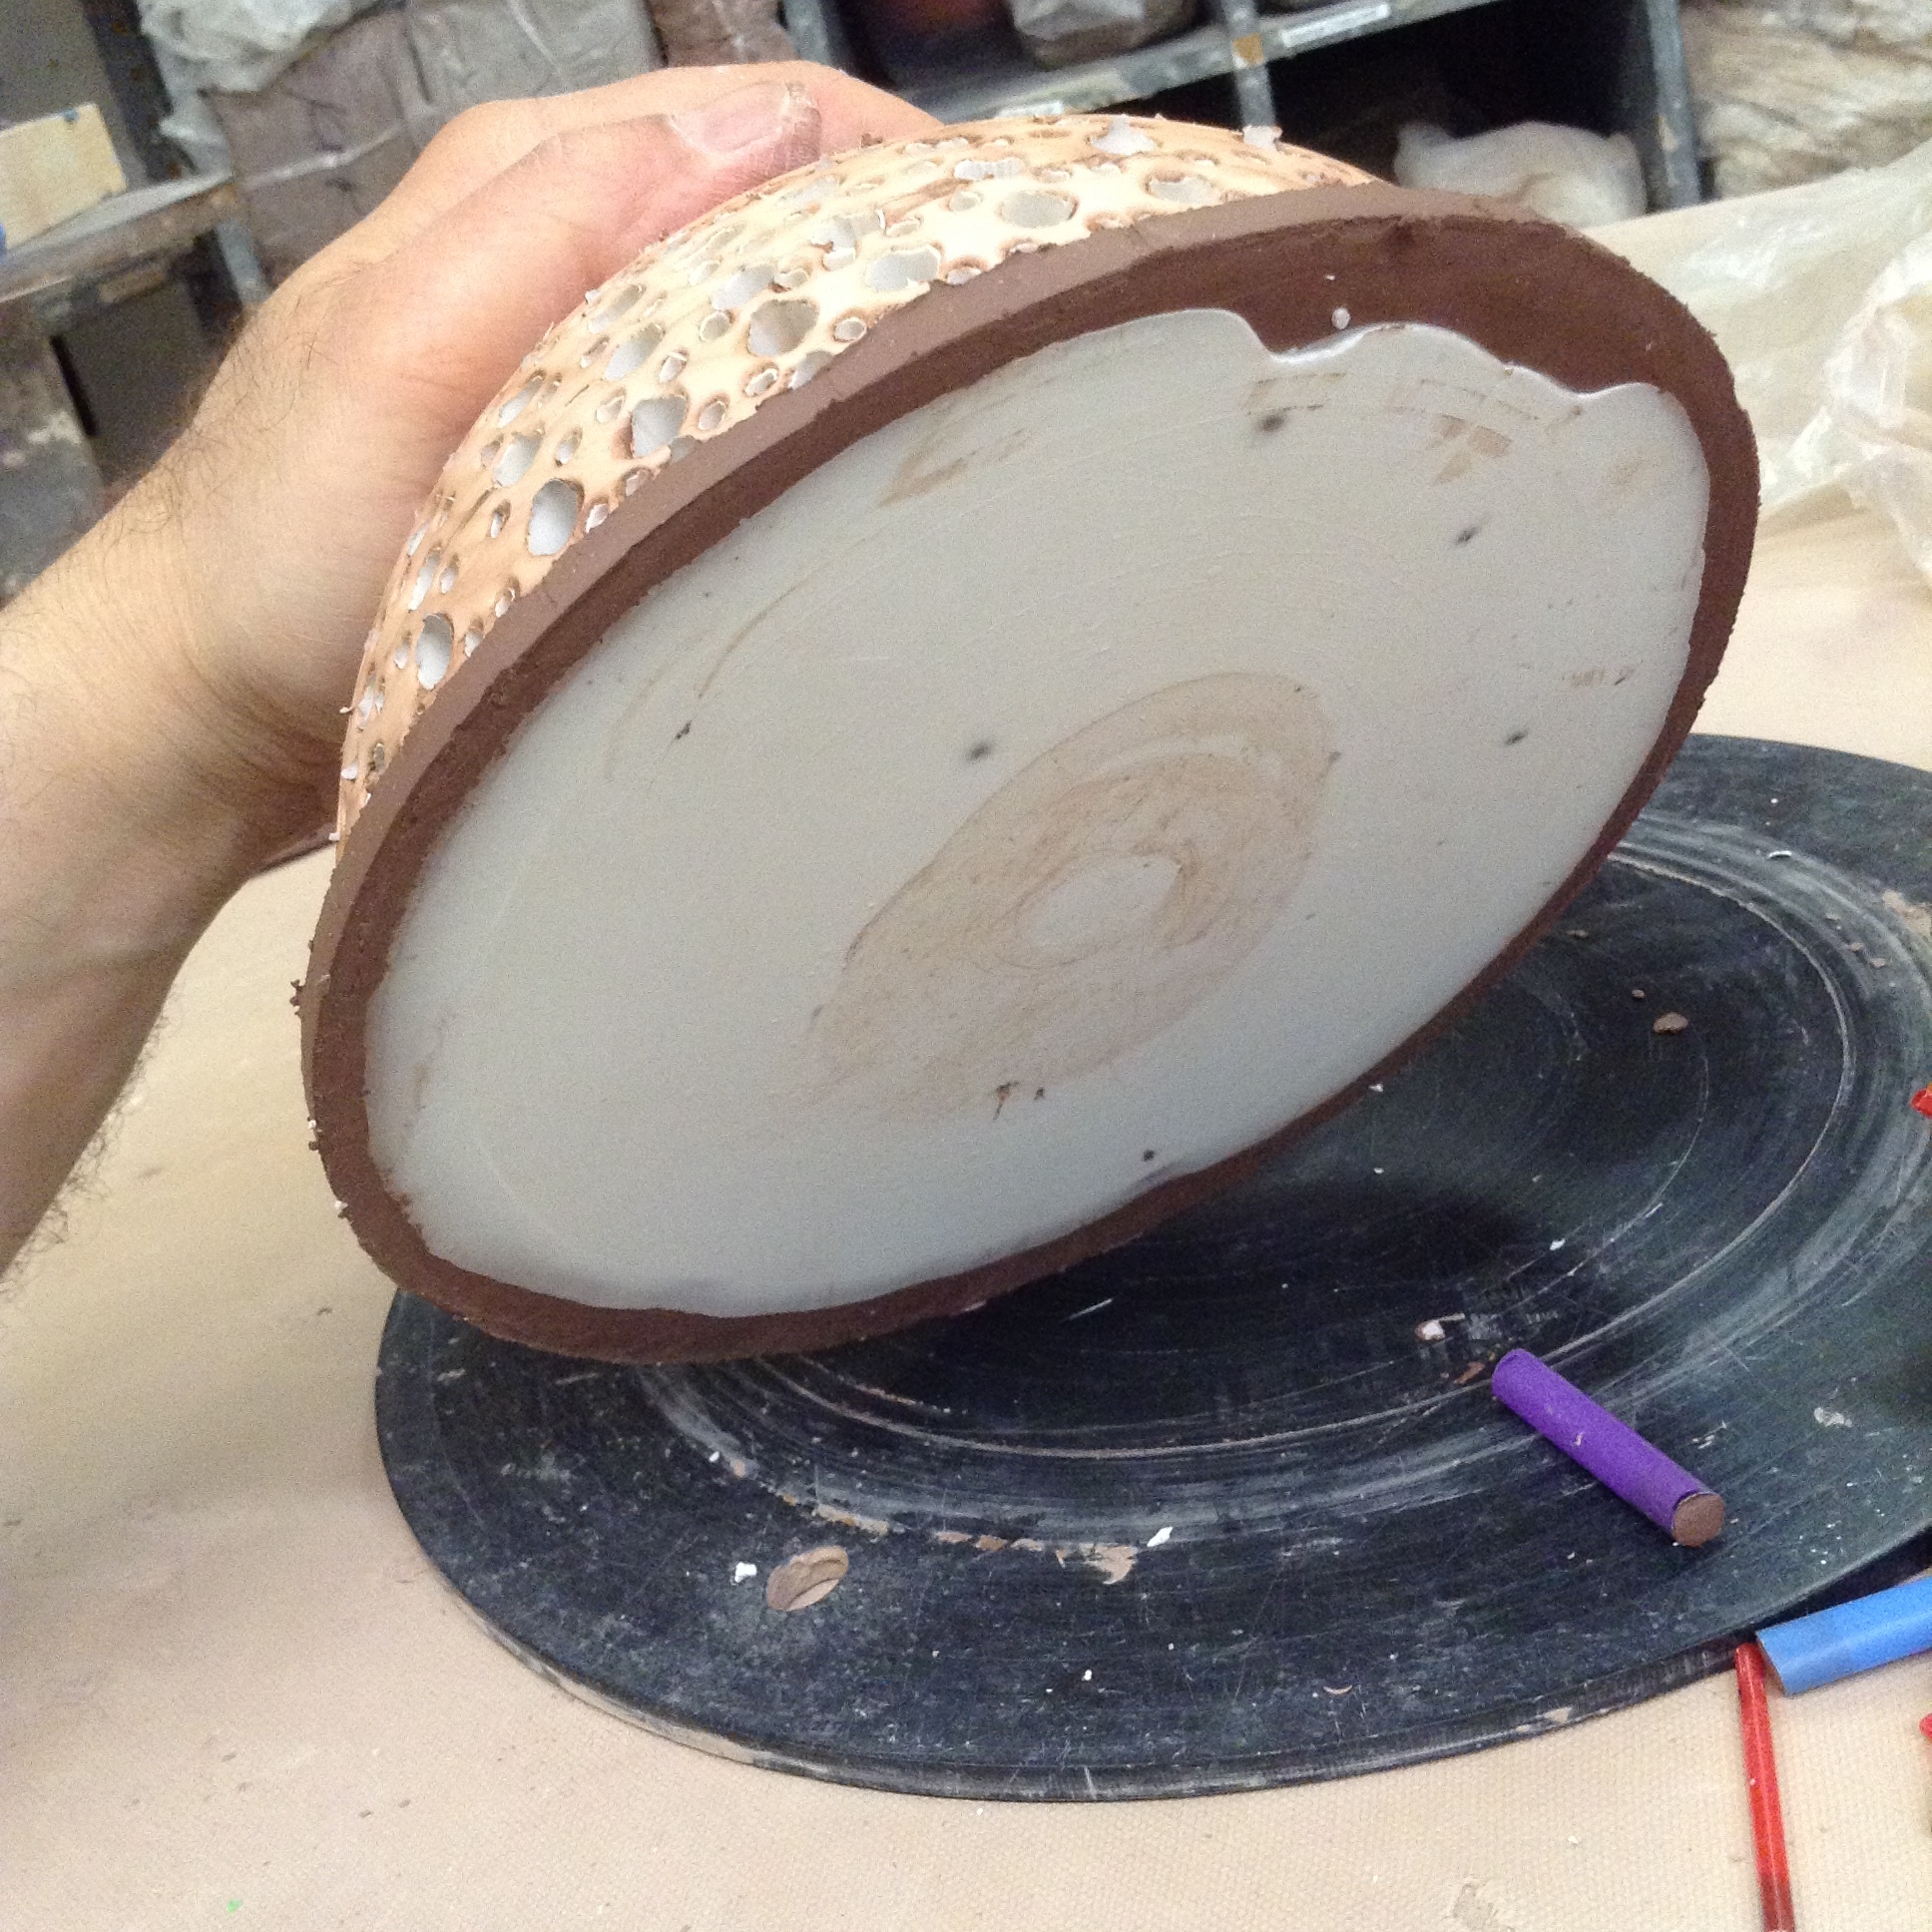
Plaster dome sculpture gets its holes from straws. The unfolding process of pulling out the straws and the peeling off the clay form.

COMMENTS ON THE STILL PHOTOS

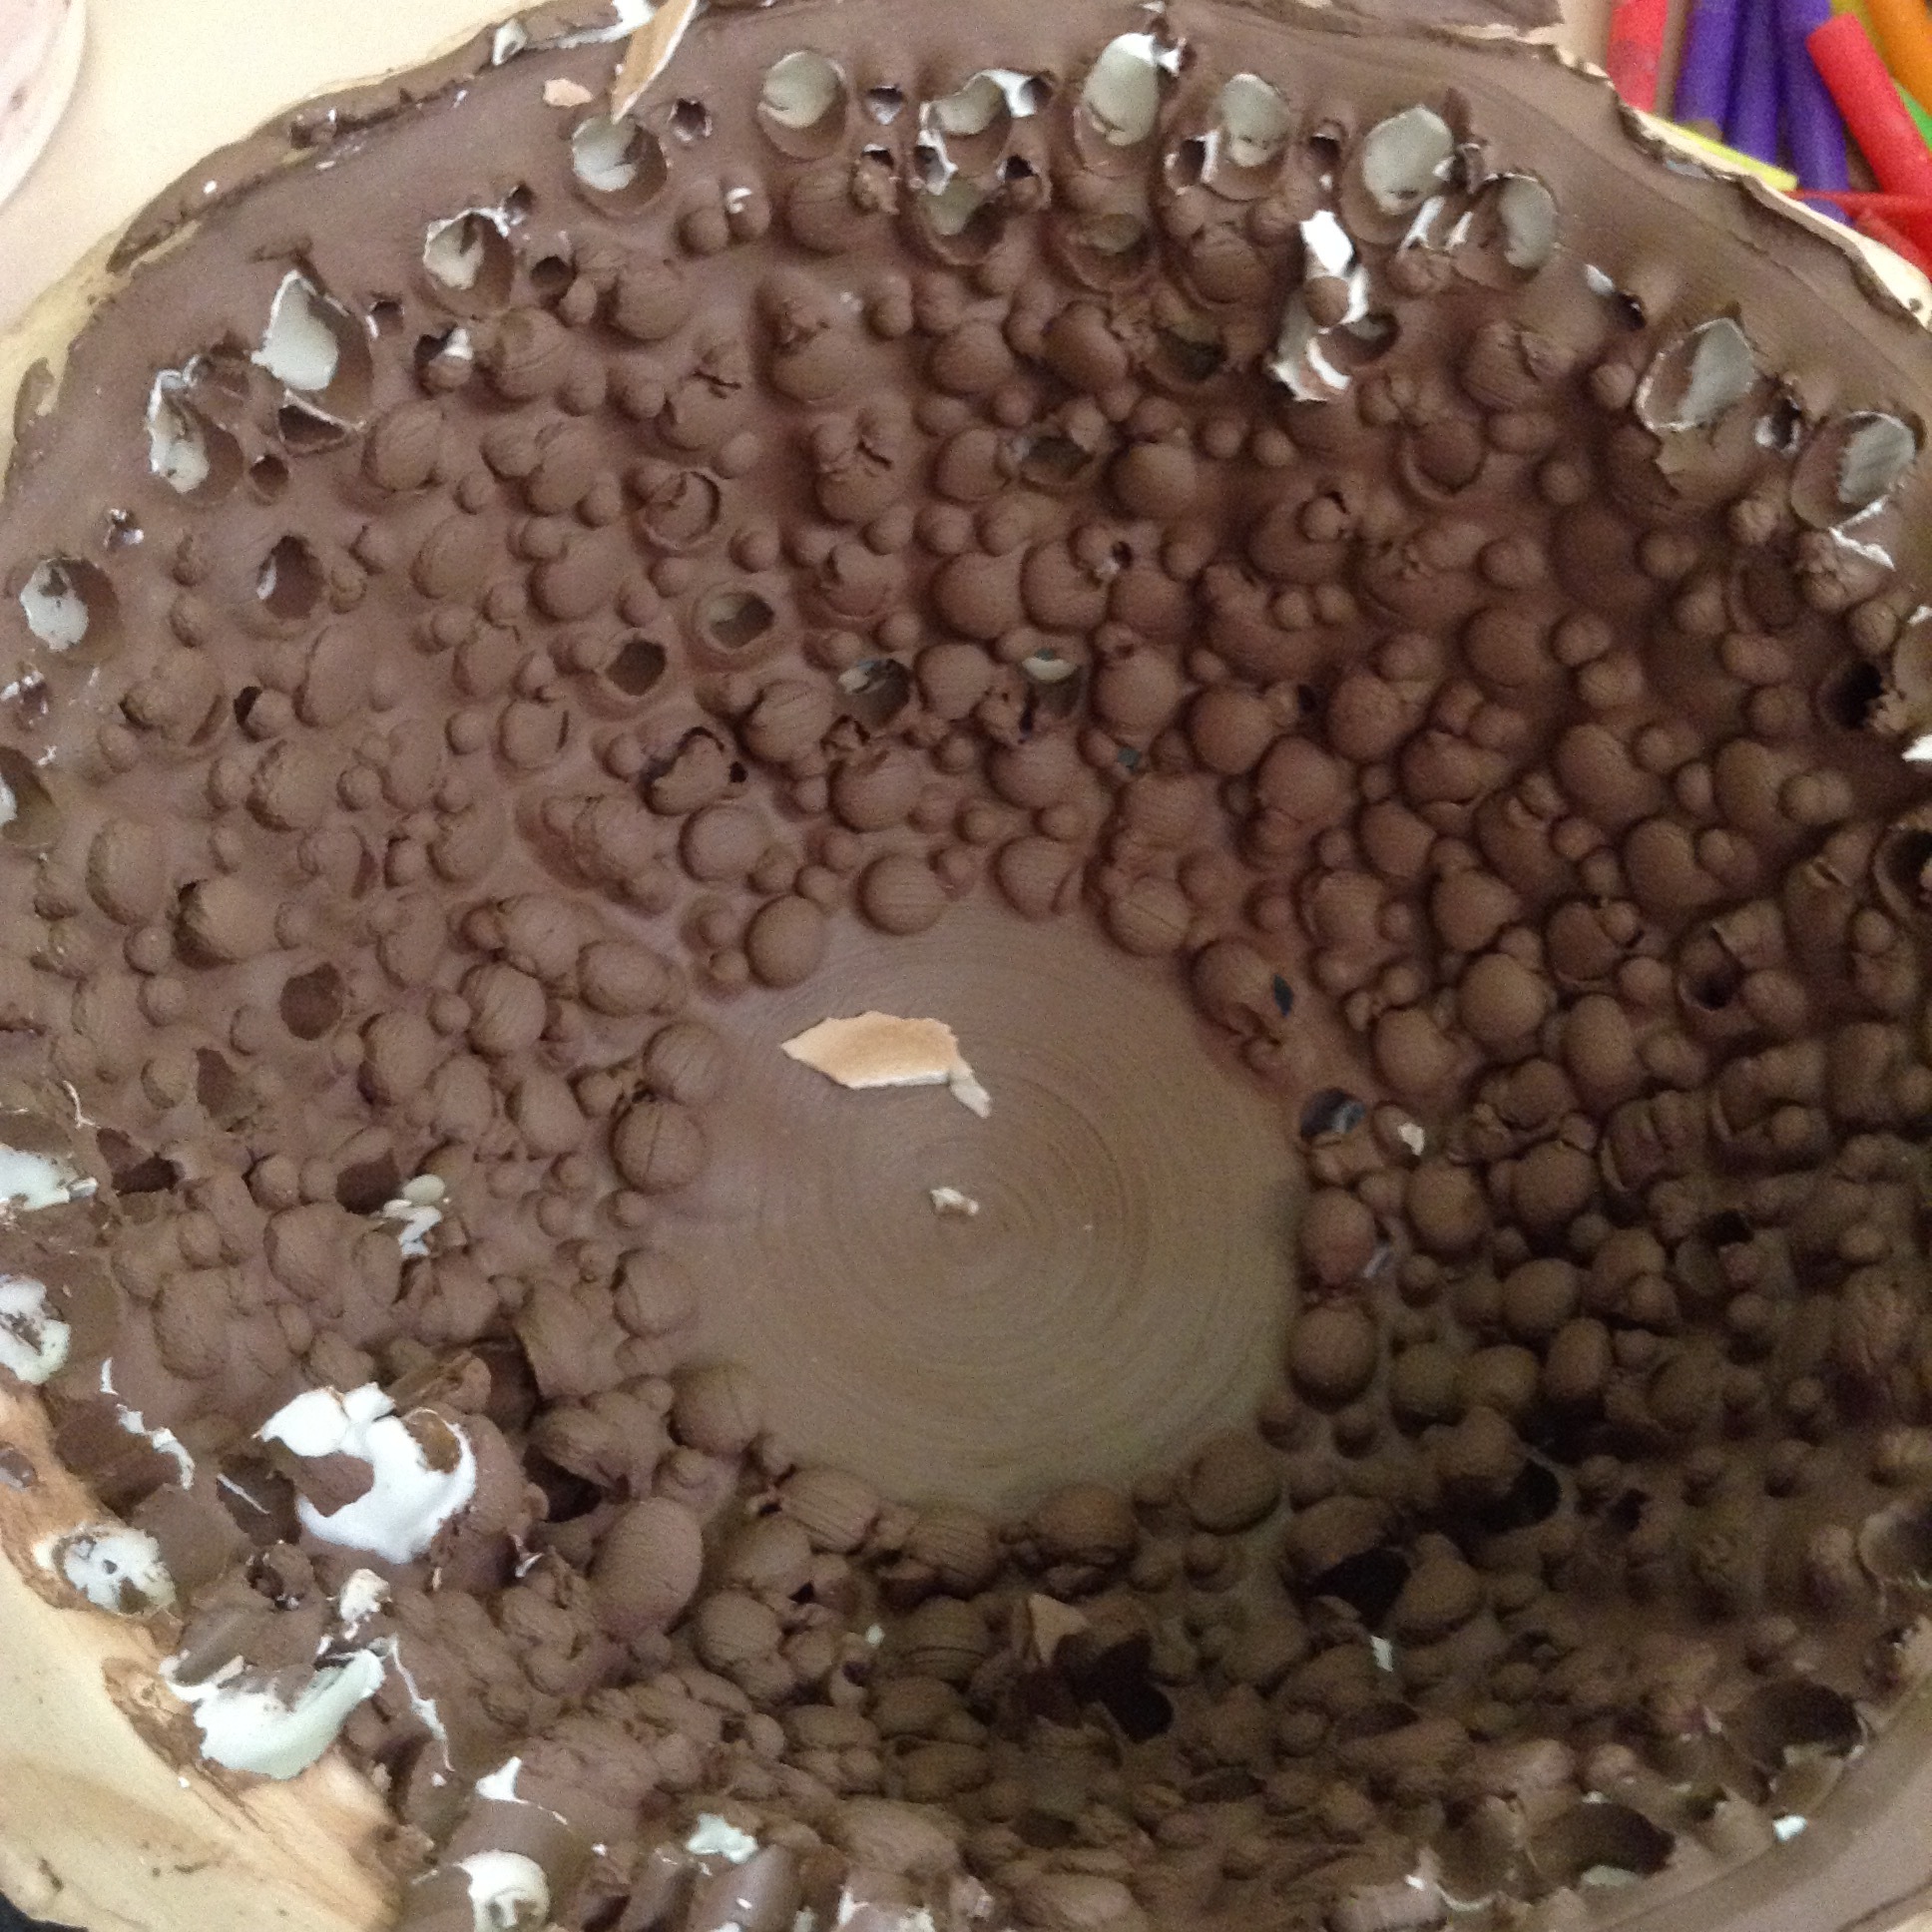
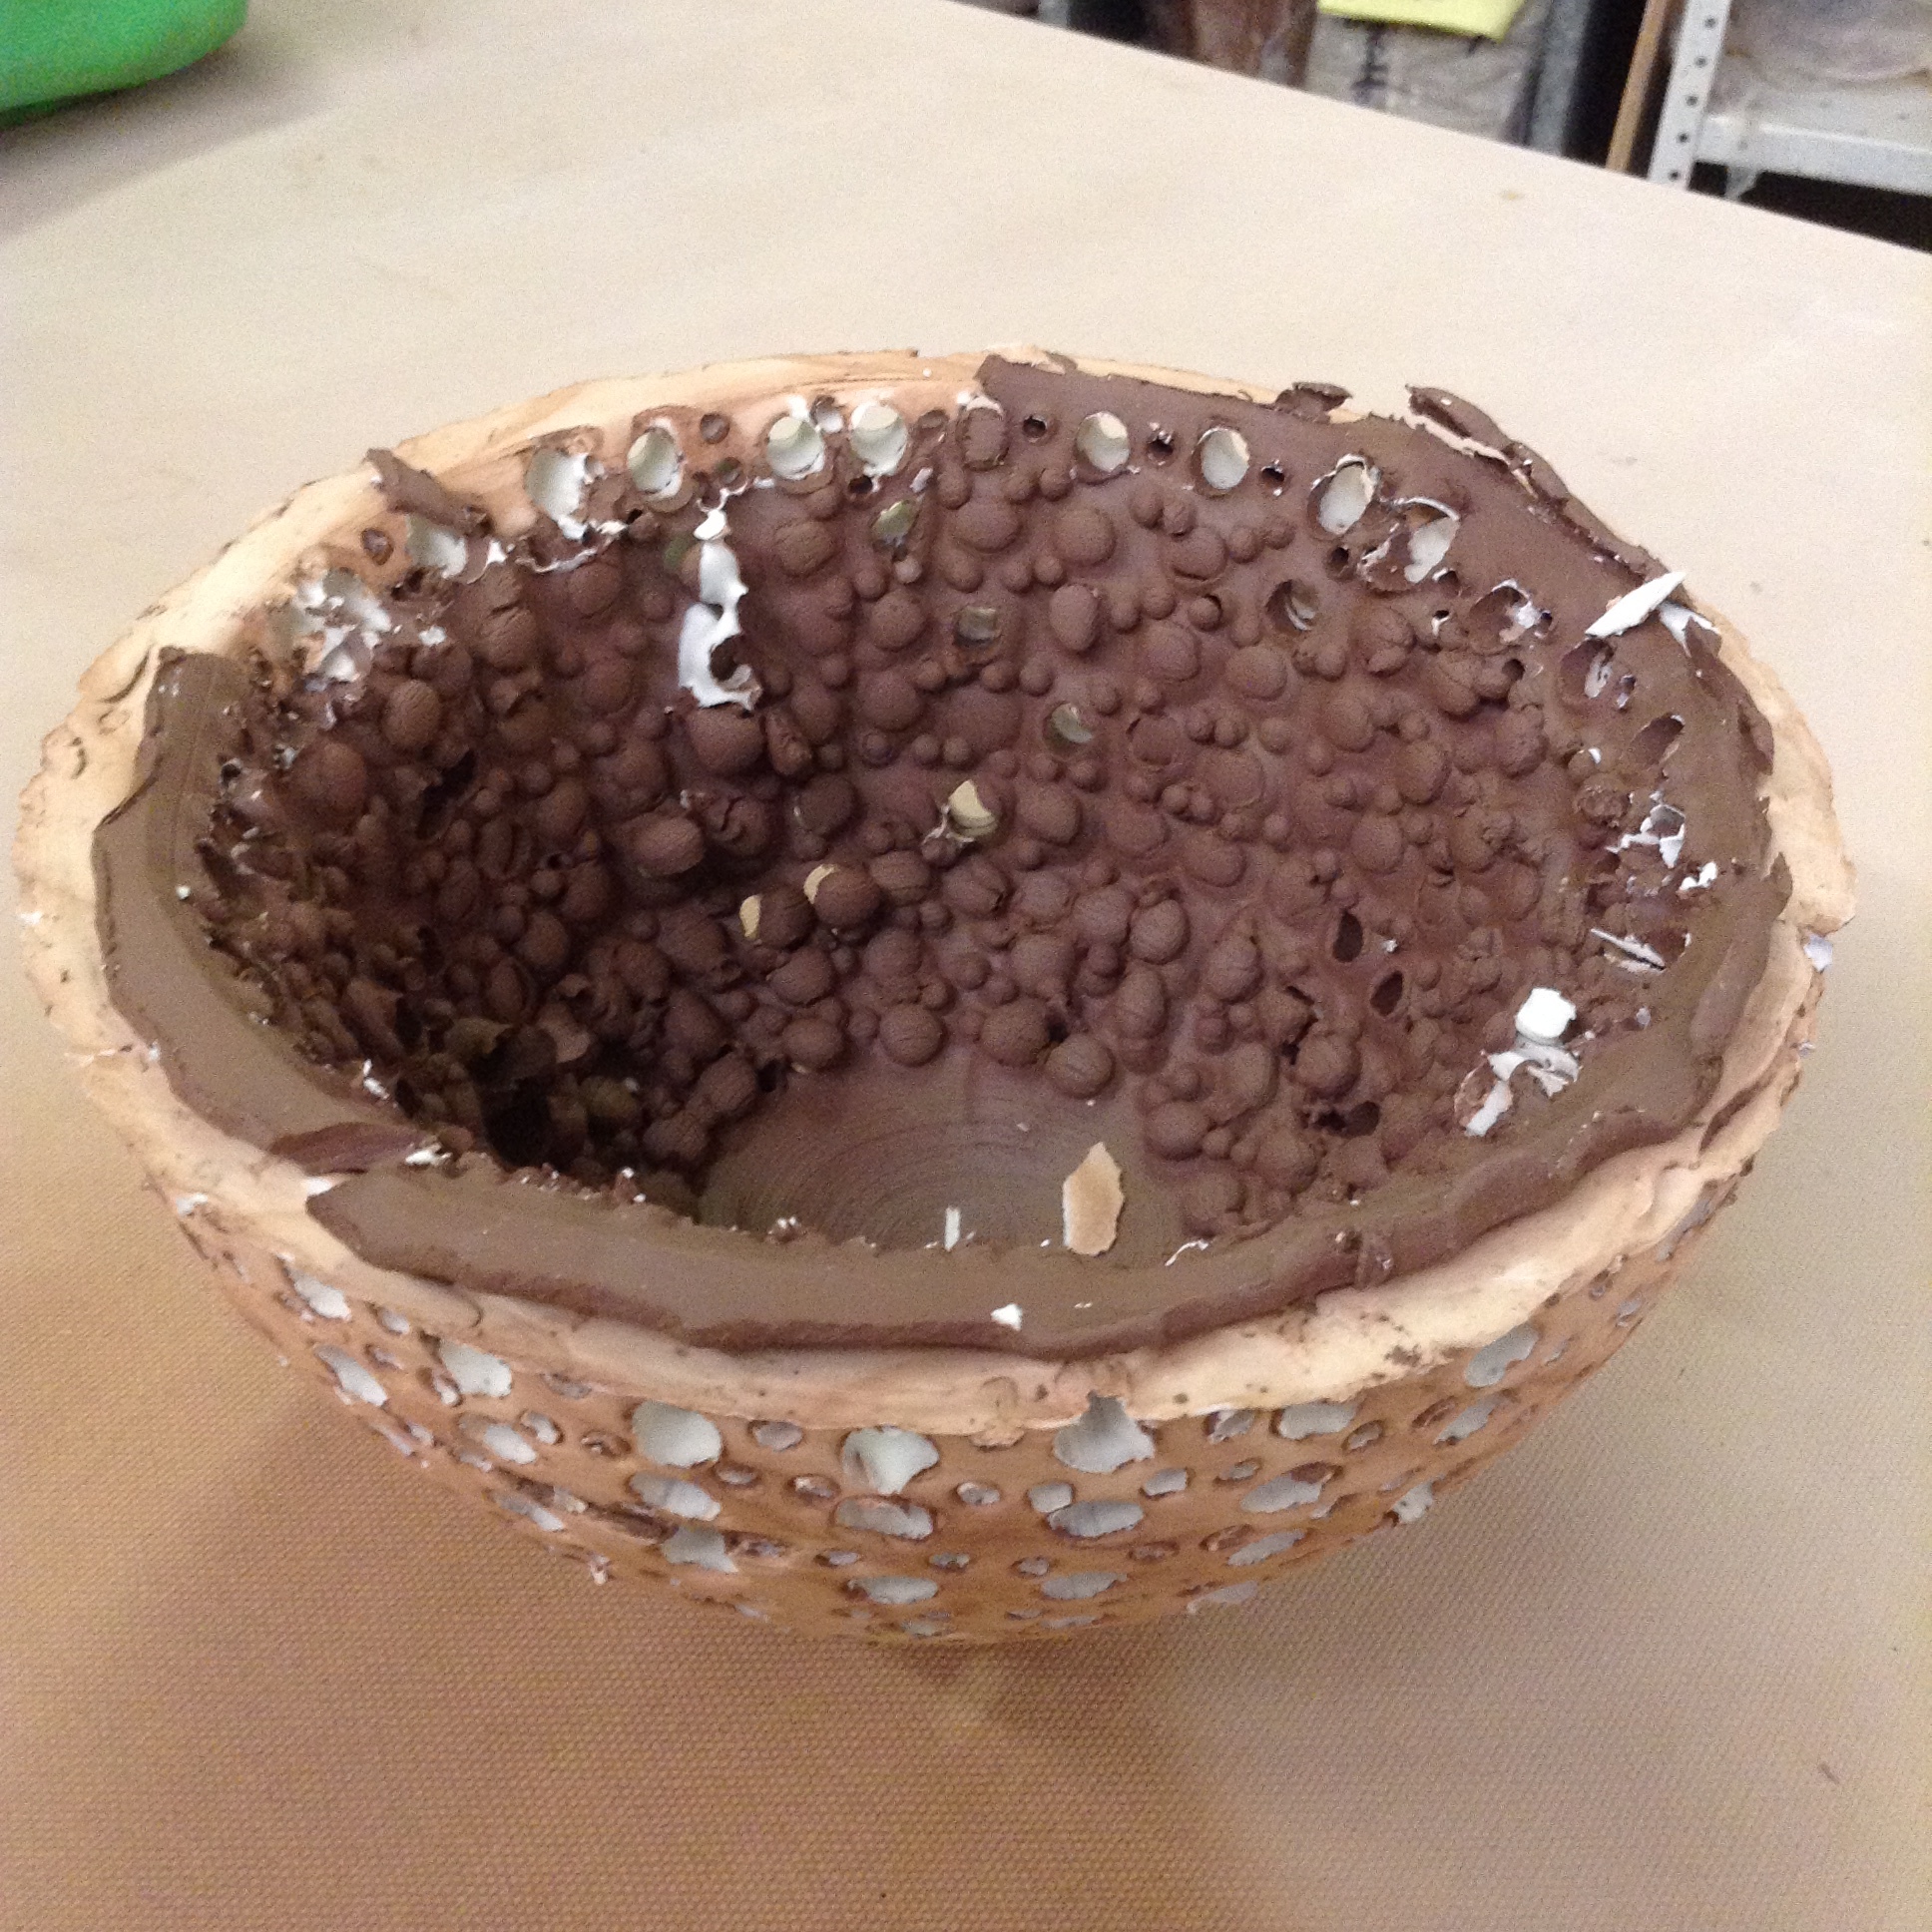
These photos show how you might approach making a nice plaster form that matches the inside of a clay form. The fairly stiff clay was very stable even when filled with plaster. Even if you don't want to stab the form with holes, this method lets you make plaster forms for using later as molds.

I made the two shapes thinking I wanted one narrower, but that was the only planning I did. Next time I might make the rims of the thrown vessels more equal in diameter so that the resulting plaster forms match when stacked. They do okay, now, though.


DOUBLE-WALLED NESTING WHEEL THROWN FORMS: Small and large

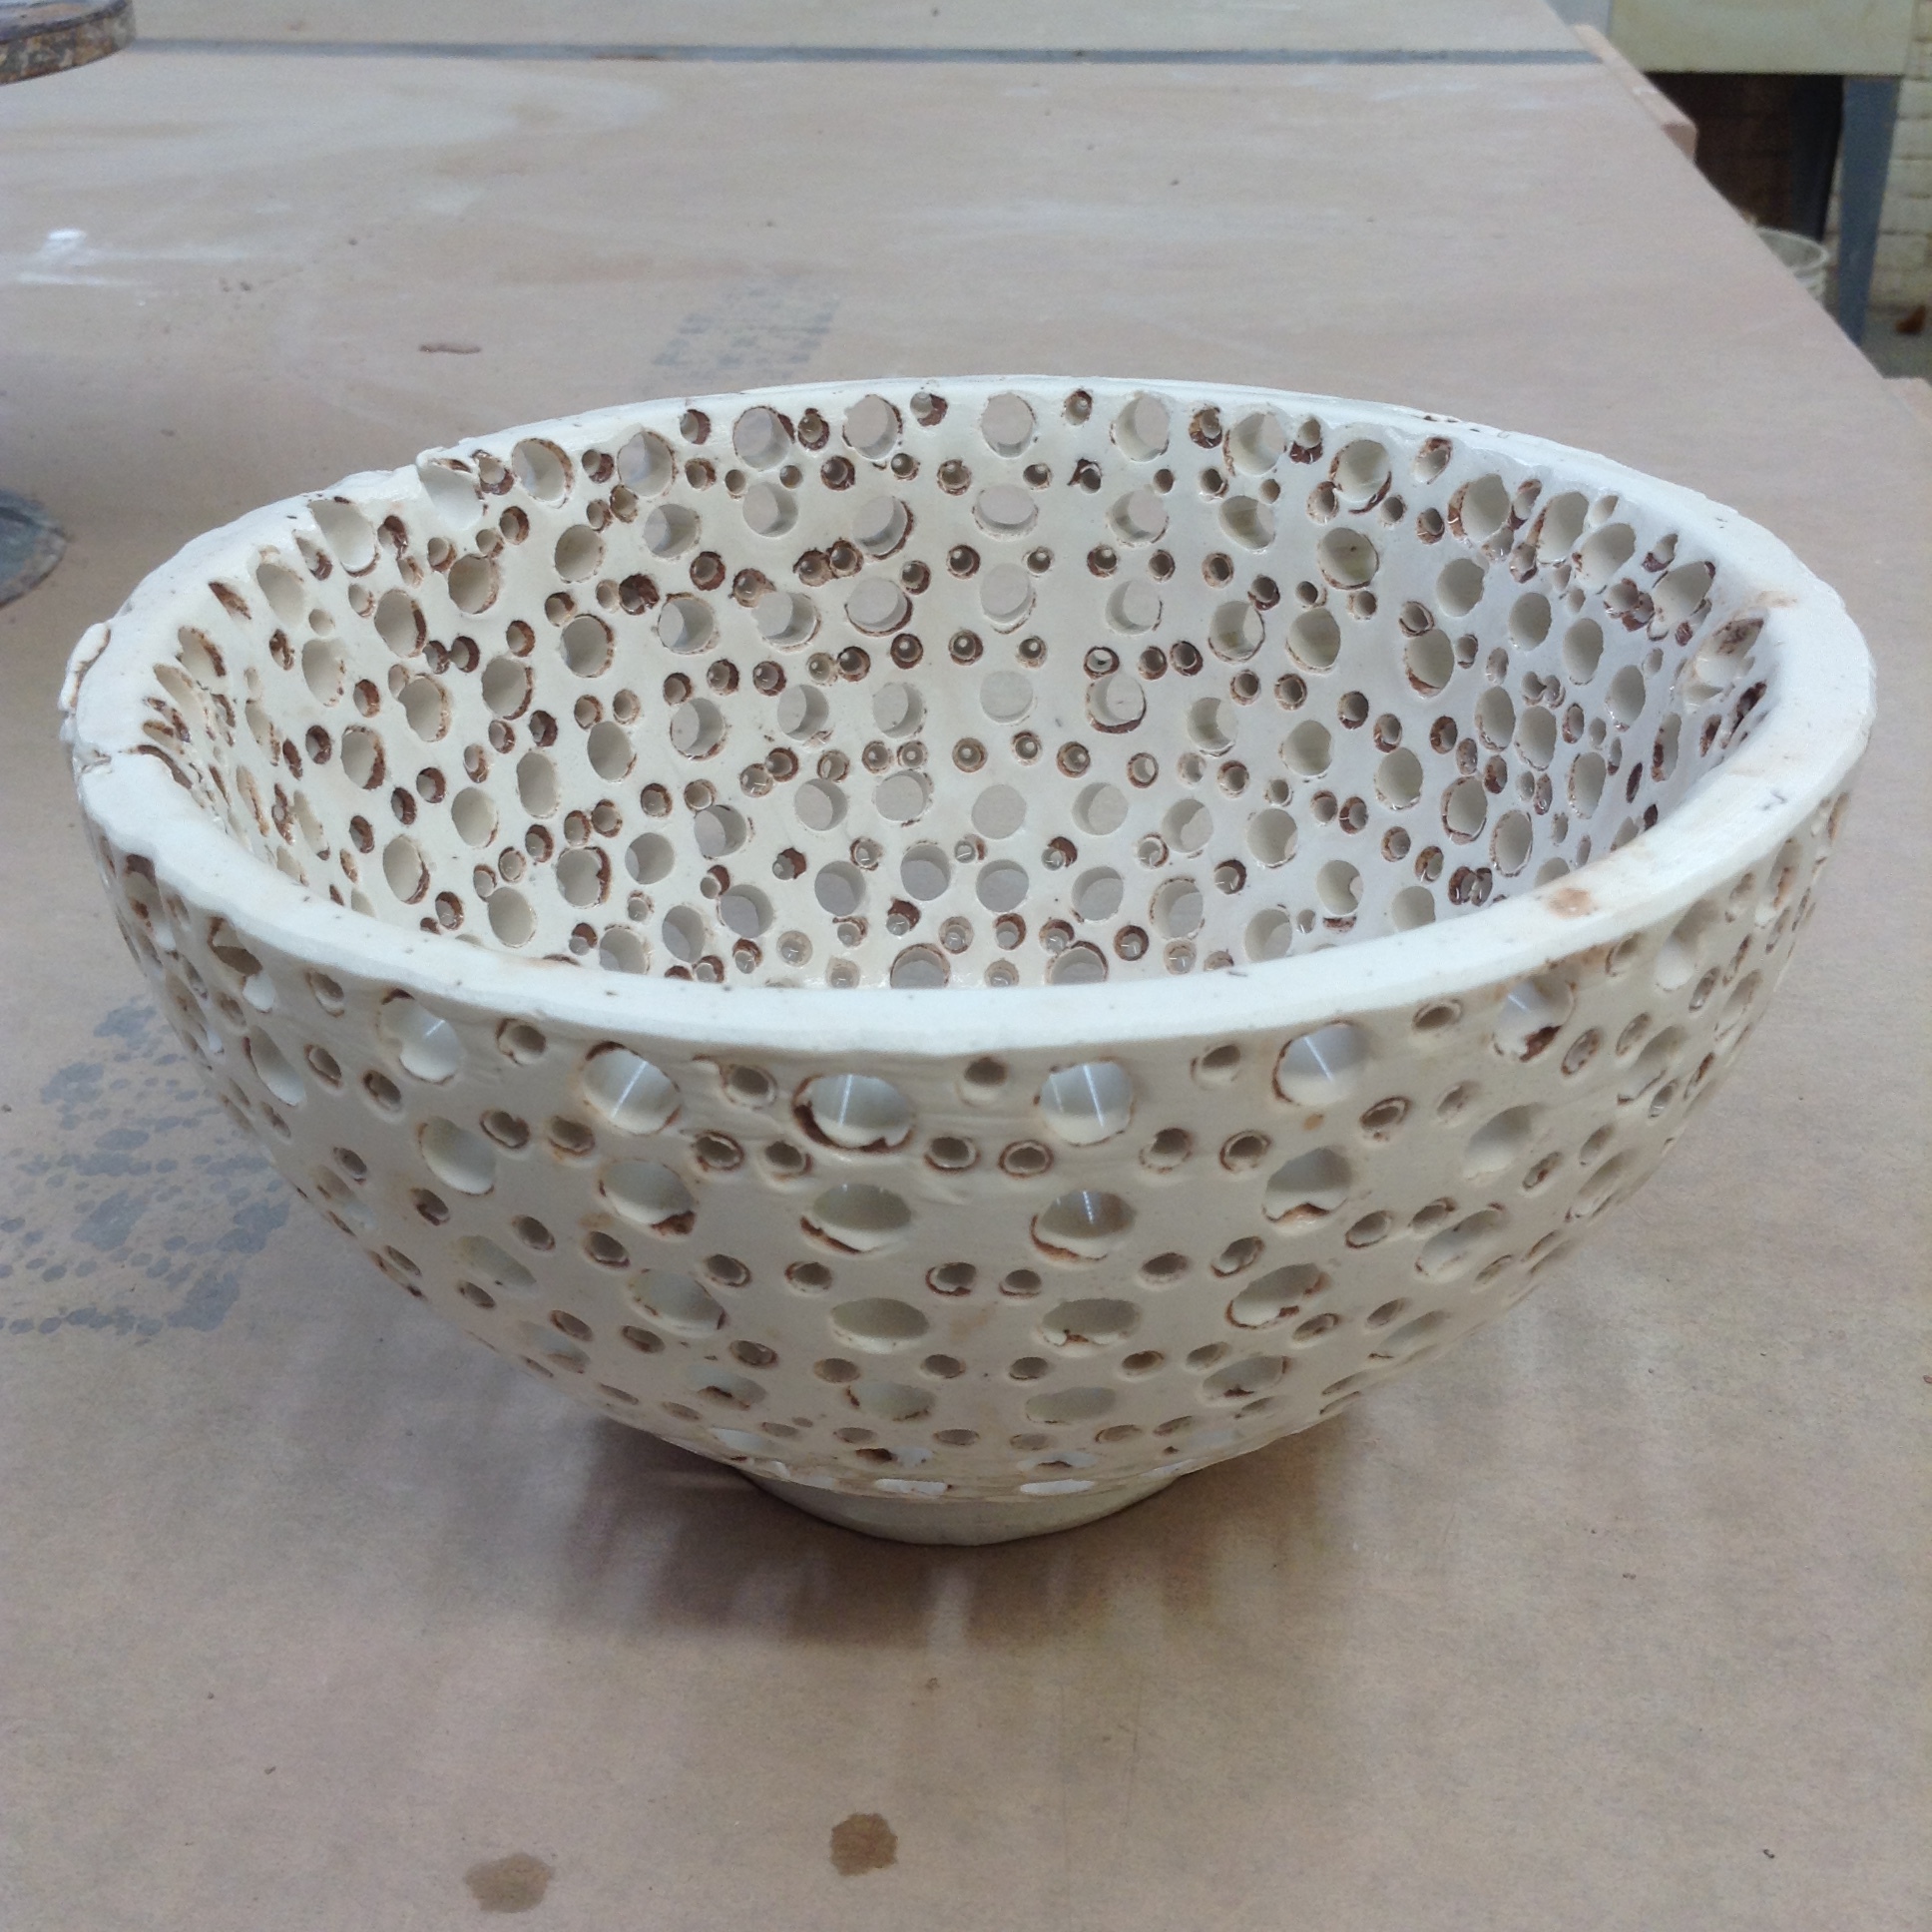
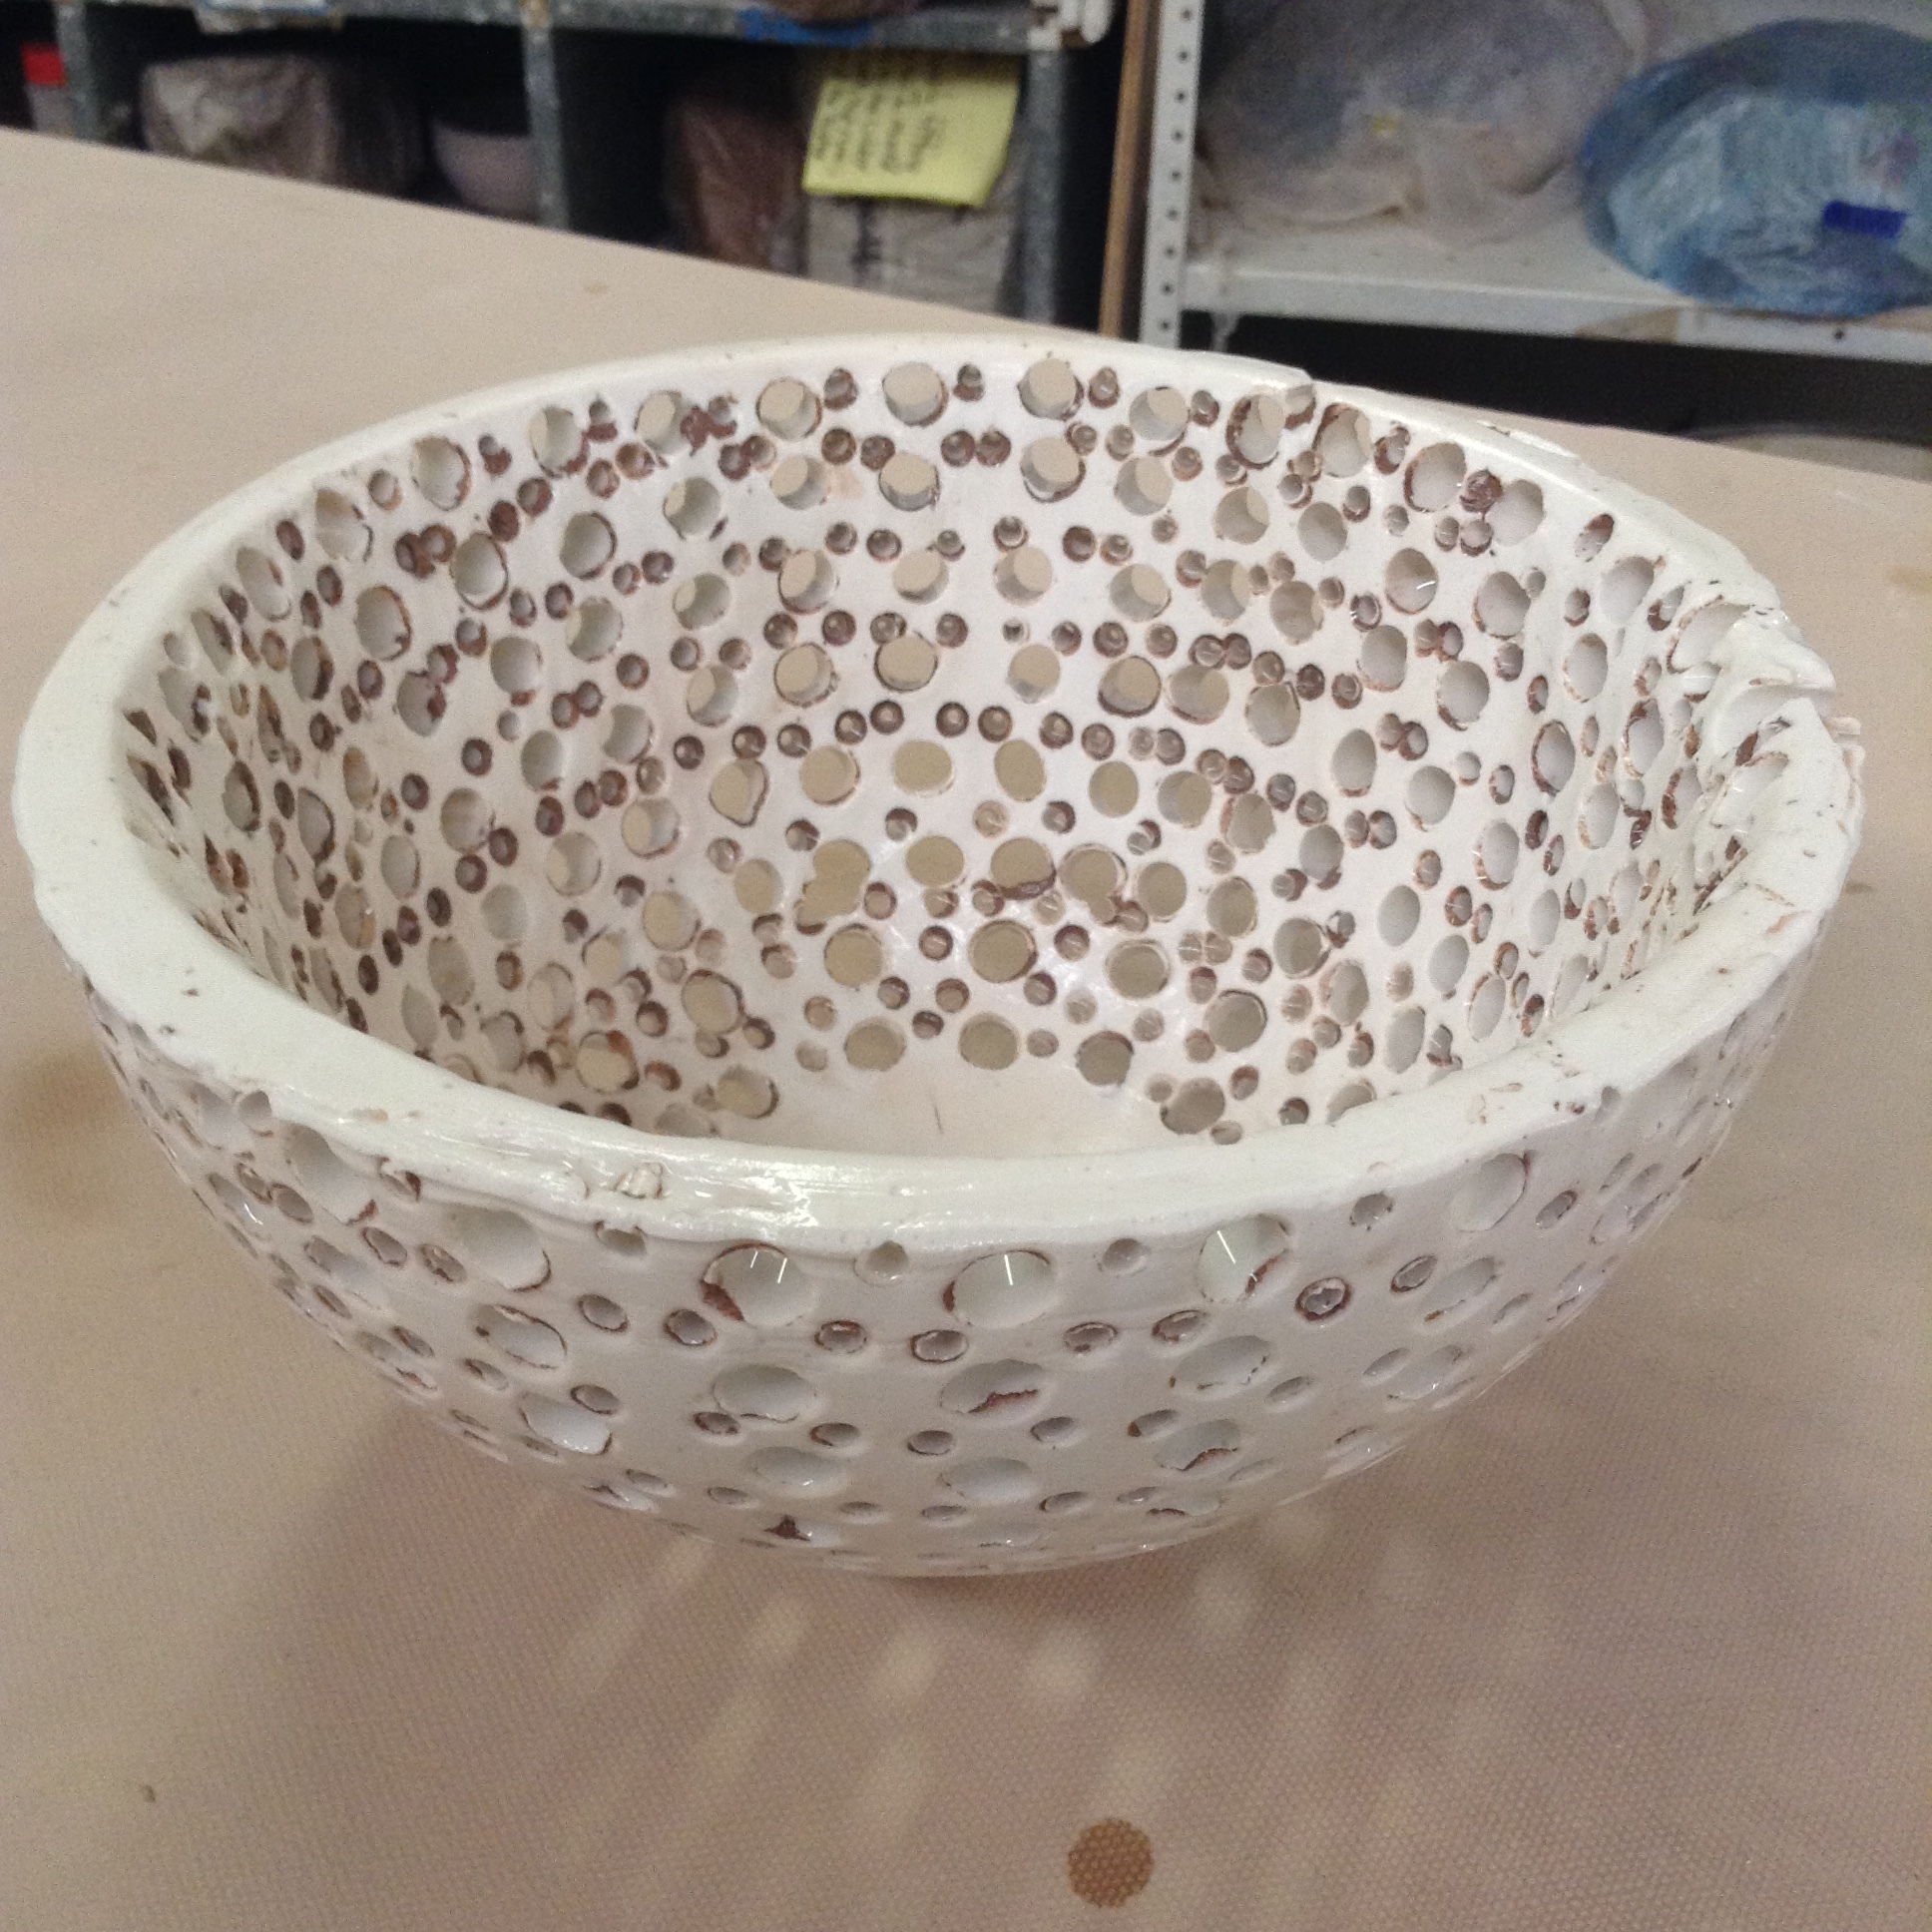
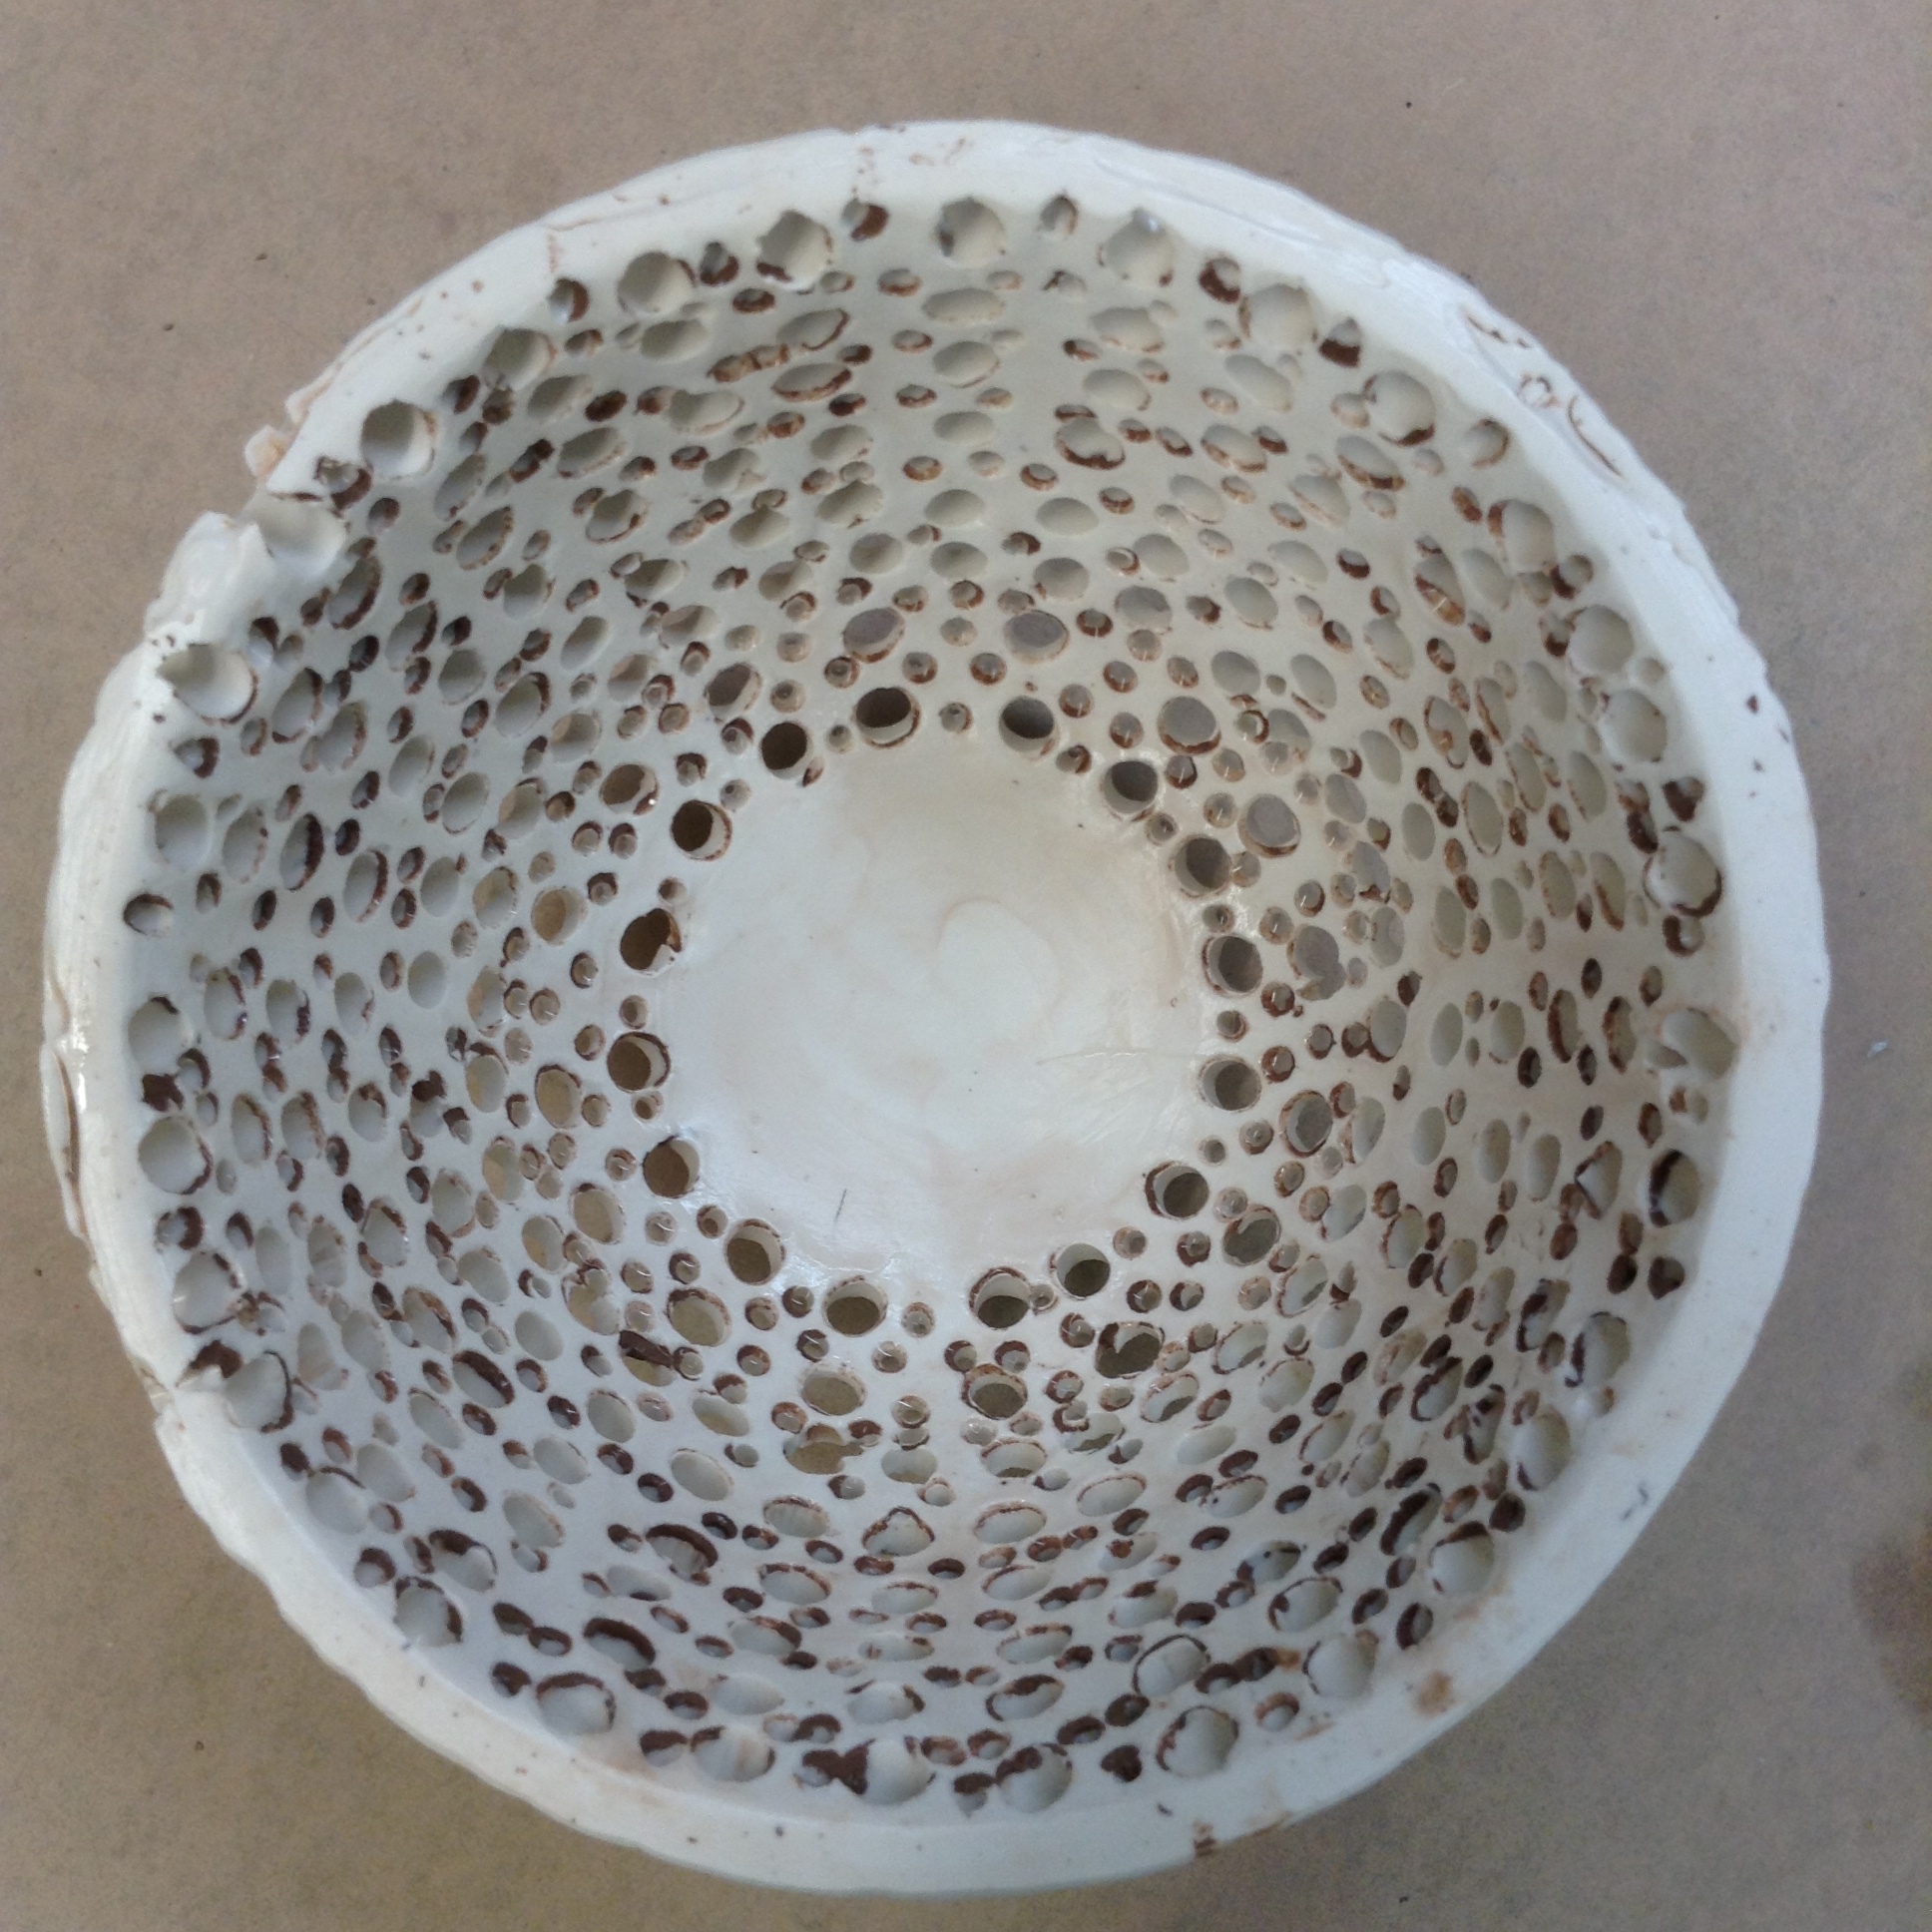
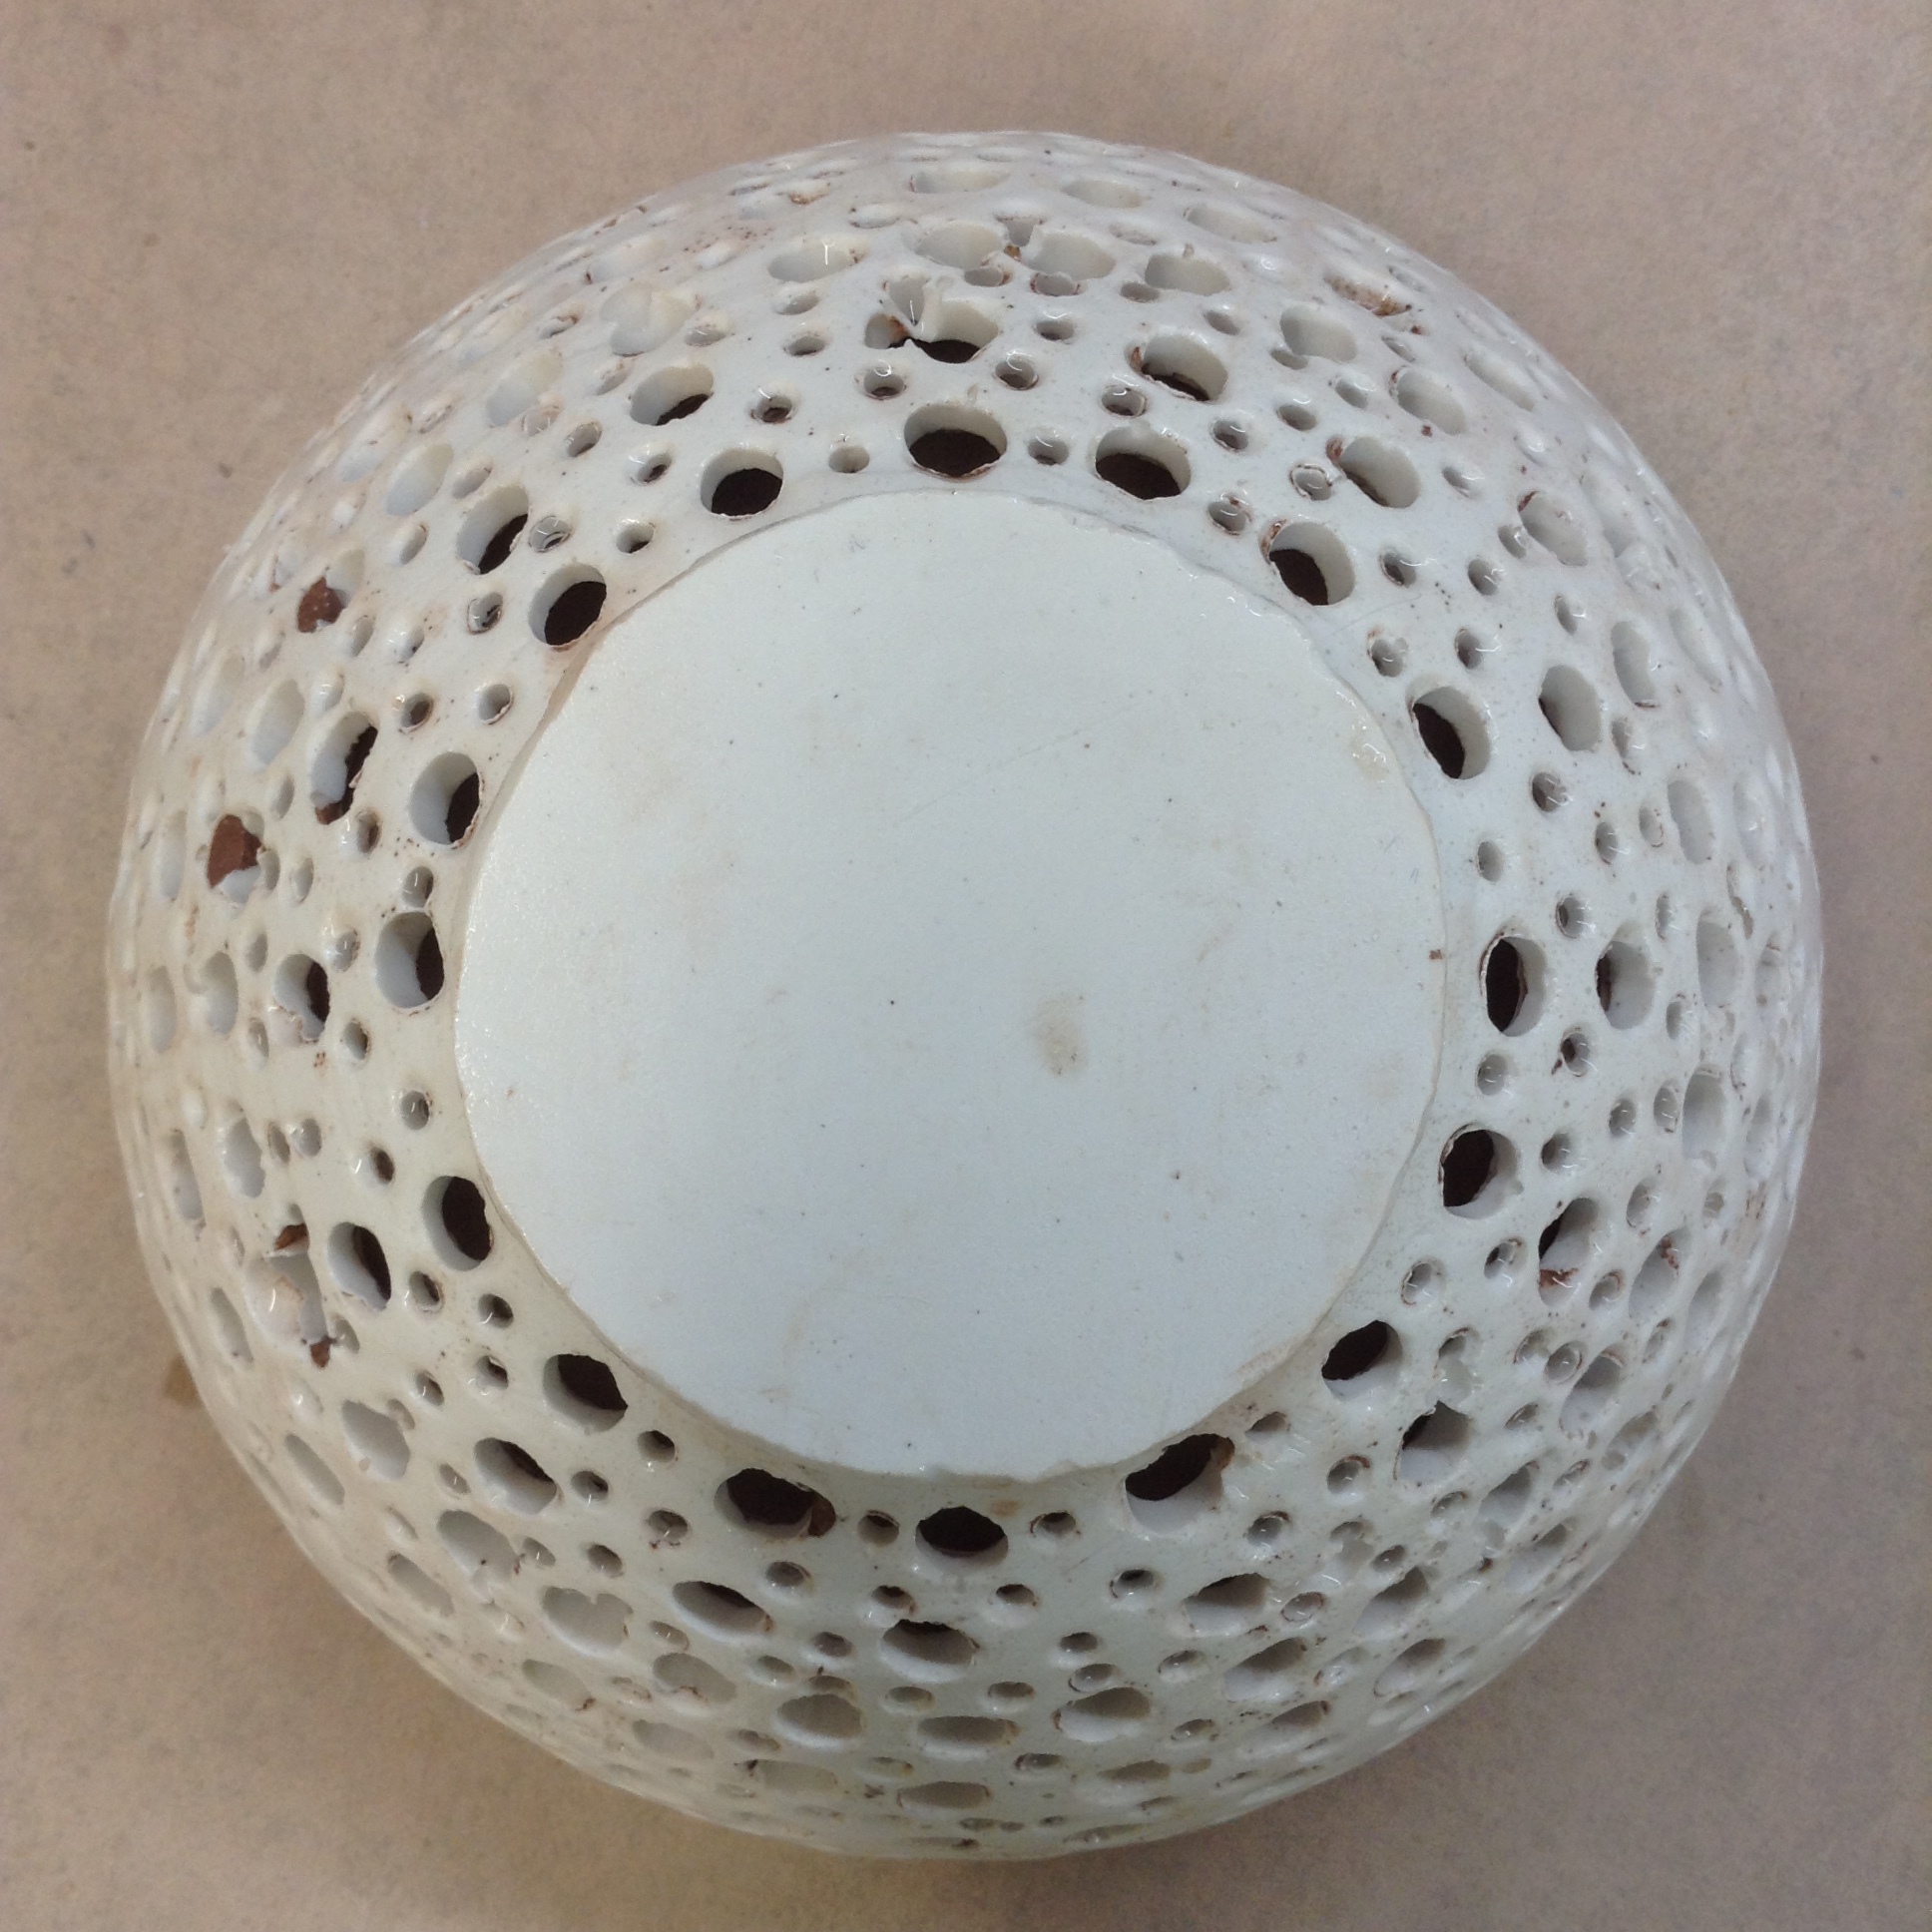
This plaster bowl is an example of using the space between two nesting clay forms.

This plaster bowl is an example of using the space between two nesting clay forms.

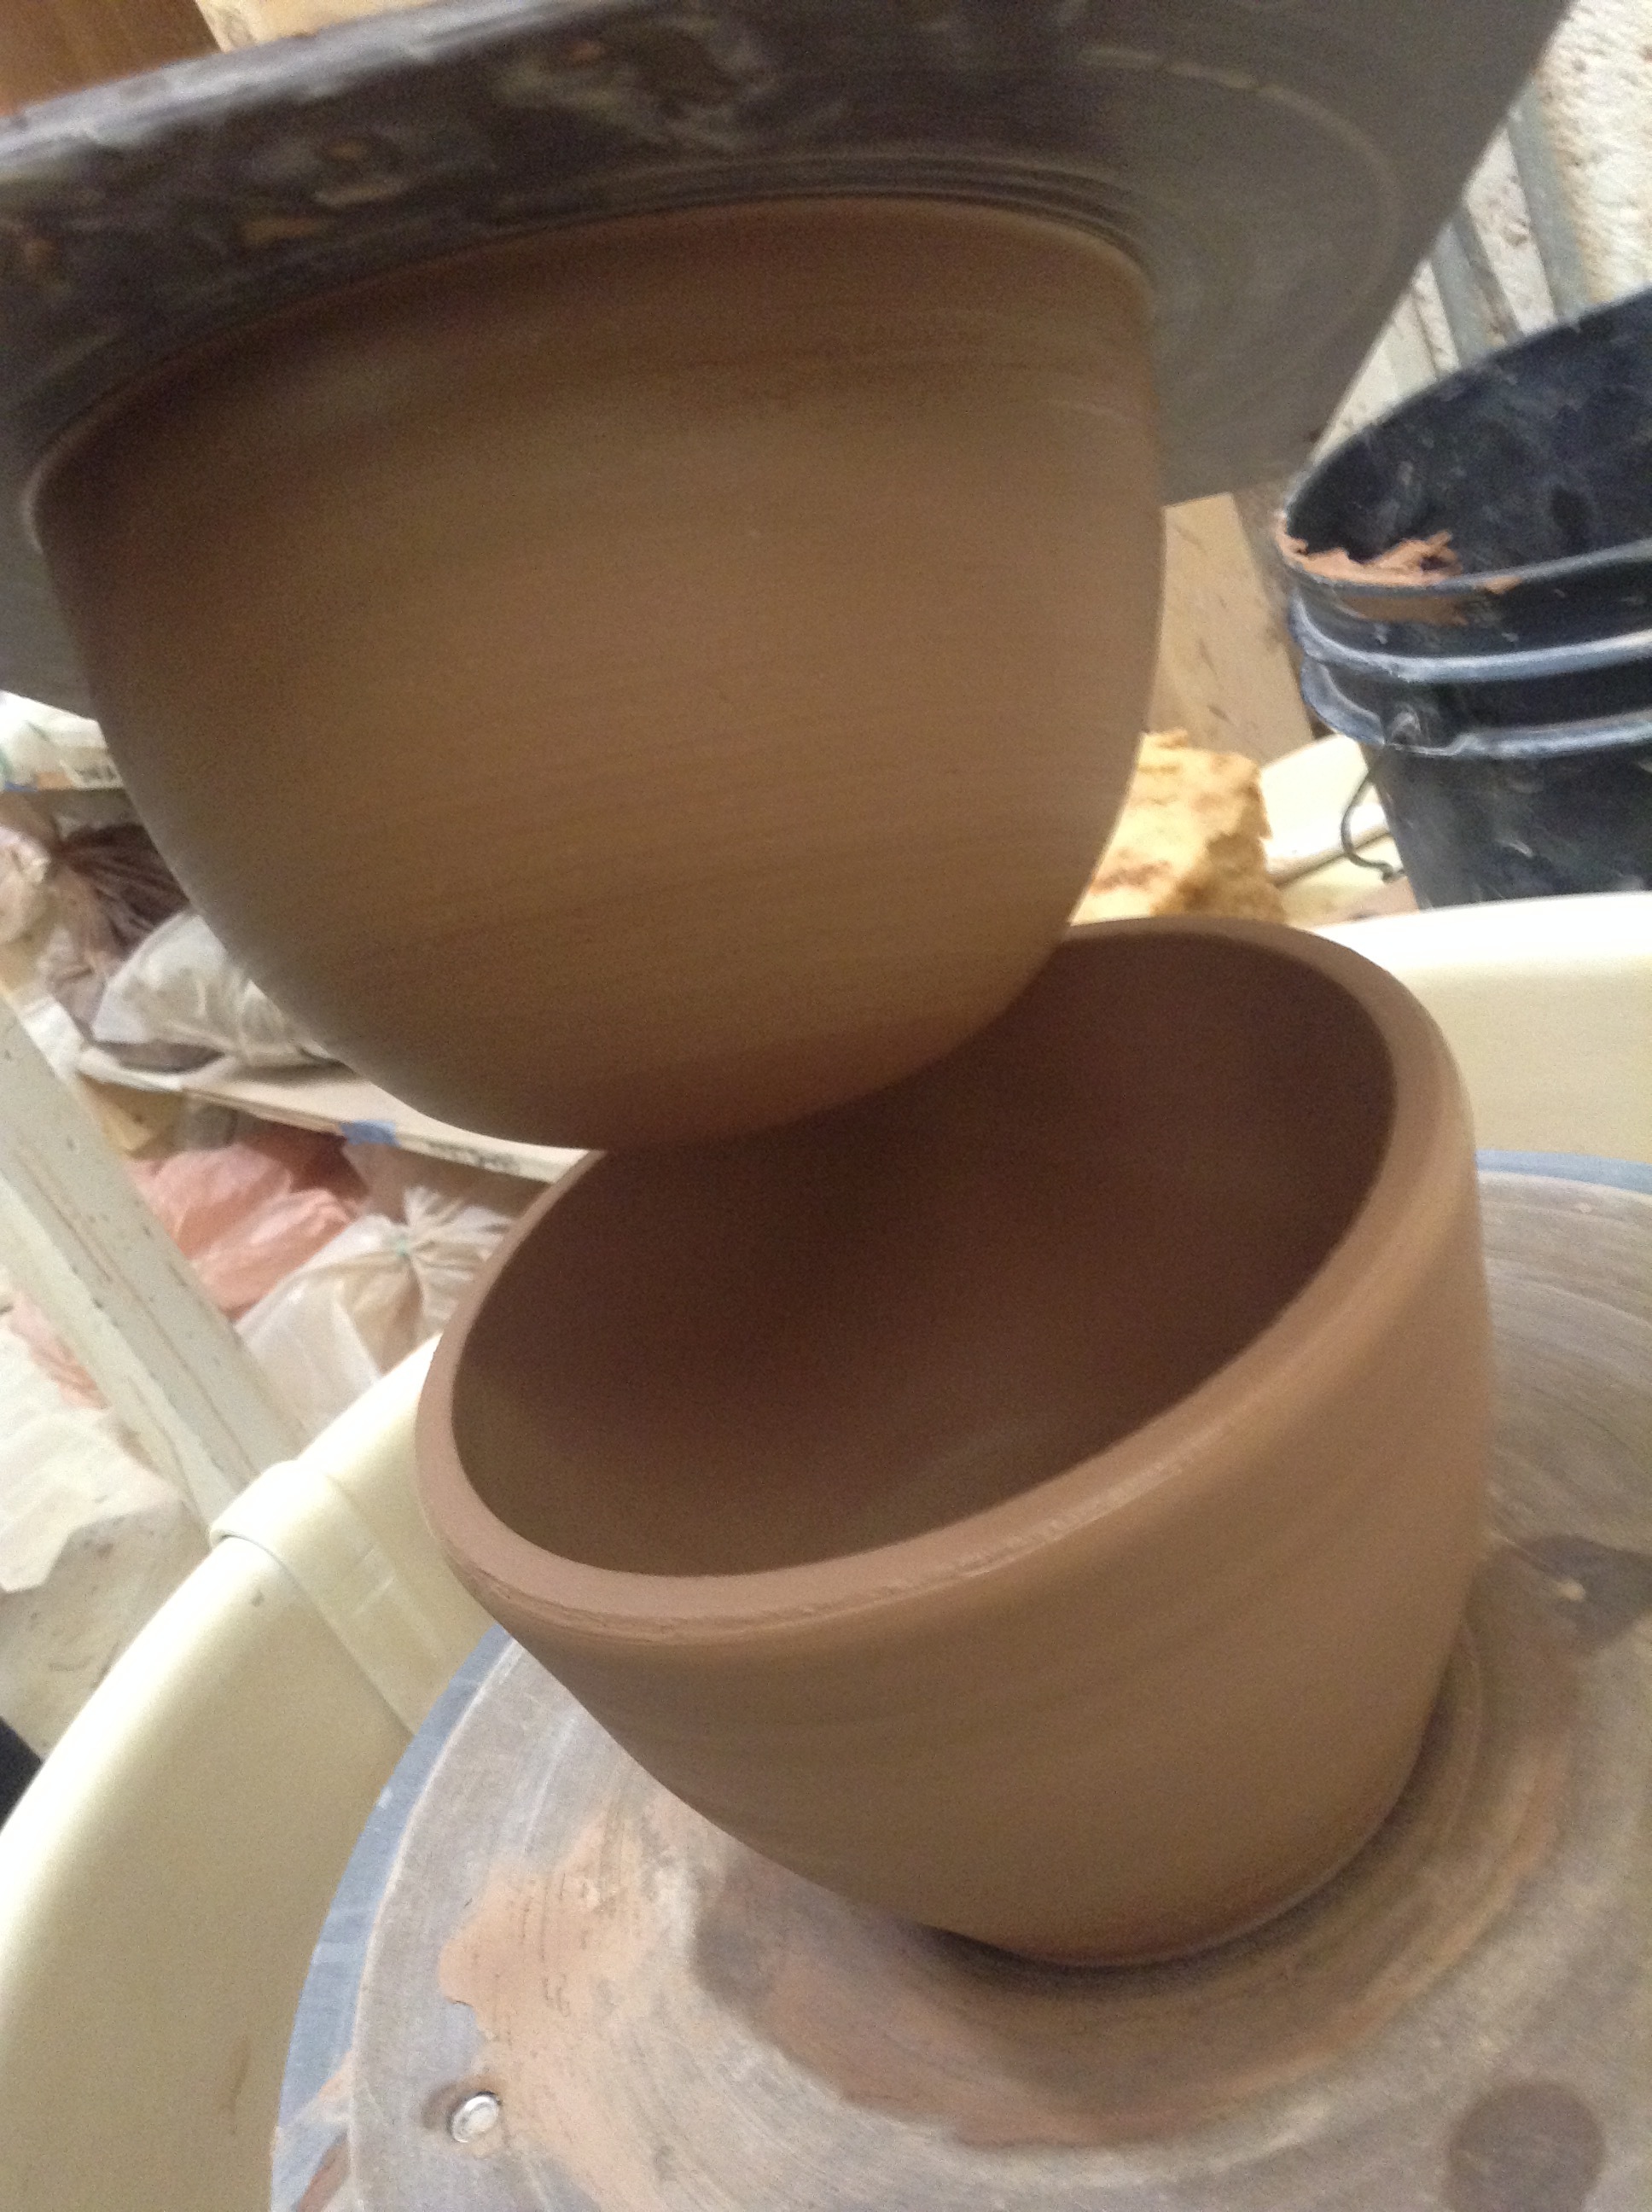
These videos show a variation on the methods above where a second, smaller bowl form is made to go inside the larger one. The difference in sizes between the two bowls create an airspace when they're both rim-down on the table. This interior space is where the plaster flows, hardens, and is removed. Here again, you don't have to be using the straws, but you might find a use for a plaster bowl in the studio. It's also good throwing practice to think about the shape that might result.

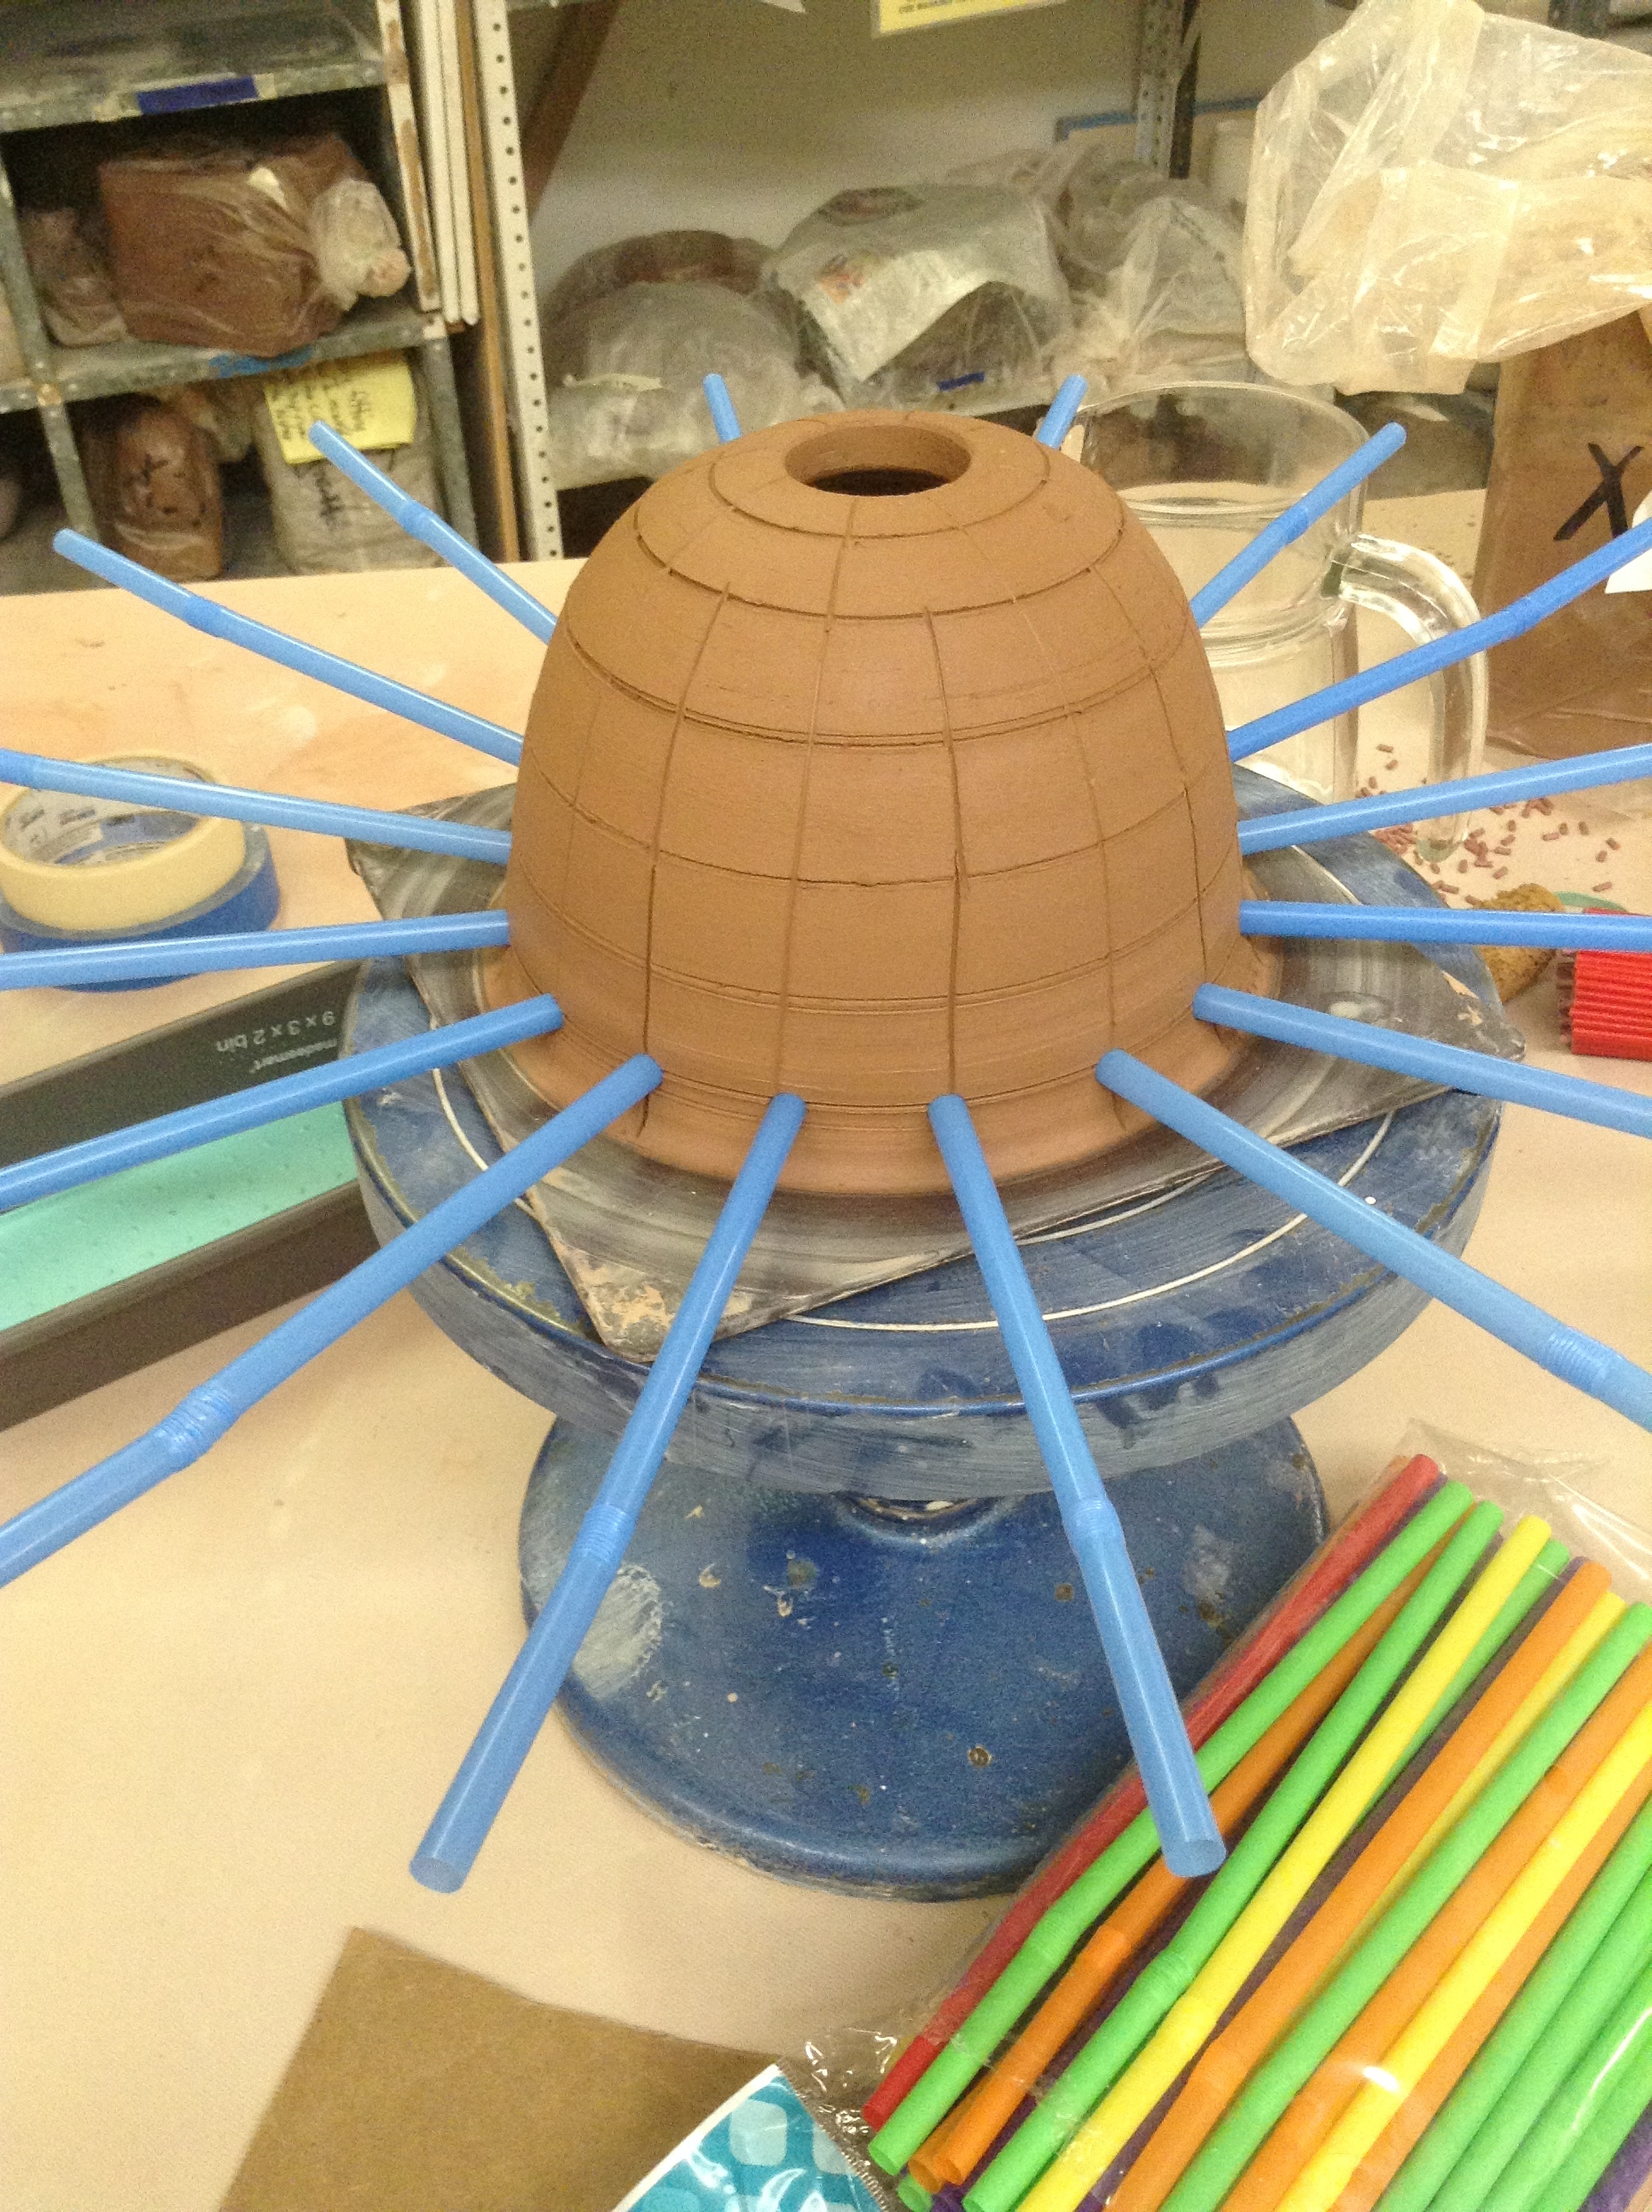
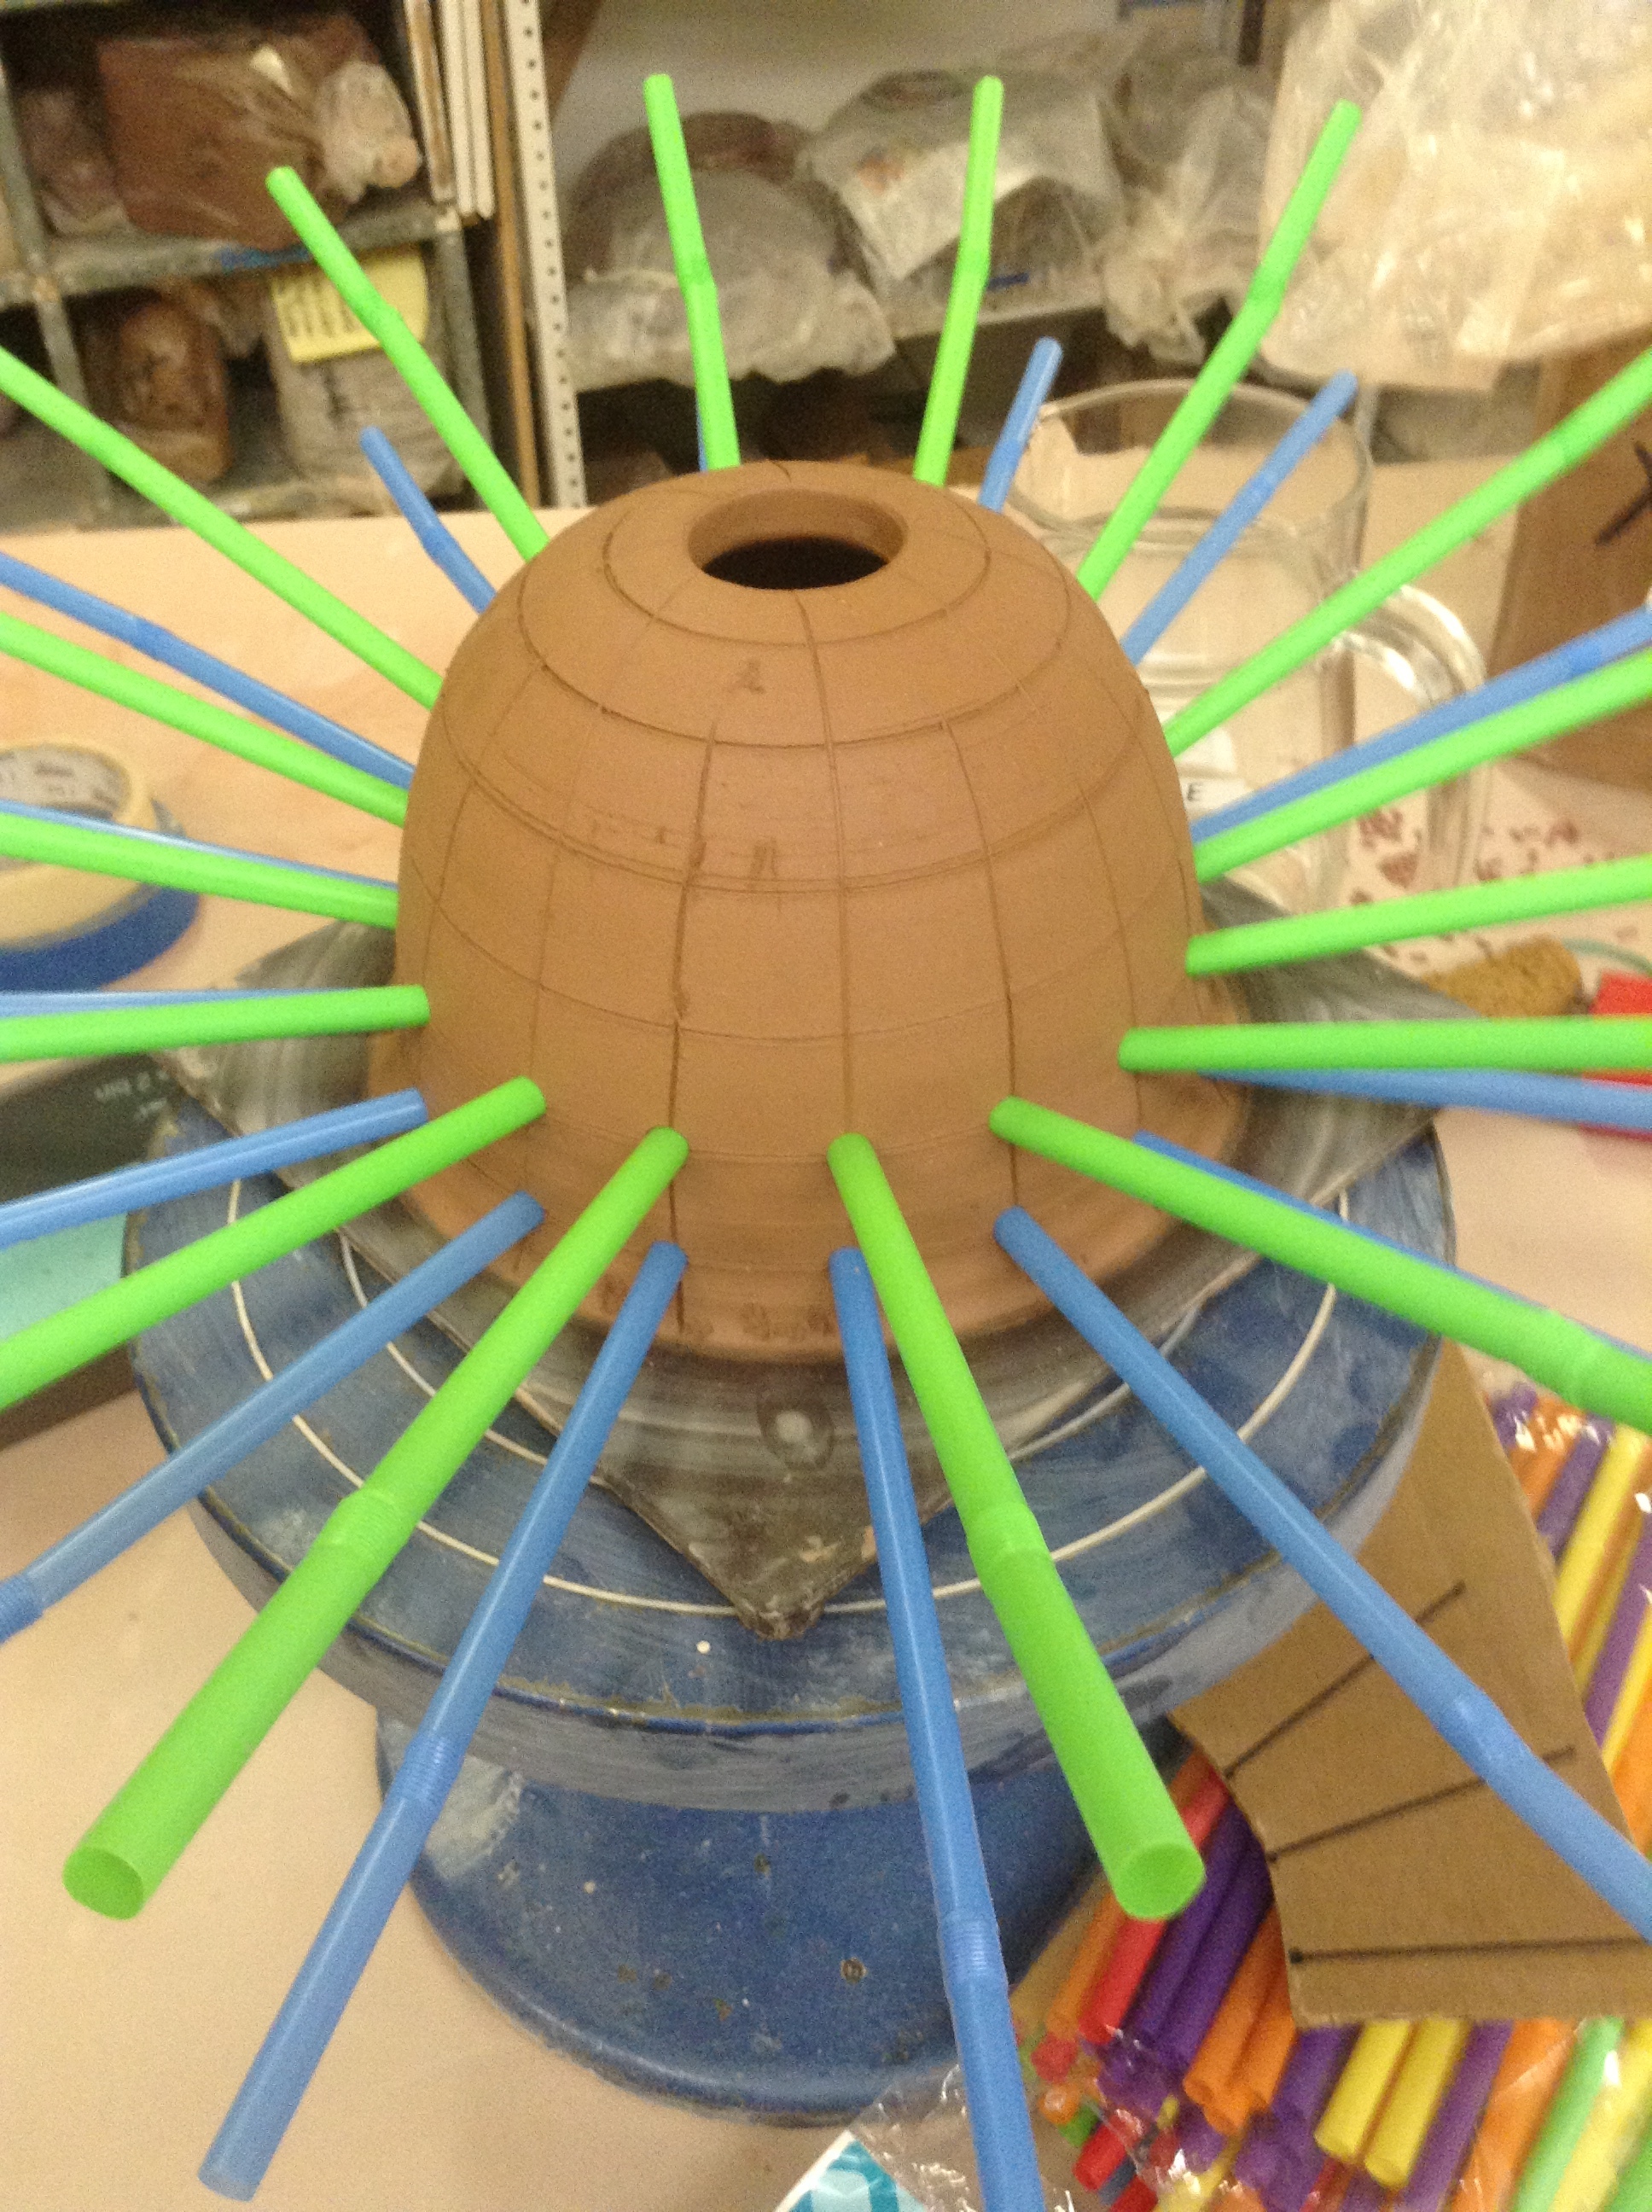
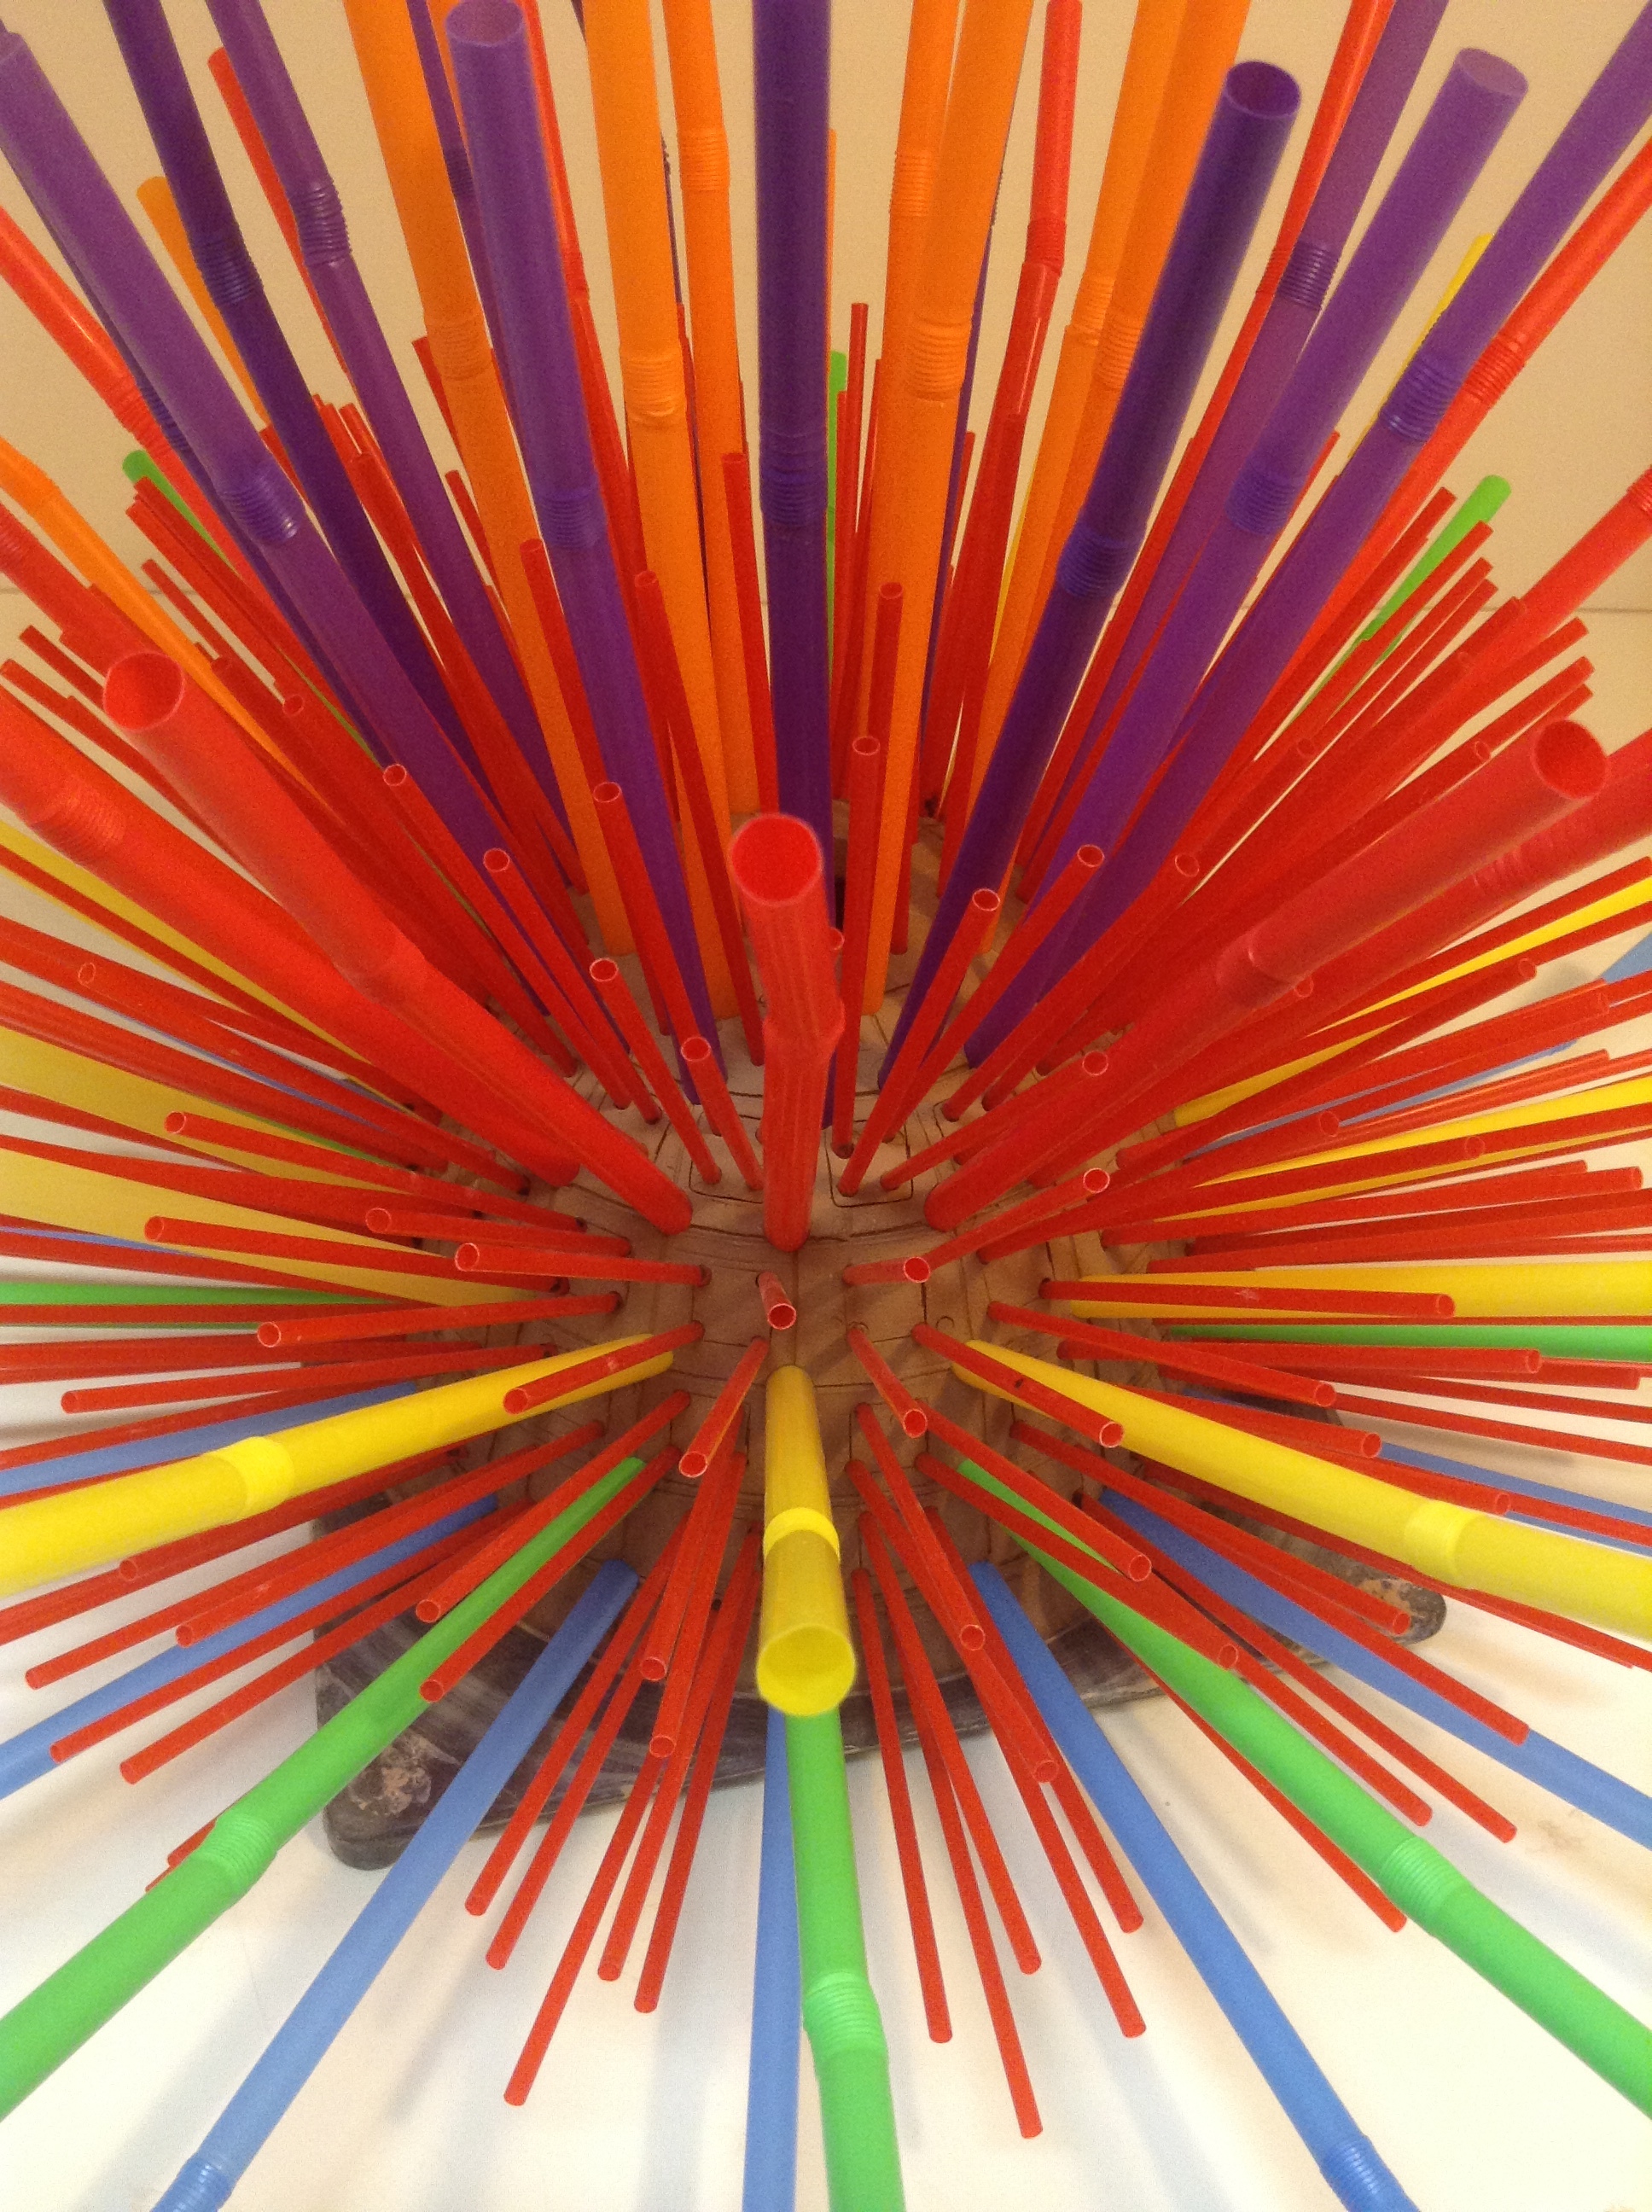
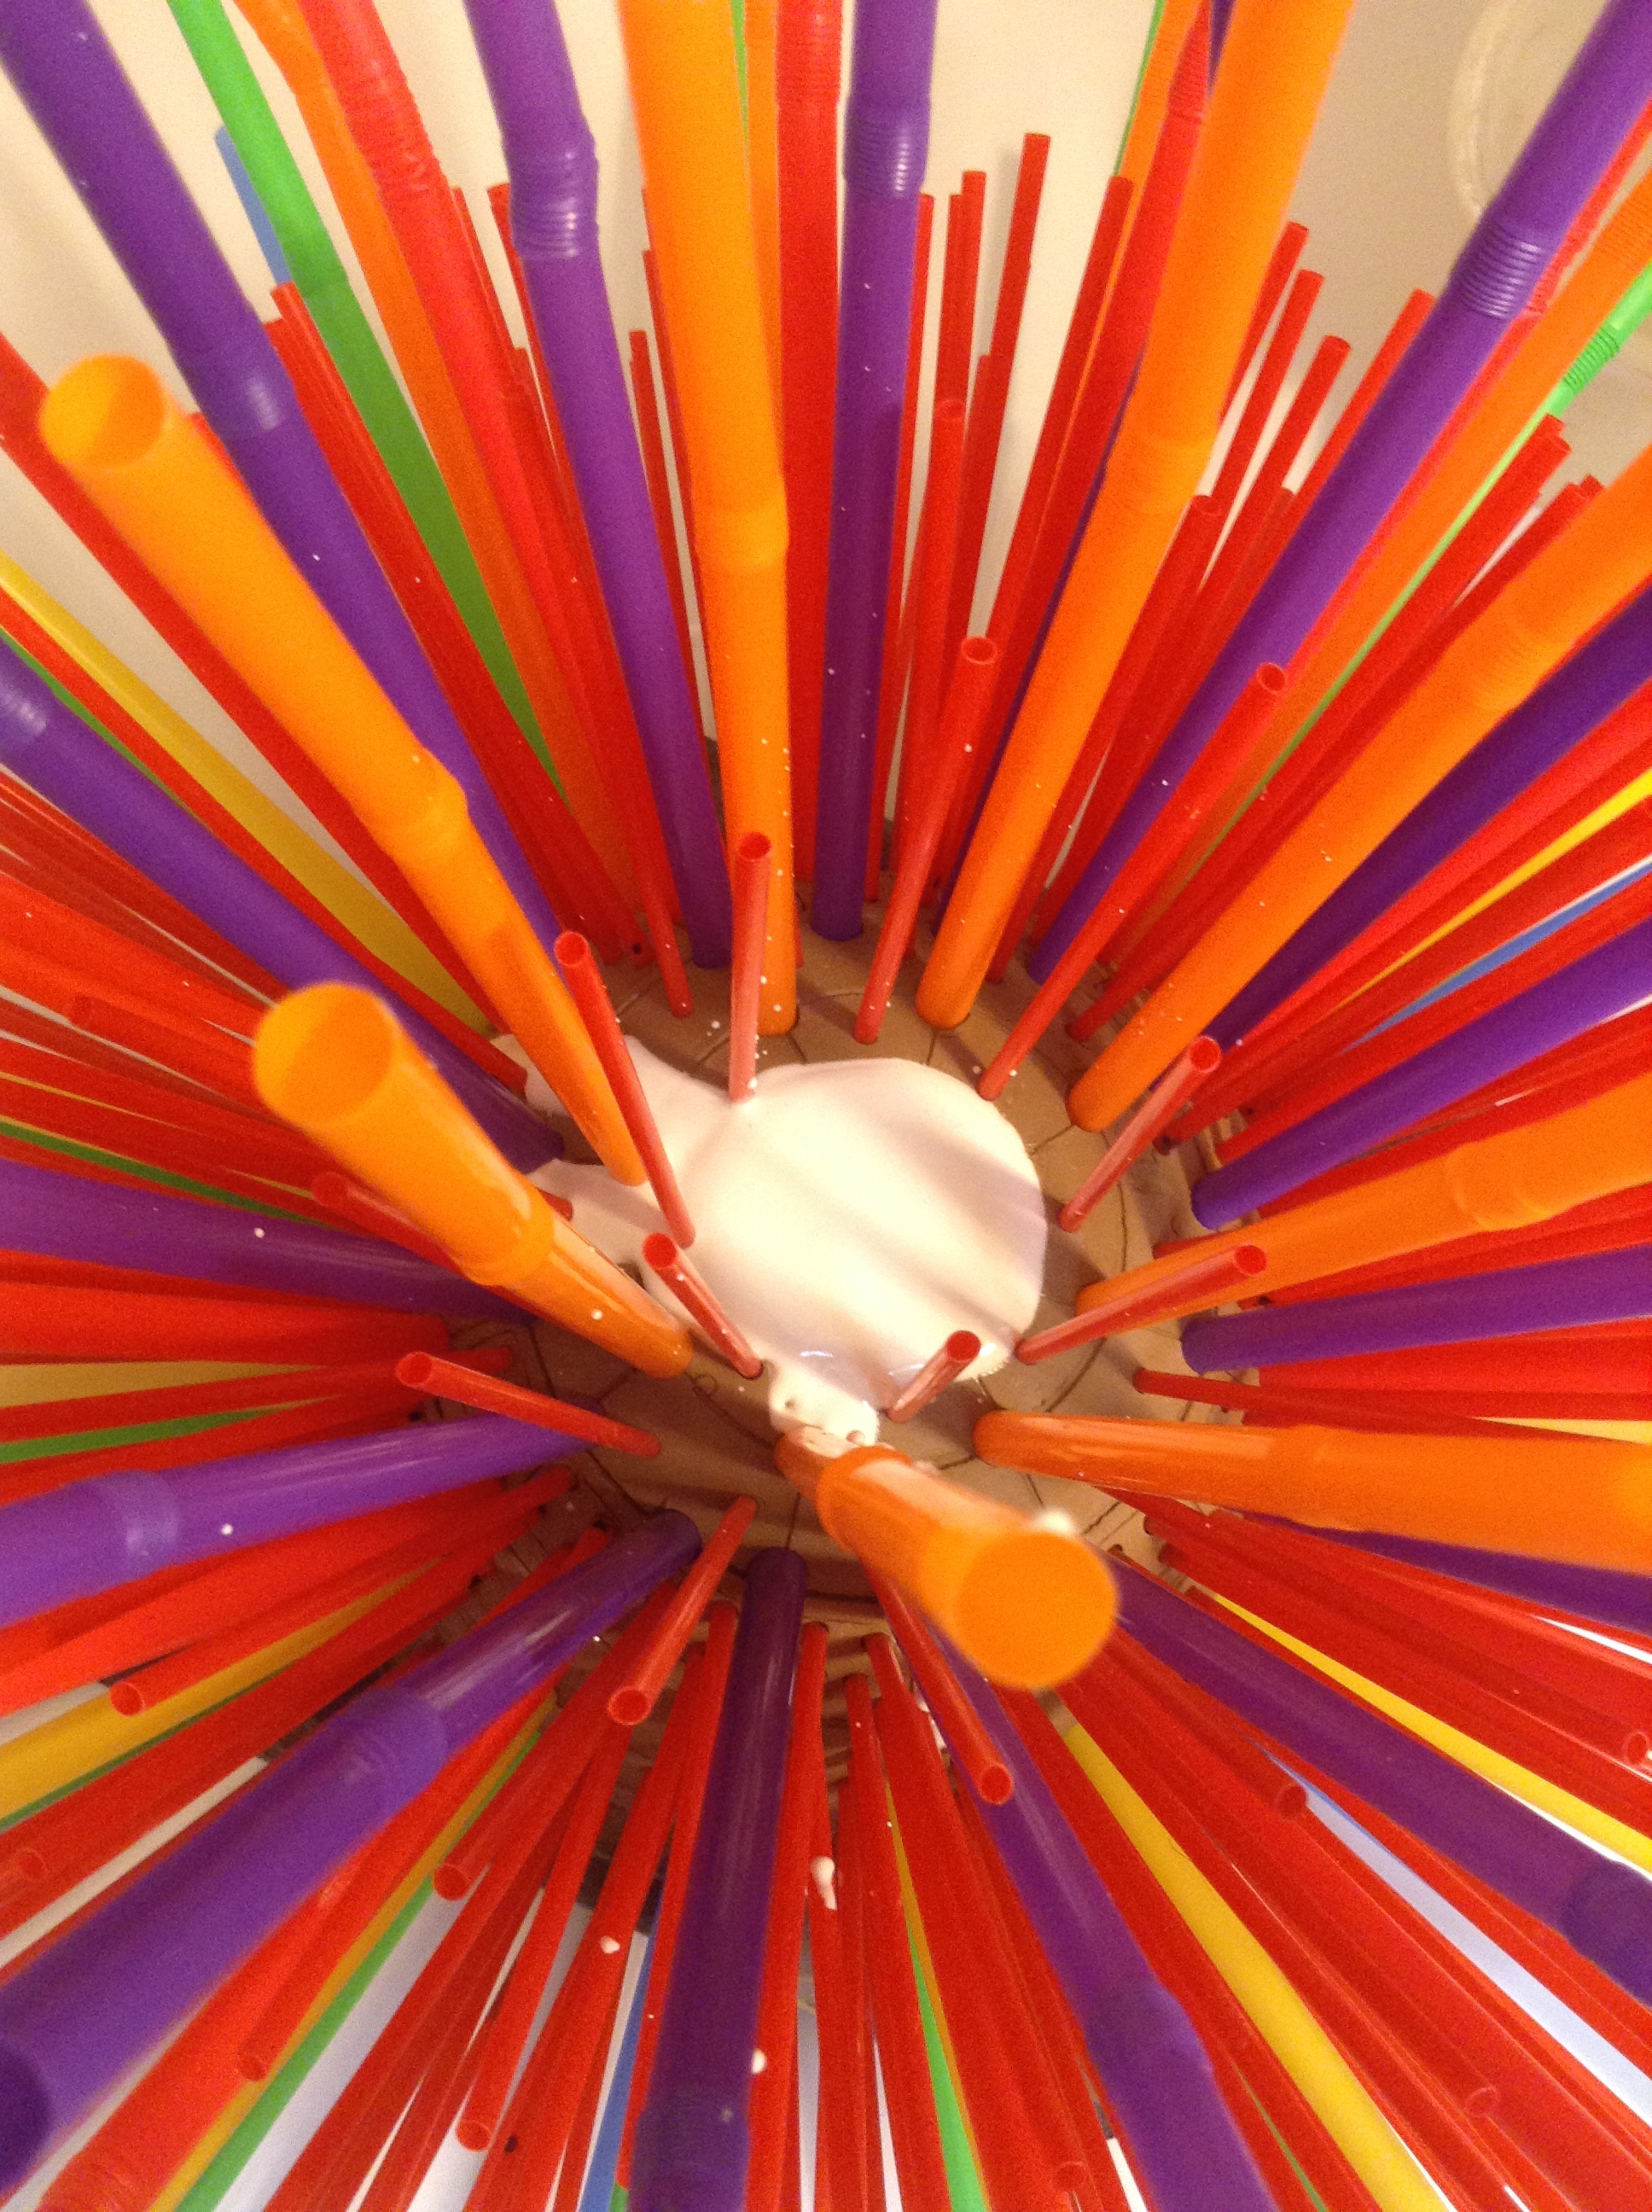
I needed a plaster shape that was like a bowl that that many holes drilled through it. But plaster is fragile. And besides, I don't have a drill press. So I made two clay forms and planted straws through both layers. Watch how it is unmolded.
A short, silent video showing how two plaster bowl forms relate. Holes made by jamming straws between layers of clay, and pouring plaster in between. After the plaster hardens, tear away clay, and pull out straws.

STILL SHOTS OF DOUBLE WALL FORM

Still shots of the process of making the clay forms, and stabbing the straws through both layers. The large number of straws of each color look very pretty. If you're going through a package of colored straws and NOT trying to put them in some kind of order, there's something wrong with you. The finished unmolded plaster shape is shown last. It is ready for use as form for the string scaffolding.


PLASTER BOWL NUMBER 1

PLASTER BOWL NUMBER 2


WRAPPING IT ALL UP, or at least trying

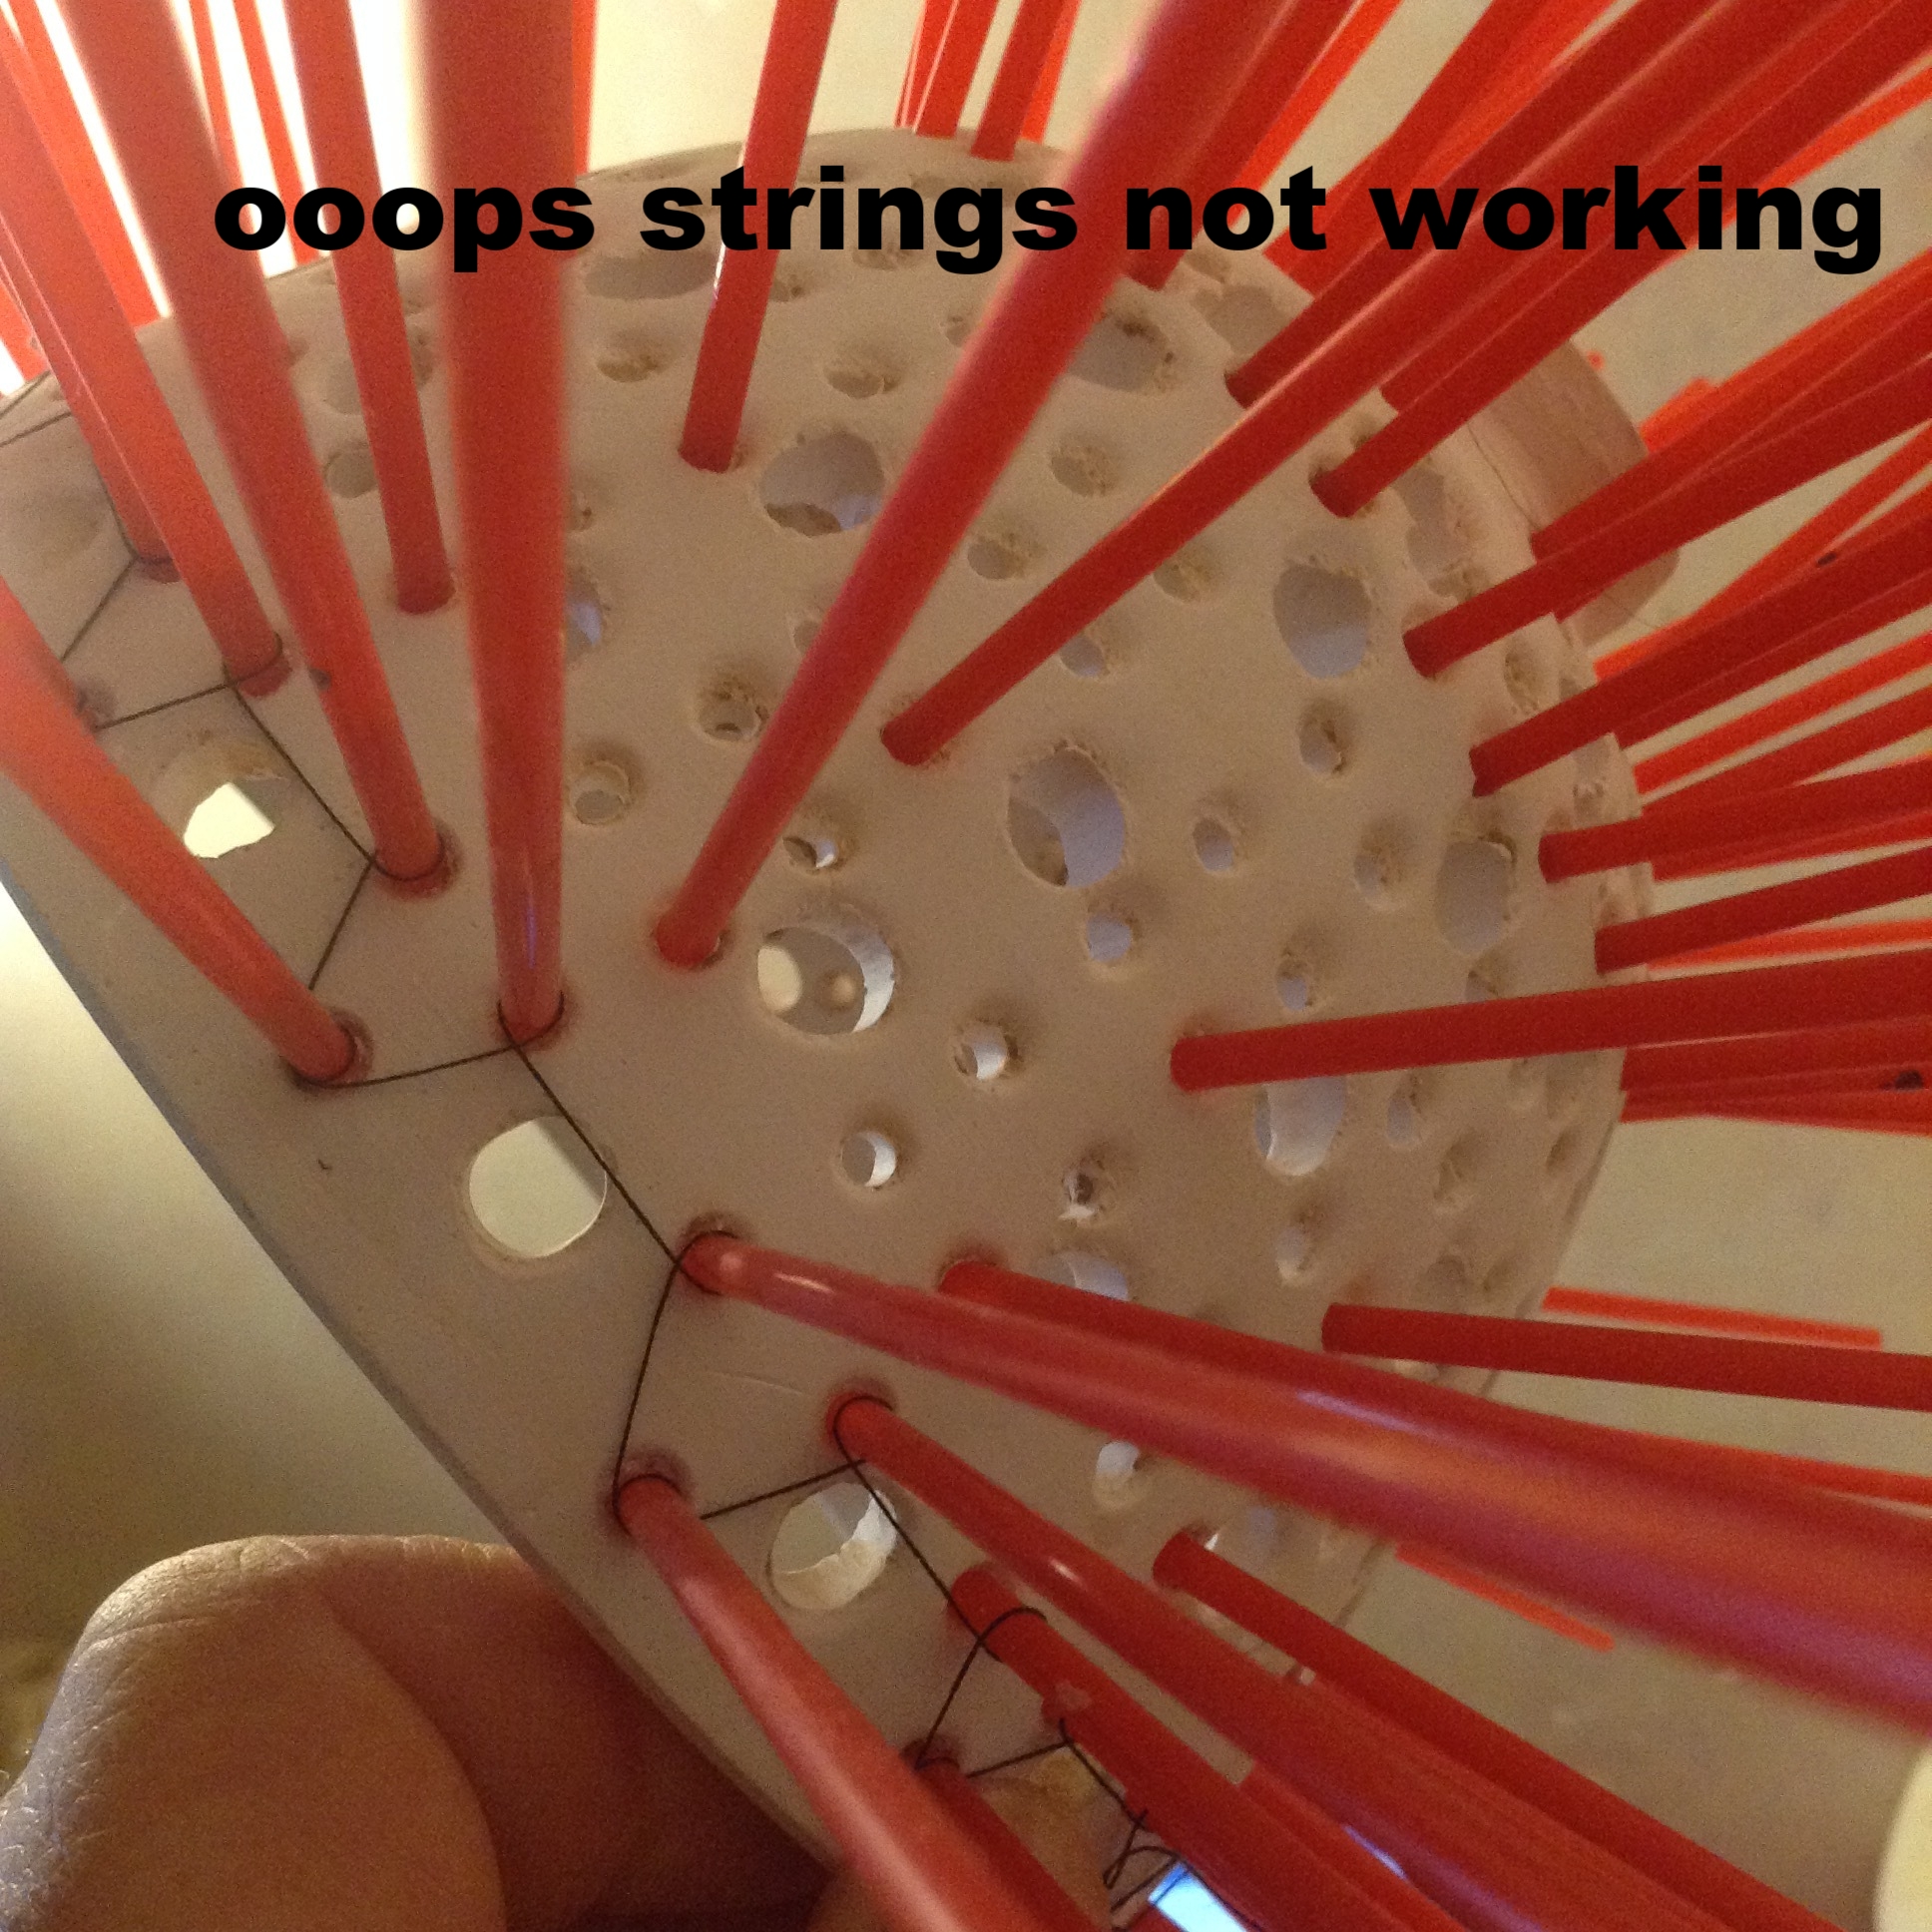
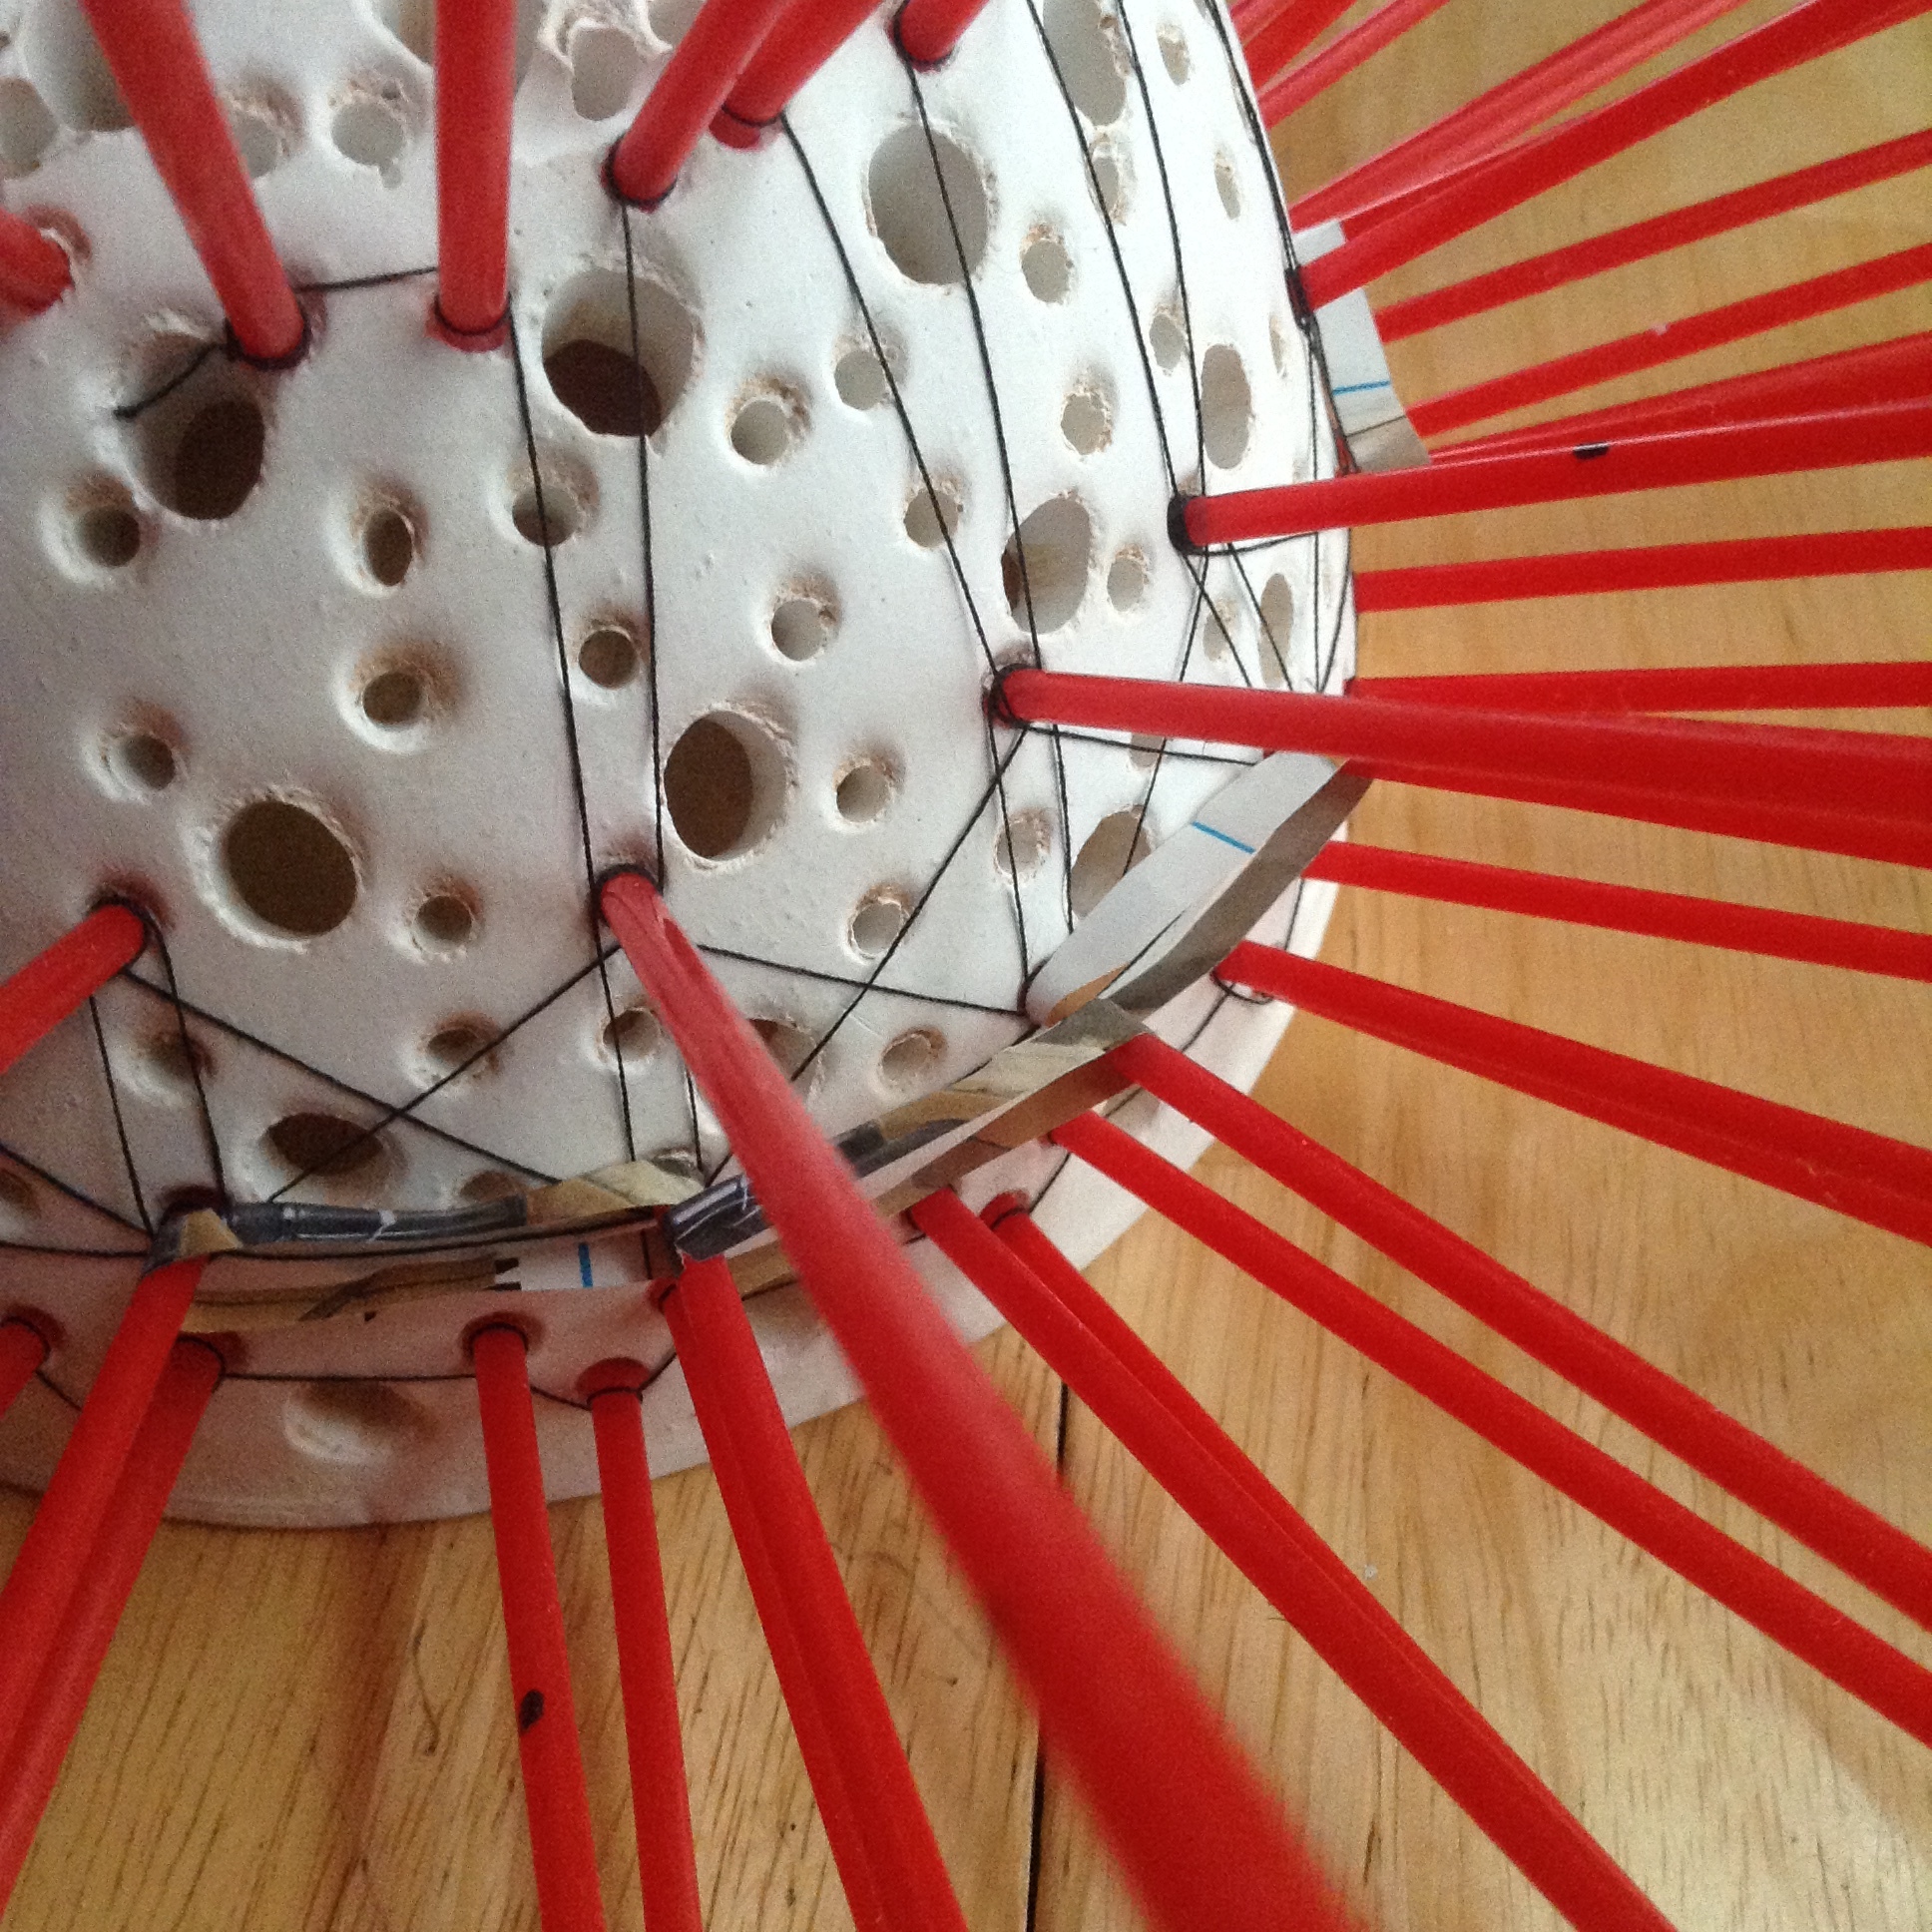
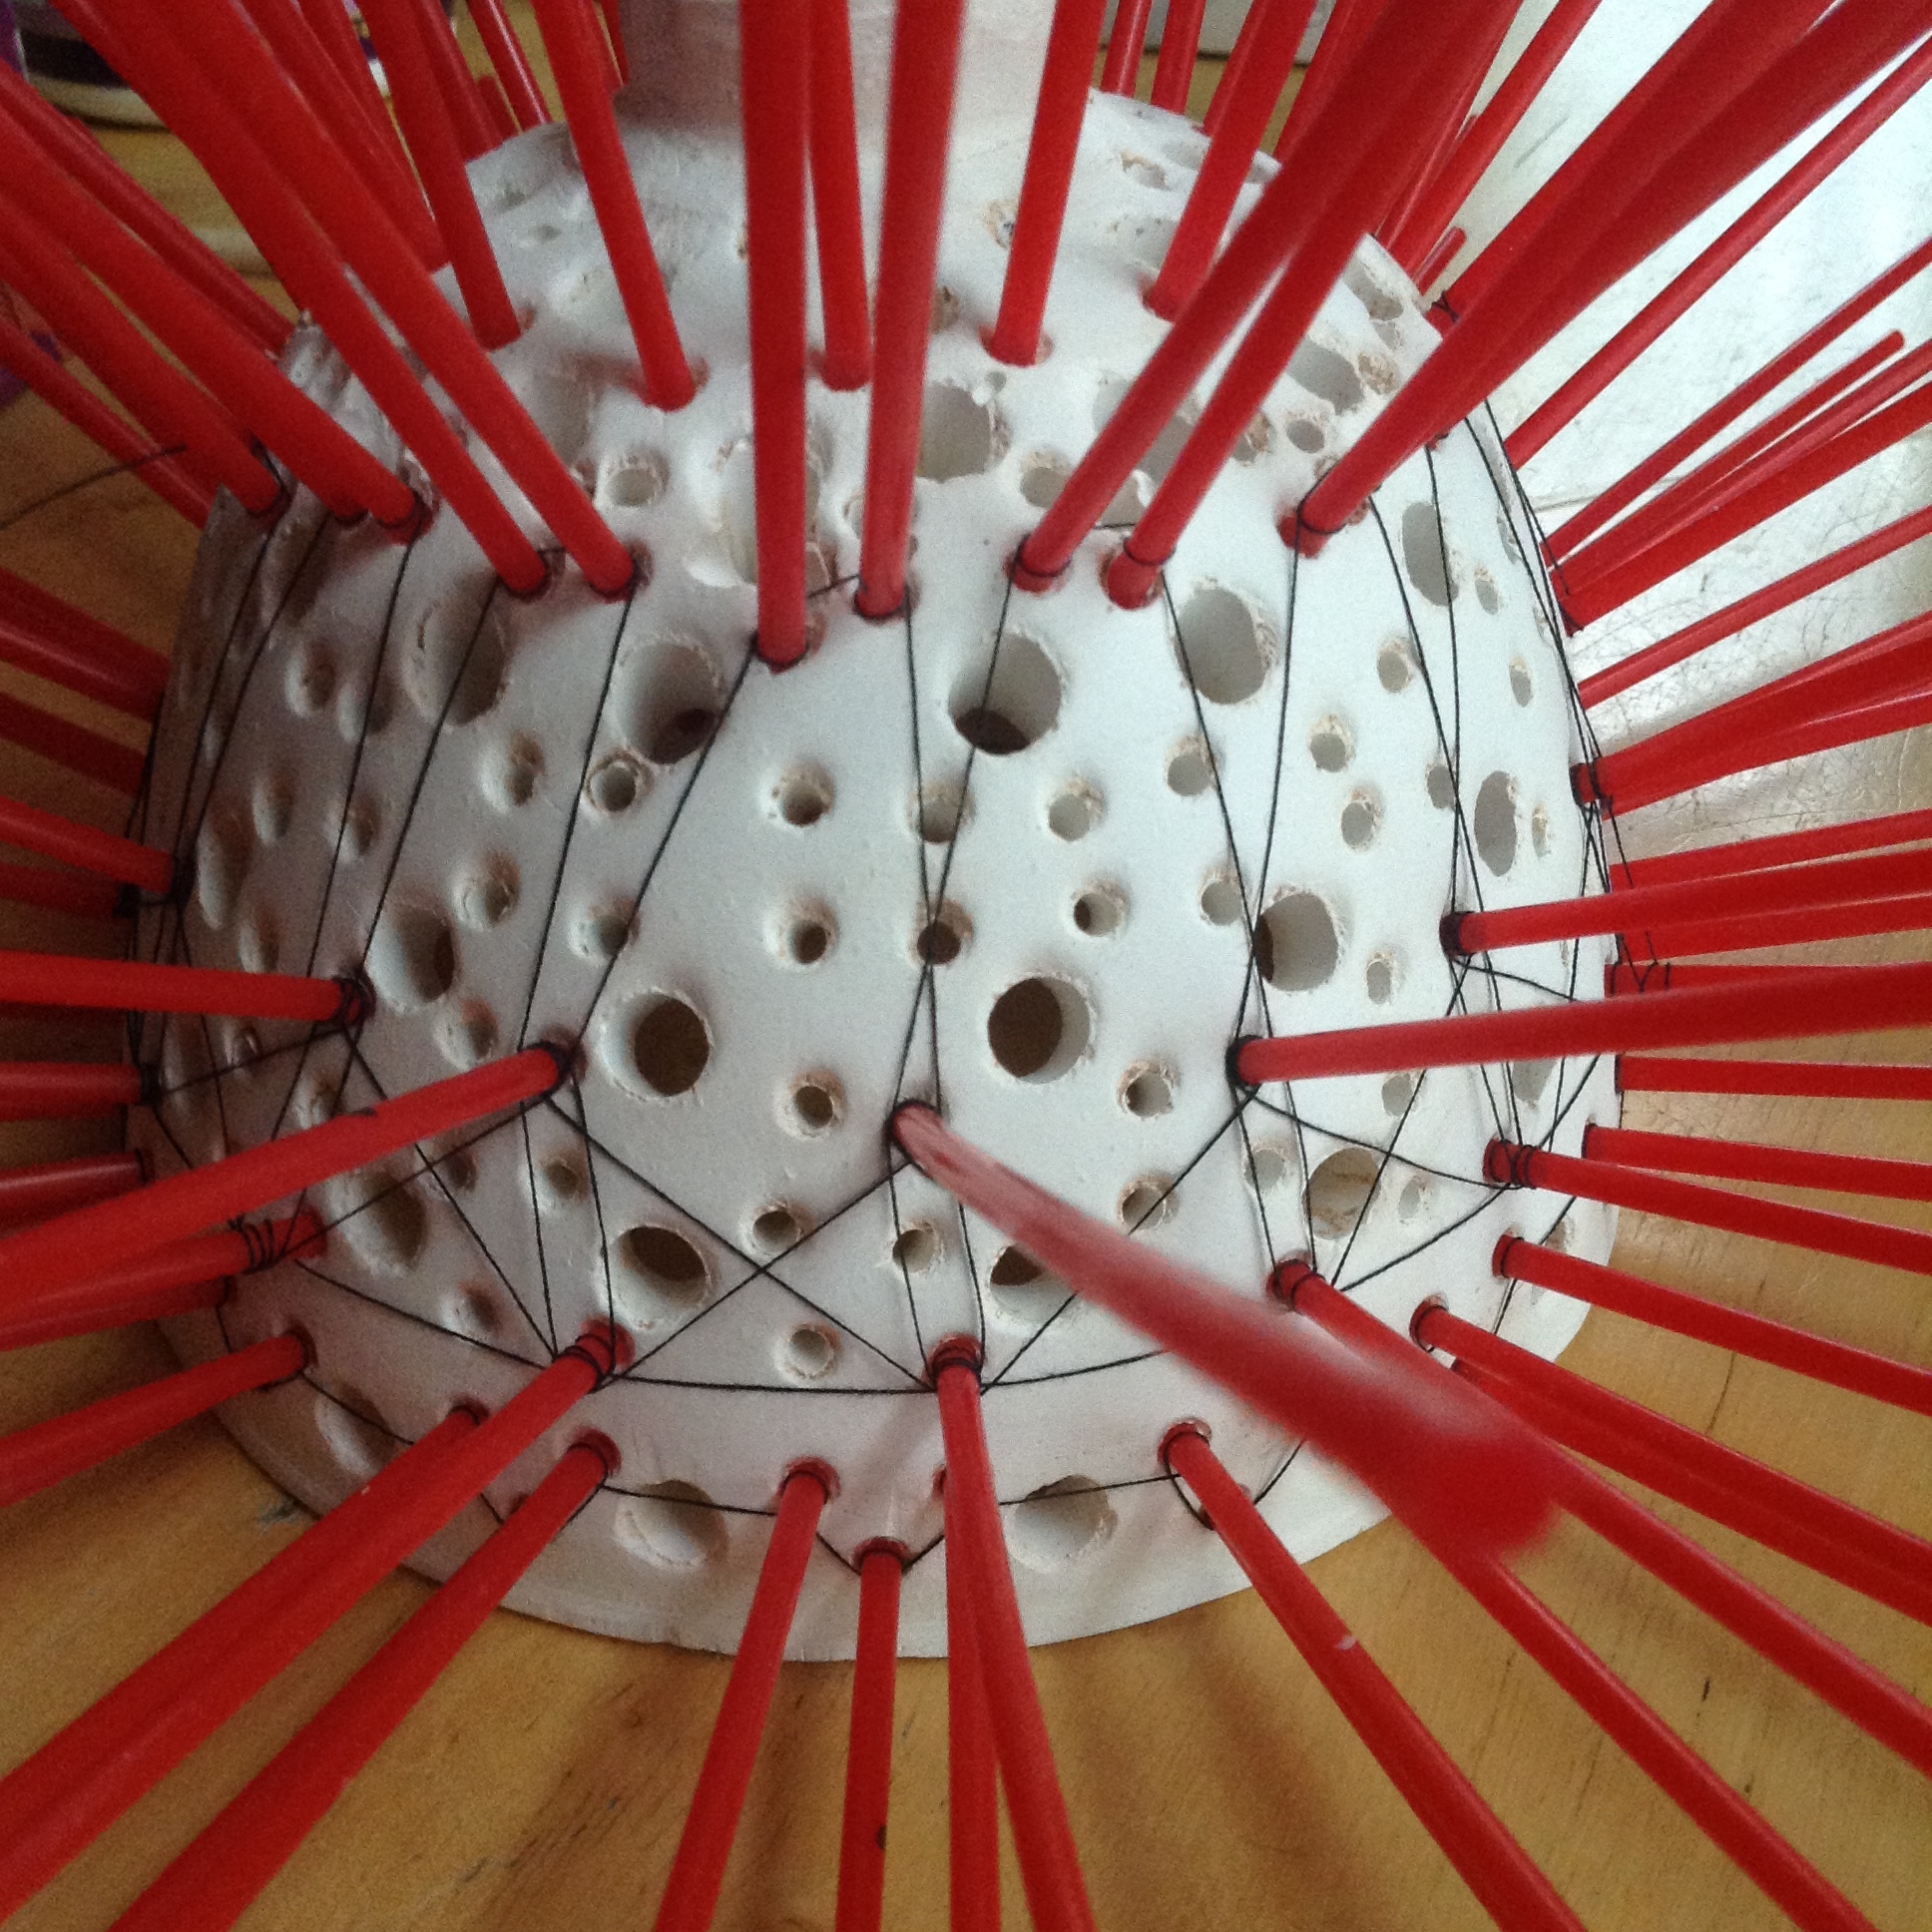
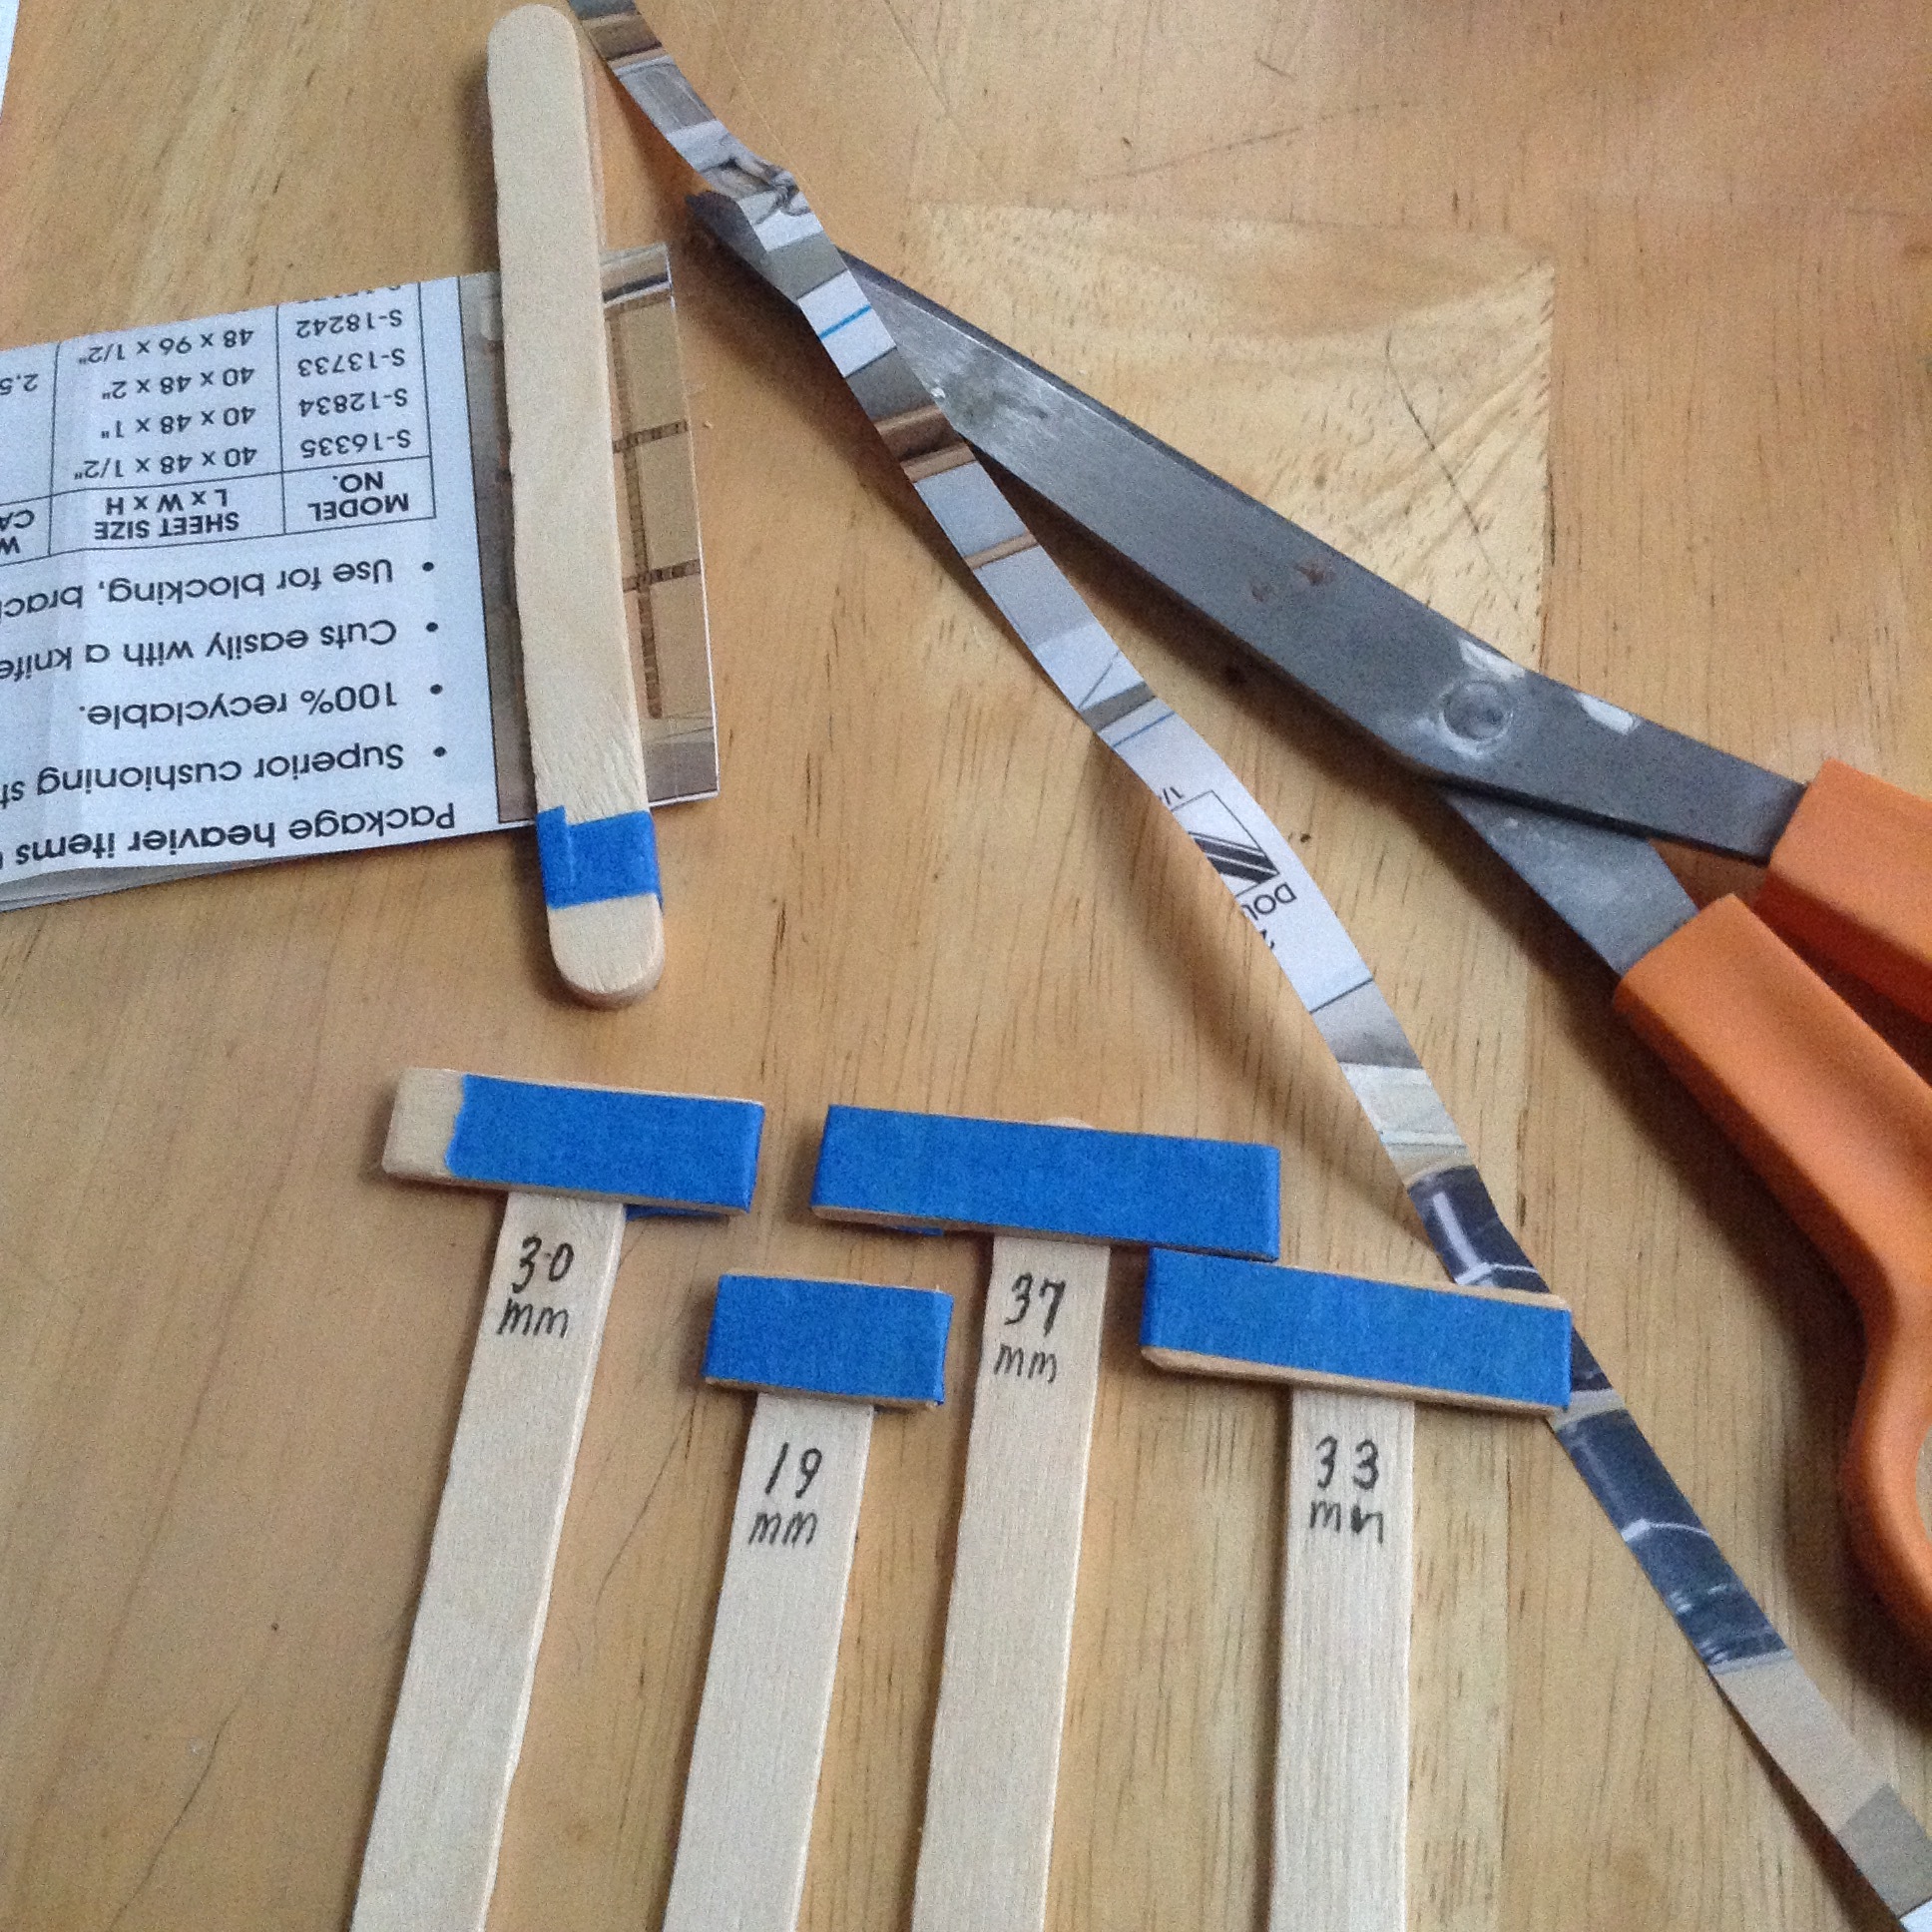
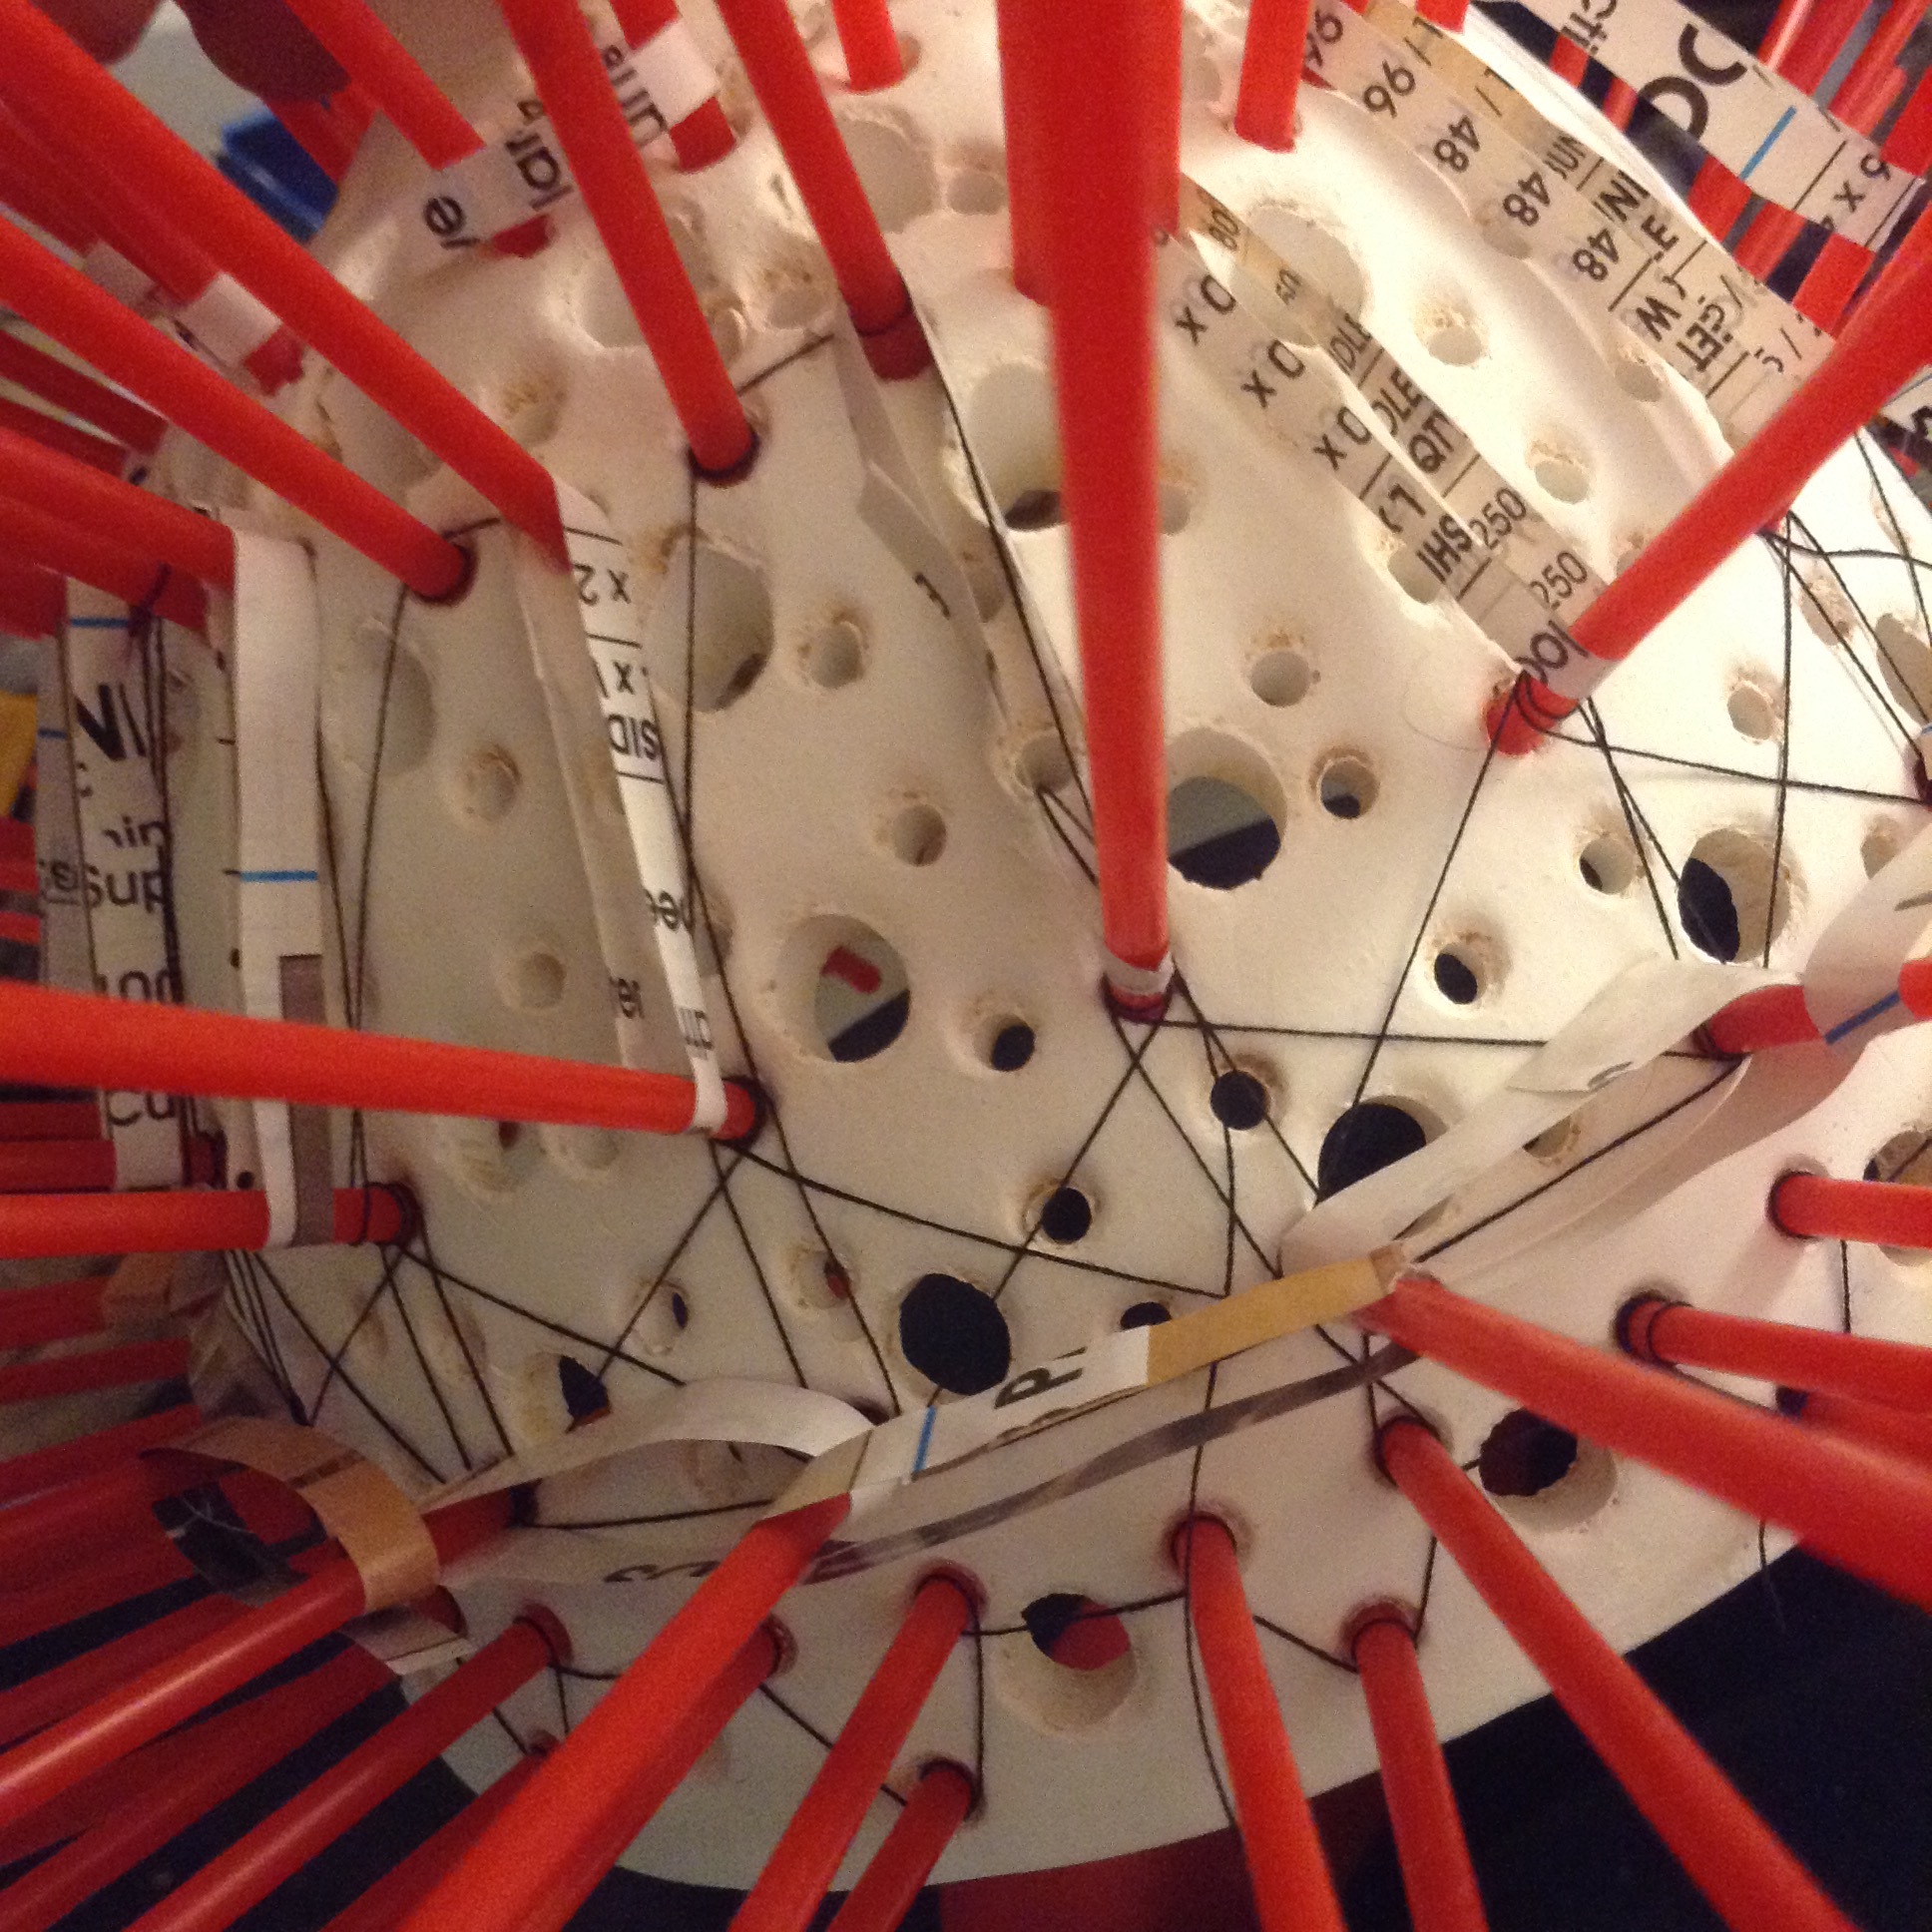
These bowl forms are intended to be a rigid shape that holds flexible straws, which in turn get wrapped with strings. I've already done it with flat plaster slabs. But it's a bit complicated now. I haven't figured out yet how to best wrap the straws with string or paper. Here are some shots of my attempts. 

The paper loops can hold slip inside them and outside them. The photos show only a few loops created. They would alternate all around the form. I picked a certain pattern of holes that seemed interesting, which is why many of them are unused. The winding of combustible things around the straws will take some more planning. But I like the progress so far.


GOING FORWARD

The next round of plaster forms will have to wait: I'm definitely going to start USING the forms for their intended purpose. I'm having a weird time cheaply sourcing string that I want that I don't mind burning out in the kilns I have access to. But I have enough to use in the short-term.

Thanks for reading! 
Using newspaper and pleated copy paper to cast new clay shapes

UPDATE: COLOR information happening soon!
A manipulative way to use casting slip: without plaster!

Liquid casting slip made from clay is often poured into a plaster absorbent mold, and then poured out after a thick skin has formed on the inside of the mold. That skin dries out a bit, detaches itself, and is ready to be cleaned up and used by the artist. Molds can become pretty complicated puzzles to build and to use. As much as I Iove designing and using new types of plaster molds, I often explore ways to use ceramic slip that don't involve the plaster mold.

Many people dip combustible materials in clay slip, or pour slip into burnout things, or spray slip, and have achieved wonderful effects.

This essay describes a recent set of pieces that use folded paper and newspaper to hold the liquid slip in a particular shape and lets it dry there. This builds on my interest in paper manipulation, pattern, and generative art. Let me show you what happened.

Two versions of the tray form, showing the undulating edge effects that happen automatically.

Two versions of the tray form, showing the undulating edge effects that happen automatically.


Pleats and folds: Form #1, The star-shaped tube

The familiar chevron pleat makes a flat sheet of paper able to withstand more pressure without buckling, so I thought I'd try building a tube to hold the liquid slip while a skin formed. I started with a full sheet of 8.5" x 11" copy paper and made 16 creases in it across the wide dimension. This was taped into a tube shape. I added paper rings around the outside and a paper tube in the middle, with the idea that these structures might add support.

Paper folded shapes intended to make a hollow, star-shaped extrusion. Paper immediately softened, buckled outward, and leaked downward into sand catch basin. But not all was lost!

Paper folded shapes intended to make a hollow, star-shaped extrusion. Paper immediately softened, buckled outward, and leaked downward into sand catch basin. But not all was lost!

I’m exploring methods of making objects that make explicit the distinction between an object that was made and an object which happened. The work is sometimes clear. The work is sometimes interesting. My work is always at risk of overstating what could instead be implied. My work is always at risk of enunciating clearly something that makes no sense regardless.

I wanted the cast form to have a bottom, but I did not want to build from paper a custom bottom for the tubes. This would have taken a long time. I have used sand as an absorbent bottom-forming substance in the past, so buried the bottom of the paper shapes an inch under the layer of sand. Of the many things that didn't work, the sand-seal worked fine.

The slip was poured between the center circle tube and the star-shaped pleats on the outside. My slip was a little thick and didn't pour very quickly or fluidly. This might be a good thing or a bad thing, depending on the material I'm pouring into. At first I guessed that the thick slip would form a thicker coating, and it did, but I also had a difficult time pouring it evenly into the space provided.

About one minute after the form was filled, I could see the paper softening, buckling outward. Then the slip began to disintegrate the folds themselves and started to leak out the form. At this point I knew it would collapse. So I pulled the paper form up out of the sand, and immediately all the slip drained out of the paper form, which now looked like a soggy, deflated, somewhat folded husk. I should have known! So now two things were going on:

  1. I couldn't figure out what to do with the failed paper form
  2. I now had a great deal of slip mixed in with the sand

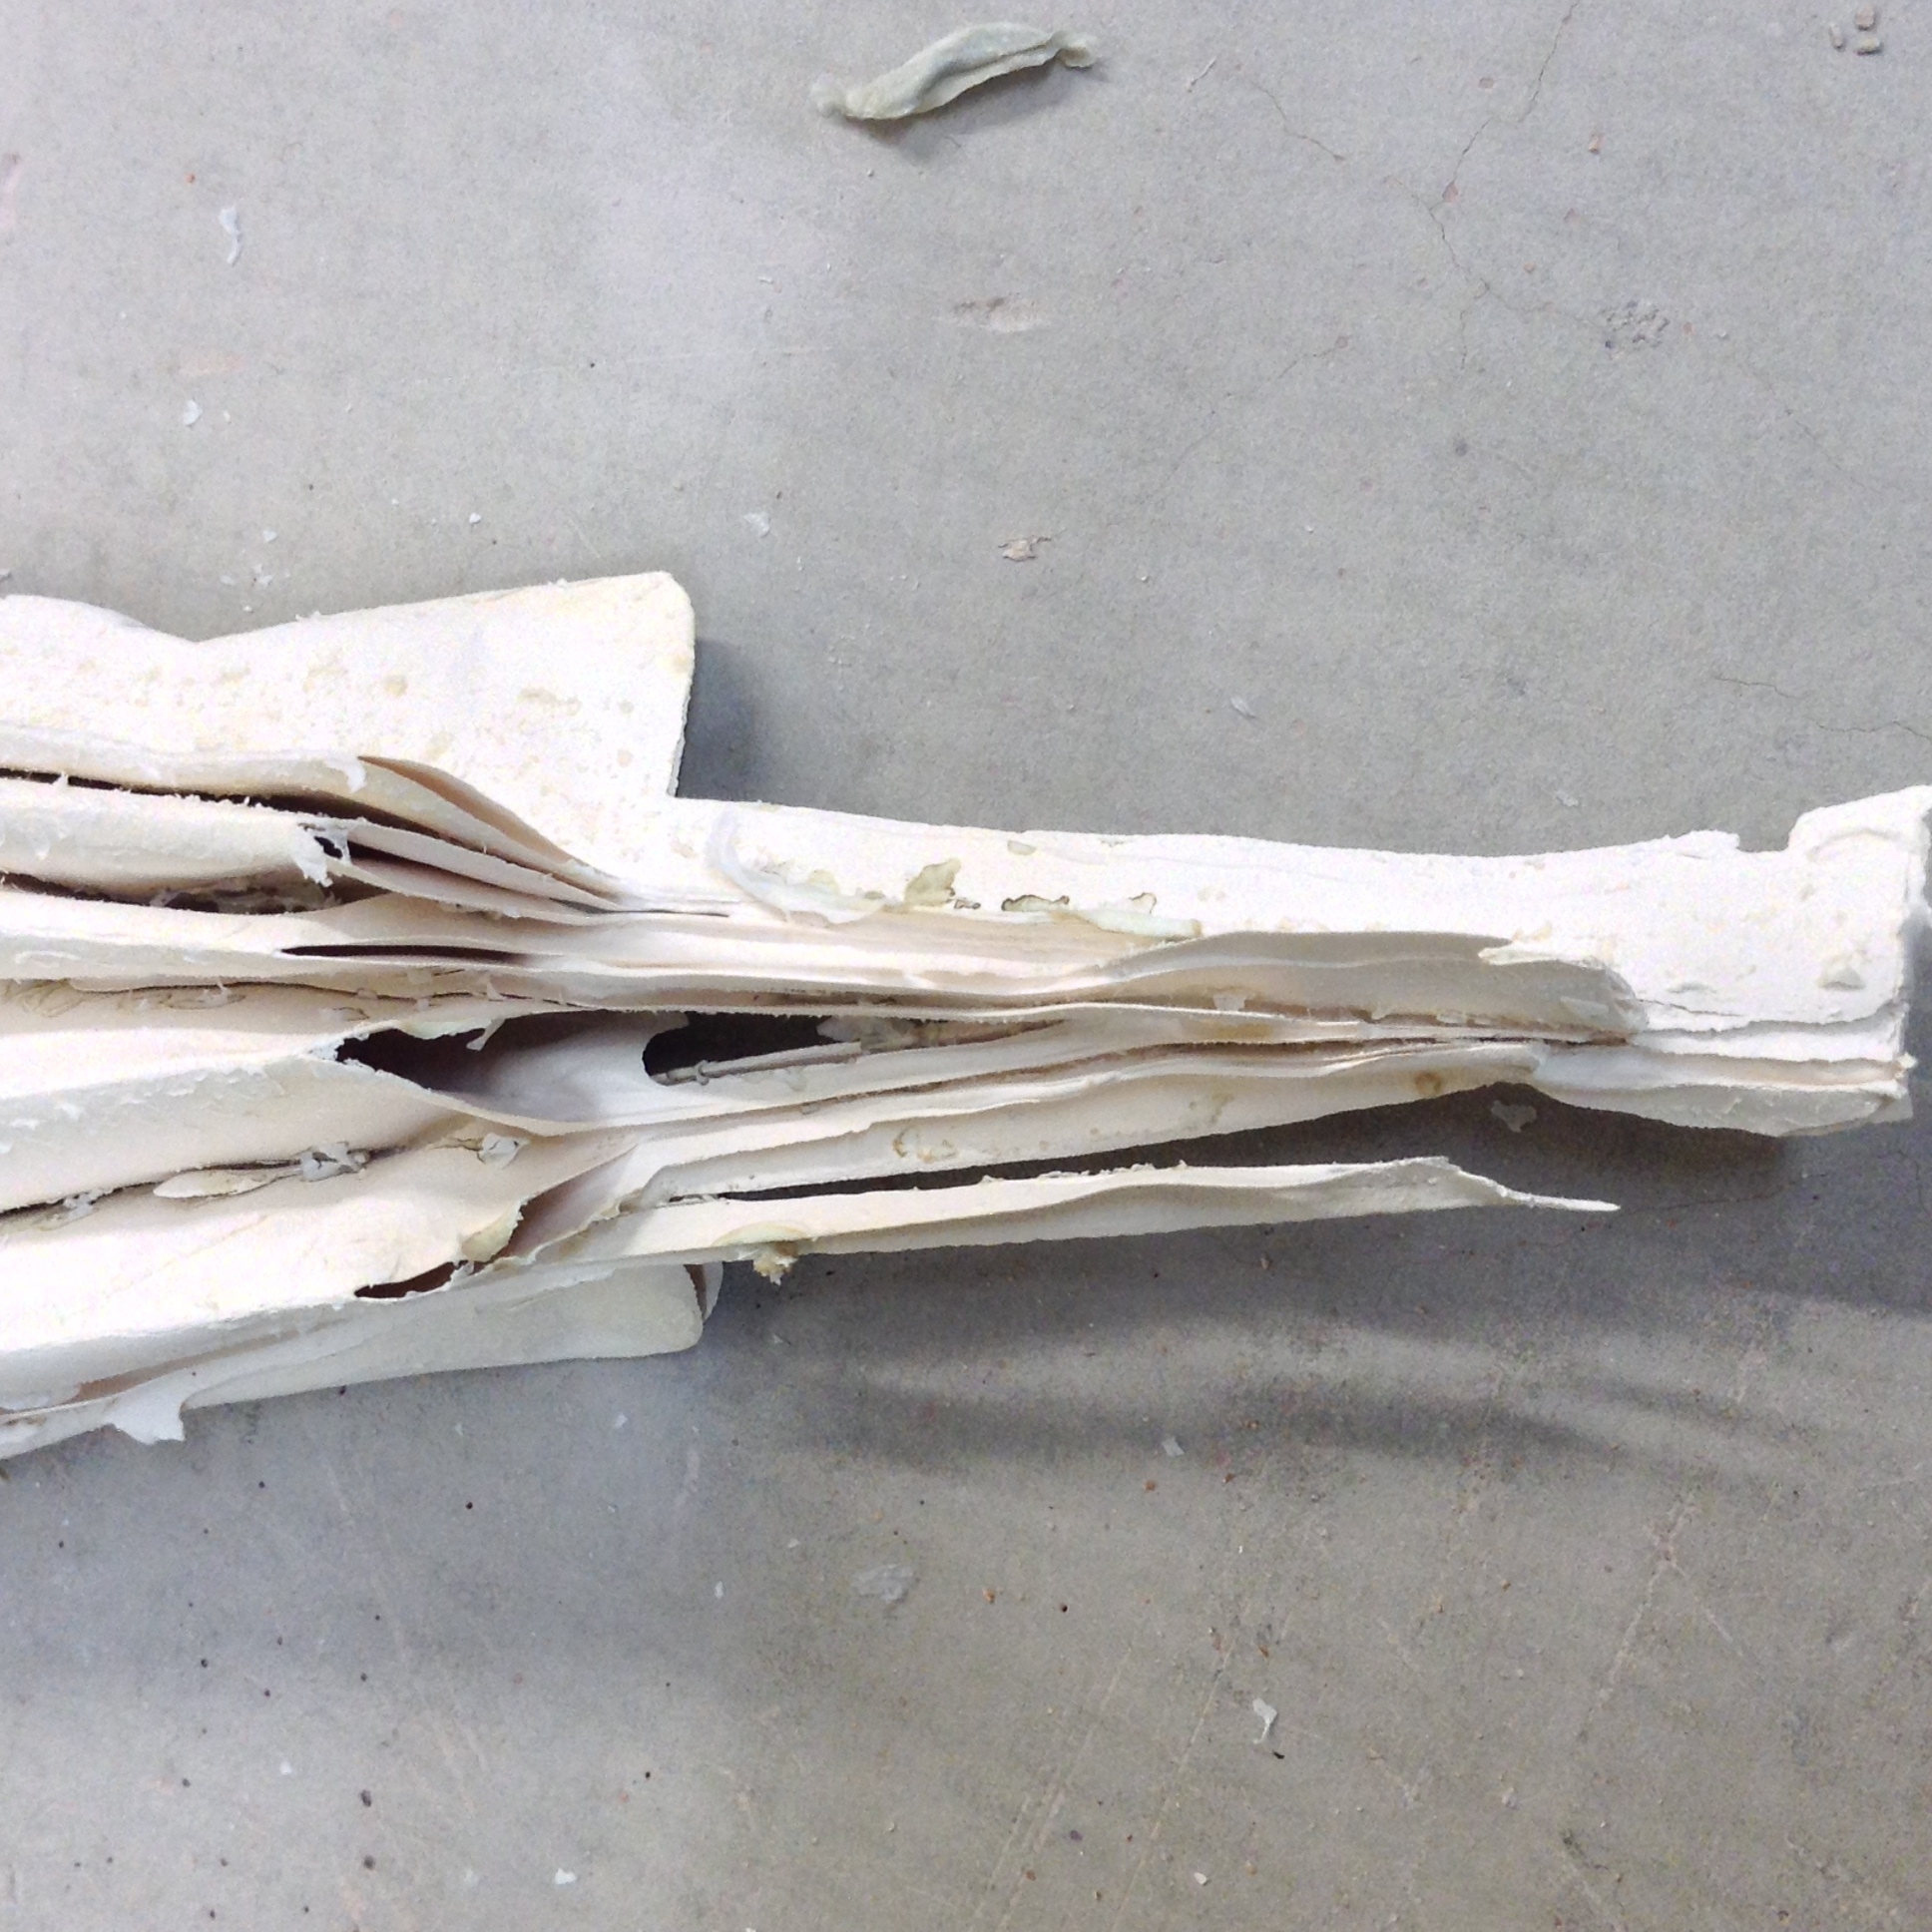
I kept the paper form and placed it on its side to dry. The result is very interesting and I'm glad I didn't give in to my original impulse which was to throw it away.

Clay form made from the collapse of a star-shaped, paper tube, pleated for strength, but not enough! 

Clay form made from the collapse of a star-shaped, paper tube, pleated for strength, but not enough!


Detail of the very thin and beautiful membranes of clay that appeared as the clay drained out of the paper form.

Detail of the very thin and beautiful membranes of clay that appeared as the clay drained out of the paper form.

Work which happens once can happen again, and the connection to manufacture is important aspect of leverage for me. If something can happen more than once —if I can set up the situation— then it proves my intent. A philosophy has been established. Manufacture does not have to look a certain way.

I’m exploring the idea that something liquid might still be folded. This is subtly different from folding something and pouring liquid into it. I like both; I’m trying harder for the former.

I’m exploring the idea that edges are not made but happened. This will at first look like something has been broken, or broken off. It may or may not fit with our idea of finished product. Yet, is this not what we’d see through the microscope of any object we find in the natural environment?

I’m exploring the idea that the concept of manufacture need not dictate style. I’m making systems that are definitely —at least theoretically— as repeatable as any other, but with outcomes that look natural, or broken, or generative.
This is the back of the form, showing some of the sand that is embedded in the clay surface. The edges are sharp and remind me of flower petals.

This is the back of the form, showing some of the sand that is embedded in the clay surface. The edges are sharp and remind me of flower petals.

I was delighted to see the end result when all the paper burned away in the kiln. There is a clear impression that at some point the form was regular, or at least had several pleats. There is also evidence that something catastrophic happened! All captured in clay. The photo shows still some of the ash that remains of the copy paper. This was rinsed off after the photo was taken.

The entire shape. Look at the tiny bits of clay that flowed along the sides of the large pleats, seen to the left in the picture.

The entire shape. Look at the tiny bits of clay that flowed along the sides of the large pleats, seen to the left in the picture.

As makers we progress from set-up through “sufficiently final” result. How much are we involved in those stages? Can we argue convincingly for those times we deliberately invite random effects? How do we argue for our authority in such chaotic systems? Is this artifact the result of a process, or philosophy, or both?

Our liquids flow then harden. Our wet powders dry, sinter, melt, and cool. Our hands obey and rebel. The artifacts never lie, but never tell the whole backstory, either. I am interested in making more of the process visible, to make the backstory explicit, to make a convincing argument within the piece itself that this choice was made over that one. I won’t always be around to explain the work, and so it must take care of itself.

SOFT FOLDS IN NEWSPAPER SANDWICH

The next set of pieces I made were cast from the slip that leaked all over the sand in the first attempt. I knew that sculptors and potters will add different materials to the clay slip to improve some aspect of it. Adding paper fibers, for example, makes the slip stronger and less likely to warp and break before it is fired in the kiln. Adding sand helps with strength as well. Having stirred the slip into the emergency sand, I had perhaps two cups of slip to experiment with.


PAPER TYPES HAVE CLAY IN THEM
Newspaper has almost no clay in it, and so burns away at 1900 degrees Fahrenheit with very little ash. The copy paper I used, however, has more fine clay in it so that it is smooth to print on and write on. That paper was used for the pleated form, and there was much more ash to wash away.
Clay slip with a lot of sand is spread like frosting on a single sheet of newspaper.

Clay slip with a lot of sand is spread like frosting on a single sheet of newspaper.

Newspaper on top and bottom of wet slip. Grey foam rectangle placed in middle. Edges of paper cut and folded over foam. Note that layer of paper closest to foam extends further inwards than outside layer of newspaper.

Newspaper on top and bottom of wet slip. Grey foam rectangle placed in middle. Edges of paper cut and folded over foam. Note that layer of paper closest to foam extends further inwards than outside layer of newspaper.

The distortions of the newspaper + slip sandwich --or maybe it is a crepe!-- capture much of the soft qualities of the slip without being marred by the touching of my fingers. I am especially pleased that the edges of the slip have been affected by the sliding difference between the two layers of newspaper. The inner and outer layers of newspaper have to travel a certain distance around the foam and so create this organic edge.

The clay stiffened overnight and I removed the foam carefully. I broke a few pieces off the edge by accident. I also removed what I could of the newspaper. The pieces went into the kiln and all the newspaper burned off, just as in the first example the copy paper burned off. The end which was drawn up into a kind of point looks like a dumpling. This would be difficult to sculpt, but here it took seconds. The opposite end was simply folded a few times.

Several views of the envelope-like piece

Several views of the envelope-like piece

COMPARE TWO TRAY SHAPES

The use of the foam block inside the newspaper-clay crepe allowed me to have a hollow shape inside. The second tray shape had more elaborate folds at the narrow ends. It was also trussed up with tape to help with the flatness I felt was a little boring in the immediately previous form.

Stabilized forms with foam support removed, most of paper removed. Ready to dry out for kiln.

Stabilized forms with foam support removed, most of paper removed. Ready to dry out for kiln.

Trussed shape with tape. It mostly worked.

Trussed shape with tape. It mostly worked.

Fired form, all paper burned away, leaving many interesting folds and curves where the paper turned on itself and where the tape held the shape less flat.

Fired form, all paper burned away, leaving many interesting folds and curves where the paper turned on itself and where the tape held the shape less flat.

Better view of interior and folds at narrow edges.

Better view of interior and folds at narrow edges.

TUBE SHAPES, AND MY FAVORITE EDGE EFFECT

Another version of the experiment was not a pleat or tray, but a kind of tube that could one day be modified into a vase or cup. The same newspaper plus clay crepe form was made as previous, but this time was wrapped around a tube and tightened in one place with a rubber band. In the pictures you can see my most favorite part of that style. The edge is very unusual. The edge shows the smooth, uneven sides where the clay contacted the newspaper directly. But inside the edge, where the clay is shrinking and changing shape, you see the grainy lining. This is very, very interesting to me.

The clay slip is inside the outer sleeve of newspaper, where the darker, wetter area can be seen. The rubber band is holding the layer shut, but also adding its own wrinkle pattern to the paper and clay.

The clay slip is inside the outer sleeve of newspaper, where the darker, wetter area can be seen. The rubber band is holding the layer shut, but also adding its own wrinkle pattern to the paper and clay.

The tube itself has paper on it to enable the clay sleeve to be removed when it is stabilized enough to hold its shape. Removed too soon, the clay form will slump into something less round. Removed too late, and the clay shell will crack from shrink…

The tube itself has paper on it to enable the clay sleeve to be removed when it is stabilized enough to hold its shape. Removed too soon, the clay form will slump into something less round. Removed too late, and the clay shell will crack from shrinkage around rigid tube, or careless flexing movement.

Good view of the rubber band tightening around the form, leaving marks in the clay.

Good view of the rubber band tightening around the form, leaving marks in the clay.

The tubes kept their shape perfectly, but the reason this one doesn't curve all the way around onto itself is that I broke off a part earlier in the process removing the newspaper. Ironically, since the edges on these forms are all atypical, the bro…

The tubes kept their shape perfectly, but the reason this one doesn't curve all the way around onto itself is that I broke off a part earlier in the process removing the newspaper. Ironically, since the edges on these forms are all atypical, the broken edge doesn't call attention to itself.

Of all the results in this series of experiments, this edge quality is almost my favorite. Smooth parts next to rough parts, hollow cavities that go down into the wall. The rough quality is the sand mixed into the slip. And all of it almost complete…

Of all the results in this series of experiments, this edge quality is almost my favorite. Smooth parts next to rough parts, hollow cavities that go down into the wall. The rough quality is the sand mixed into the slip. And all of it almost completely automatic. 

Another view of my favorite edge effect. This tube is completely enclosed on itself. It is not connected at that overlap because paper was between the clay layers. If this piece were glazed, the glaze would fuse those edges together for stability.

Another view of my favorite edge effect. This tube is completely enclosed on itself. It is not connected at that overlap because paper was between the clay layers. If this piece were glazed, the glaze would fuse those edges together for stability.


TOWARDS SOMETHING FUNCTIONAL

The last example in this series shows the effect of a newspaper and clay sandwich cut in specific places while wet, then gently folded upon itself to fit into a bisqued piece as a former. Like the cardboard tube was the inner former in the example above, the bisque form is the outer mold for this next one. This strikes me as a bit simpler than casting liquid slip into the form, since here I get to use the overlapping shapes as sculptural elements. I see these developing as flowers, in addition to simply geometric forms.

I used scissors to cut slits in the wet sandwich. The clay only leaked out a little bit, and was surprisingly tolerant of being moved around while being fitted into the mold form. As above, the object in the photo has thin unconnected areas where one clay element overlapped another while paper was in between. But if this were glazed to make it functional, the thin airspace would seal up perfectly.

The orange-brown angled form underneath is just another clay box I built. Here I'm using it to hold the wet clay layers in an overlapping position until they dry enough to stay there.

The orange-brown angled form underneath is just another clay box I built. Here I'm using it to hold the wet clay layers in an overlapping position until they dry enough to stay there.

The completely fired bowl form with cut overlapped edges easily seen inside and out. The upper edge of the bowl is unchanged from the edges that happened when the slip was spread on the newspaper.

The completely fired bowl form with cut overlapped edges easily seen inside and out. The upper edge of the bowl is unchanged from the edges that happened when the slip was spread on the newspaper.


TO GLAZE OR NOT TO GLAZE?

I would glaze these pieces between the thin gaps between overlapping areas, if for no other reason than to make them stronger. For decorative purposes, I might spray a very light coating of clear. I think it would be very easy to make a mistake coloring these the wrong way. I know I already like the dry surface. 

I would be much more likely to experiment with colored slips, since the integral color of the slip makes more sense to me than applying some color afterward. There is no reason why the original slip on the newspaper can't be more than one color.


WHAT'S NEXT?

I see the newspaper being printed or painted with slip patterns before the structural coat goes down. This will allow me to use pattern on these distorted surfaces before they are made. I don't see it as fun or interesting to manually render patterns on these types of surfaces after they're formed. Firstly, it's hard to do. Secondly, the many places that can't easily be reached should have patterns, too. If both sheets of newspaper have patterns on them in slip that get transferred to the form, I can get pattern anywhere on the form. I'm looking forward to this.

I plan do more forms which could function as containers for plants or drinking vessels.

But for the moment, I'm pleased with the abstract pleat and tube shapes, and the slightly more functional tray and bowl shapes.